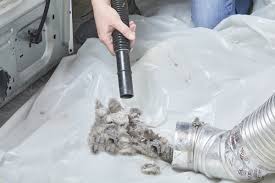
Learn how to clean your dryer duct safely with this expert step by step guide to cleaning a dryer vent line. Prevent fires and cut energy bills!
Step by Step Guide to Cleaning a Dryer Vent Line: Protect Your Home and Save Cash
Look, I get it, appliance maintenance is boring but neglecting your dryer is like leaving a ticking time bomb in your laundry room. You throw in a load of wet towels, hit start, and expect them to come out fluffy and dry in forty-five minutes. But lately, you are noticing that it takes two or even three full cycles just to get a single load dry. Your clothes come out piping hot, the laundry room feels like a sauna, and your electric bill is skyrocketing.
Here is the real talk: your dryer probably isn’t broken. It is just suffocating.
Over time, the exhaust duct that carries hot, moist air out of your house gets choked with a thick, dense wall of tinder-dry lint. According to the National Fire Protection Association (NFPA), clogged dryer vents are a leading cause of residential home fires. Cleaning this line out isn’t just about saving money on your utility bills—it is a critical safety task that protects your family.
The good news? You do not need to fork over 150 dollars or more to a professional duct cleaning service. As a senior appliance technician, I am here to tell you that this is an incredibly straightforward afternoon DIY project. Welcome back to FixNest.xyz, your trusted digital manual where we help you bypass expensive repair bills. Today, we are diving deep into the ultimate step by step guide to cleaning a dryer vent line safely and efficiently.
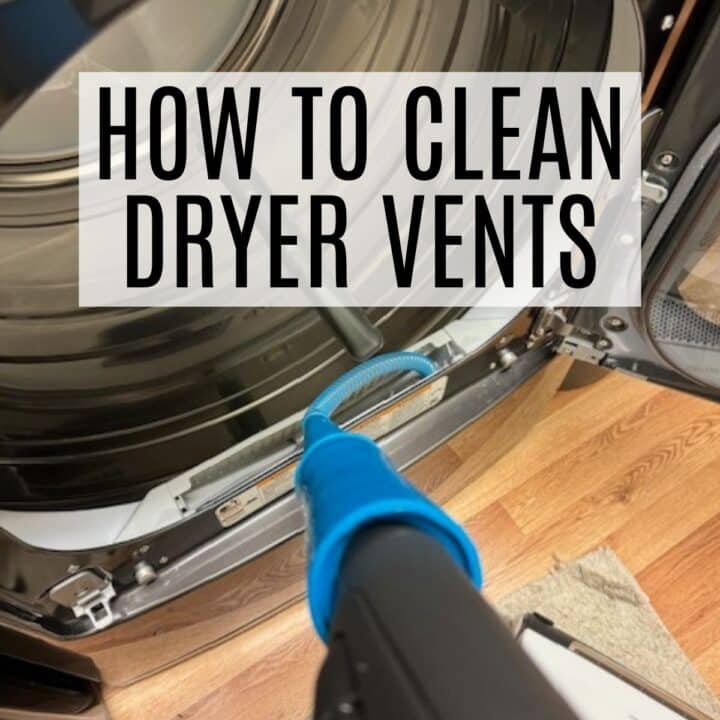
The Warning Signs: Is Your Vent Choked?
Your dryer will always try to tell you when its exhaust system is failing. The proccess happens slowly over several months, so it is easy to miss the early warning indicators until the machine completely stops drying.
Before we look at the tools you need, check out this troubleshooting matrix to determine exactly how severely your vent line is compromised.
| Symptom | Potential Cause | Urgency Level | Required Action |
| Clothes take 2+ cycles to dry | Airflow is restricted; moisture cannot escape the drum. | High | Follow this guide to clear the entire line immediately. |
| Dryer is hot to the touch | Heat is backing up inside the chassis instead of venting out. | Critical | Shut down the unit; fire hazard risk is elevated. |
| Musty smell on clean fabrics | Standing moisture and wet lint are rotting inside the duct. | Medium | Clean vent line and sanitize the internal lint trap housing. |
| Outside vent flap stays closed | No air velocity is reaching the termination hood outside. | High | Check for solid blockages like bird nests or dense lint plugs. |
If you are experiencing even one of these issues, your machine is working twice as hard as it needs to. This extra strain drastically shortens the lifespan of the heating element and thermal fuses. By using our guides on FixNest.xyz, you can easily avoid these premature component failures.
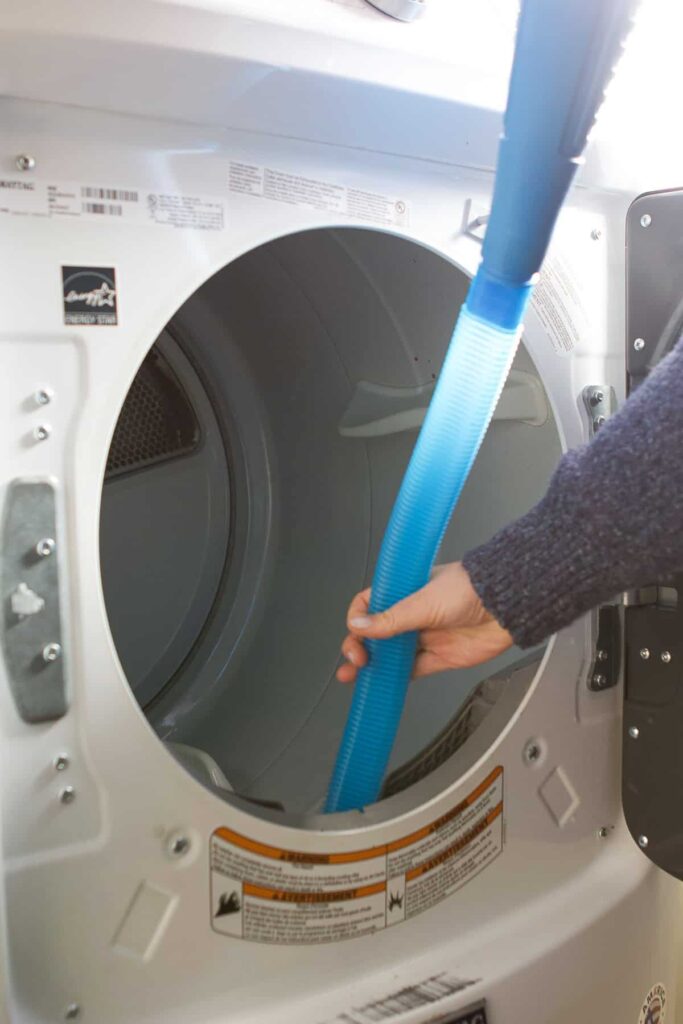
Your Toolkit for the Job
You do not need specialized trade tools for this. Most hardware stores or online retailers sell a cheap “Dryer Vent Cleaning Kit” for under twenty bucks. These kits include a flexible, multi-piece rod system that screws together and features a round bristle brush at the tip that fits perfectly inside standard four-inch rigid and flexible ducts.
Make sure you have these items ready:
- A rotary dryer vent cleaning brush kit
- A cordless power drill (optional, but makes spinning the brush a breeze)
- A heavy-duty shop vacuum or a standard vacuum with a long hose attachment
- A screwdriver or nut driver (usually 1/4-inch or Phillips to remove the vent clamps)
- High-quality foil duct tape (Never use standard fabric duct tape; it degrades under high heat)
- A dust mask and safety glasses (it gets incredibly dusty back there)
Step by Step Guide to Cleaning a Dryer Vent Line
Let us roll up our sleeves and get your laundry setup breathing freely again. Follow these steps carefully to ensure you do not inadvertently damage your ductwork during the process.
Step 1: Disconnect the Power and Gas
Safety first, always. Before you shift or slide the appliance, unplug the dryer from the wall outlet. If your operating a gas dryer, turn off the gas supply valve completely before moving the unit. This prevents you from accidentally snapping or stretching the flexible gas line, which could lead to a catastrophic leak.
Step 2: Pull the Dryer Out and Detach the Transition Duct
Gently slide the dryer away from the wall so you can comfortably stand behind it. You will see a flexible aluminum or corrugated metal pipe connecting the back of your dryer to the wall vent opening. This is called the transition duct.
Using your screwdriver, loosen the metal clamps holding this pipe in place. Pull the flexible duct completely off both the dryer exhaust port and the wall connection.
Step 3: Vacuum the Dryer’s Internal Exhaust Port
Take your vacuum hose and reach it as far inside the dryer’s back exhaust port as possible. A ton of heavy lint tends to settle right at the base of the machine where the internal blower wheel pushes air outward. Sucking this debris out now prevents it from immediately blowing back into your freshly cleaned line later. While your back there, vacuum the back panel of the dryer to clear away any loose dust that has settled over the motor vents.
Step 4: Clean the Transition Pipe
Inspect the flexible transition piece you just removed. If it is made of cheap, thin white plastic vinyl, throw it in the trash right now. Vinyl ducts are highly flammable and actually illegal under most modern building codes. Replace it with a rigid or heavy-walled semi-rigid aluminum duct.
If you already have a metal transition pipe, use your vacuum to clear out both ends. If it is severely crumpled or torn, grab a new one at the hardware store to ensure optimal airflow.
Step 5: Head Outside to the Exterior Vent Hood
Locate where your dryer line exits your house. It is usually a small hood with a series of plastic flaps or a wire mesh screen on an exterior side wall, or occasionally it vents through the roof.
Inspect the vent opening. If your flap is broken or clogged with lint, air cannot exit properly. Remove any large clumps of lint by hand. If your vent hood features a fine metal screen to keep pests out, make sure it isn’t completely frosted over with lint fabric.
Step 6: Feed the Cleaning Brush into the Wall Duct
Now it is time for the core of our task. Take the round bristle brush head from your cleaning kit and attach it to the first section of the flexible fiberglass rod.
Insert the brush head into the wall duct opening (you can do this from either the inside wall or the outside wall, but starting from the outside is often easier because the loose lint falls onto the ground rather than inside your utility room).
Attach the base of the rod to your cordless drill. Set your drill to spin clockwise at a low, controlled speed.
Technician Tip: Always keep the drill spinning in a clockwise direction. If you accidentally switch the drill to reverse (counter-clockwise), the threaded rods can unscrew from each other inside the wall, leaving your brush head permanently stuck deep inside the duct!
Step 7: Extend and Navigate the Bends
Slowly push the spinning brush deeper into the pipe. The spinning motion scrubs the caked-on lint off the smooth interior walls of the metal ducting. After you push the first rod in completely, stop the drill, screw on the next rod segment, and repeat the process.
Continue adding rods until you feel the brush hit the back wall or exit the opposite end of the line. Push the rods back and forth several times to thoroughly dislodge any stubborn debris. You will likely see massive, cloud-like clumps of lint tumble out of the pipe.
Step 8: Clear the Debris Field
Once you pull the rods back out, grab your shop vacuum again. Clean up the massive pile of lint that fell out outside. If you pushed the brush from the outside inward, go back into your laundry room and vacuum up all the loose lint that was pushed into the wall box opening. Ensure the interior pipe is completely clear of loose blockages.
Step 9: Reconnect and Seal the Line
Slide the transition duct back onto the wall connection and the dryer’s exhaust port. Tighten the metal screw clamps firmly so there are zero air gaps.
For maximum efficiency and safety, seal the joints by wrapping a layer of professional UL-listed aluminum foil tape around the clamp seams. This ensures that no carbon monoxide (if you have a gas unit) or hot damp air leaks back into your home walls.
Step 10: Run a Test Cycle
Slide the dryer back into its original position, making sure you do not pinch, crush, or kink the transition duct against the drywall behind it. Plug the unit back in and turn on the gas supply if applicable.
Clean out your primary slide-in lint trap filter inside the dryer drum. Now, turn the machine on to a standard “Timed Dry” cycle for 5 minutes. Go outside and feel the exterior vent hood. You should feel a powerful, warm, clear blast of air lifting the louvers completely open.
Long-Term Maintenance Schedule
Cleaning your main exhaust line is a major milestone, but appliance care is a continuous effort. To prevent future blockages and maintain peak efficiency, use this easy maintenance schedule:
- After Every Load: Clean out the primary lint screen slide-receptacle inside the dryer. It takes 5 seconds and reduces total line blockages by up to 80 percent.
- Every Month: Take the primary lint screen to the kitchen sink and scrub it with hot soapy water and an old toothbrush. Liquid fabric softeners leave behind an invisible chemical film that glazes over the fine mesh, restricting air movement even if the screen looks clean.
- Every 6 Months: Visually inspect the outside vent termination cap to make sure no birds, mice, or wasps have tried to nest inside the warm pipe.
- Once a Year: Complete this full vent line brush routine to guarantee your system remains completely safe and efficient.
Your Home for Smart DIY Savings
Taking care of your house doesn’t mean you have to bleed cash every time a major machine acts up. By taking charge of these tasks yourself, you protect your hard-earned money and keep your household running at maximum performance.
If you found this breakdown simple and empowering, make sure to bookmark FixNest.xyz so you always have a professional technician-backed manual ready for your next household repair adventure. Be sure to subscribe to our monthly newsletter to receive seasonal, money-saving maintenance alerts right in your email inbox.
Did you hit an unexpected roadblock or a tricky 90-degree bend while running your brush through the wall? Drop a comment down below! I read every single query and will help you figure out how to get your dryer breathing easily again. Happy fixing!