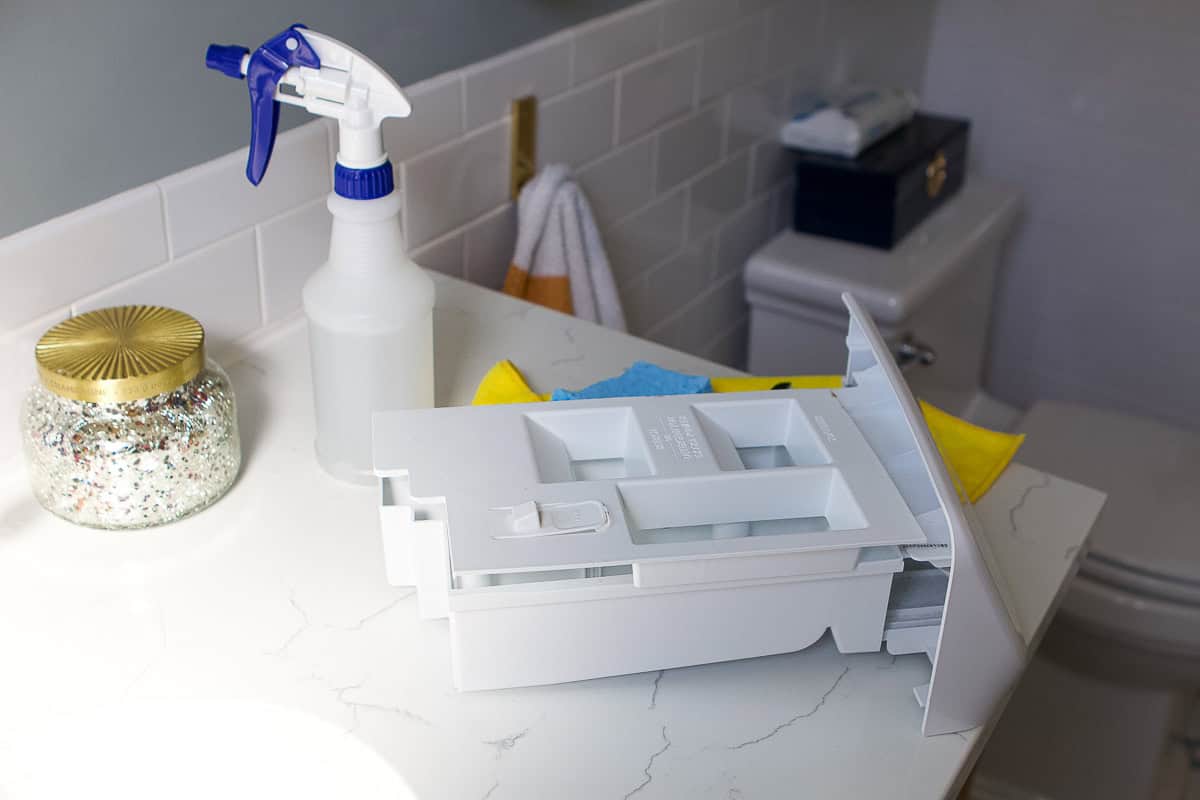
Learn how to clean washing machine soap dispenser drawer easily. Eliminate black mold, slime, and soap buildup with this expert technician guide!
How to Clean Washing Machine Soap Dispenser Drawer Easily: The Complete Technician’s Field Manual
Look, I get it, appliance maintenance is boring but ignoring that little plastic drawer where you pour your detergent is a fast track to ruinous laundry days. You open the drawer, pour in your liquid soap and fabric softener, slam it shut, and completely forget about it. You figure that since laundry soap passes through there every single day, the drawer must be the cleanest spot in the whole house.
Here is the real talk: it is actually one of the absolute filthiest spots in your entire laundry room.
Over months of constant washing cycles, thick liquid detergents and waxy fabric softeners don’t wash away completely. They leave behind a sticky, concentrated chemical residue. This residue creates an airtight layer of soap scum that traps moisture underneath. Because that dark drawer housing stays damp, warm, and sealed up tight, it becomes a literal playground for black mold, mildew, and foul-smelling bacteria. Every single time your washer flushes water through that tray, it carries invisible mold spores and sour odors straight onto your clean clothes.
As a senior appliance technician, I can tell you that a clogged, moldy dispenser tray can also block the internal water siphon jets, causing water to spill down the front of your machine and rot the outer steel panels. Today, we are going to dive deep into how to clean washing machine soap dispenser drawer easily using safe, budget-friendly household items. Welcome back to FixNest.xyz, your number-one digital guide for maintaining your own major appliances, extending their lifespan, and bypassing expensive repair technician service fees.
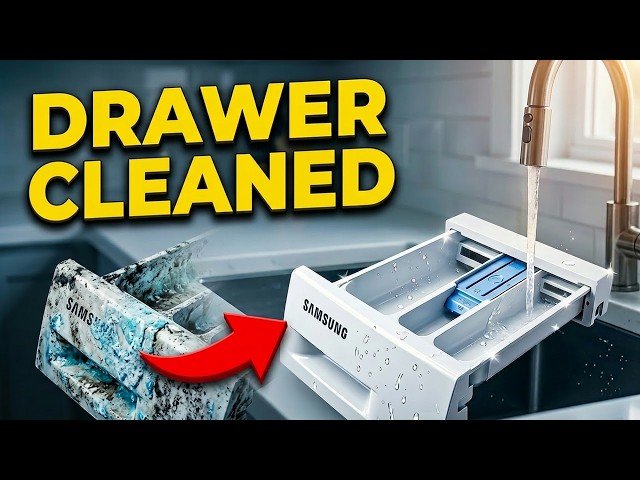
The Secret Danger: Why a Clogged Drawer Ruins Your Laundry
The soap dispenser drawer inside a modern front-loader or top-loader isn’t just a basic plastic cup; it is a finely calibrated water routing network. When you select a specific cycle, the machine’s internal computer activates electronic water solenoids that spray precise streams of water through tiny overhead shower holes inside the drawer ceiling. This water mixes with the soap or softener, climbs up a tiny siphon tube at the back of the tray, and rushes into the main steel drum.
When thick, concentrated detergents block these paths, the water can no longer siphon correctly. Check out this technician troubleshooting matrix to see exactly how a neglected soap tray compromises your machine’s health.
| Visible Symptom | Hidden Mechanical Cause | Long-Term Appliance Risk | Urgency Level |
| Water pools in the softener compartment after a wash cycle | The plastic siphon cap or narrow rear drain tube is fully clogged with dried wax. | Continuous water overflow can damage the internal digital door lock assembly below. | High |
| Detergent remains completely stuck in the drawer after a cycle | Overhead ceiling water spray holes are blocked by mineral scale or soap splashback. | Laundry doesn’t clean properly; extra cycles waste massive amounts of electricity. | Medium |
| Black spots or green slime lining the bottom of the drawer cavity | Toxic black mold and mildew colonies breeding on organic soap residues. | Spores transfer directly onto your laundry, causing skin rashes and sour odors. | Critical (Health hazard) |
| Water leaking from the front of the dispenser panel | Heavy soap scum dam prevents the flush water from traveling down the main tub hose. | Rusts out the front cabinet panel; water can short-circuit lower electrical parts. | Critical |
If you notice any of these warning signs developing in your setup, your machine is screaming for help. By utilizing the free DIY blueprints here on FixNest.xyz, you can reverse this gooey buildup and restore pristine sanitation to your laundry routine without paying a local technician a single dime.
The Cleaning Toolkit: Cheap, Everyday Household Items
You don’t need any overpriced industrial chemical cleaners or special trade tools to clear this mess out. Go look in your kitchen cupboards for these simple essentials:
- Distilled white vinegar (The ultimate natural soap scum dissolving acid)
- Standard baking soda (A mild abrasive and phenomenal deodorizer)
- A bottle of warm water or a clean spray bottle
- An old toothbrush (The absolute best tool for tight, plastic corners)
- A non-scratch kitchen scouring sponge
- Microfiber cleaning cloth
- A pair of basic household rubber gloves
Step-by-Step Guide to Cleaning Your Dispenser Drawer Easily
Let us break down the physical cleaning proccess step-by-step. This method works perfectly for all major appliance brands including Samsung, LG, Whirlpool, Bosch, and Maytag.
Step 1: Locate and Press the Secret Drawer Release Button
If you just pull the drawer outward until it hits the factory stop point and try to scrub it while it is stuck inside the machine, your going to miss ninety percent of the mold. You need to take the entire tray out.
Pull the drawer out completely until it stops. Look down inside the middle fabric softener compartment. On almost every single brand, you will see a small plastic tab labeled “PUSH,” a colored button, or a small release lever.
Press down firmly on that tab with your thumb while gently pulling the drawer toward your body. The entire assembly will slide smoothly out of the machine housing.
Step 2: Disassemble the Internal Plastic Siphon Components
Flip the plastic drawer upside down in your hands. You will notice that the compartments for fabric softener and liquid bleach have small, removable plastic caps or tubes snapped onto them. These are the siphon assemblies.
Gently pry these caps straight off the drawer frame. If they are completely stuck, do not force them with a screwdriver—they are just glued shut by old, dried soap. Run them under hot tap water for two minutes to soften the residue, then snap them off. Removing these pieces exposes the inner channels where mold loves to build its main nest.
Step 3: The Hot Vinegar Soak Bath
Fill your kitchen sink or a clean plastic bucket with a mixture of equal parts hot tap water and distilled white vinegar. Drop the main plastic drawer frame and all the tiny siphon caps directly into the liquid solution.
Let everything submerge and soak undisturbed for at least 20 to 30 minutes. The acetic acid in the white vinegar will chemically break down the calcified soap crust, kill the black mold spores on contact, and neutralize the pungent sour mildew odors completely.
Step 4: Scrub the Hidden Drawer Ceiling Cavity
While the plastic drawer is busy soaking in the sink, turn your attention back to the empty, dark cavity hole left inside the washing machine. Take a flashlight and look straight upward at the ceiling of that dark slot. You will see dozens of tiny plastic holes—this is where the fresh flush water enters. You will likely see thick black mold growing right over those holes.
Spray the ceiling heavily with straight white vinegar from your spray bottle. Let it sit for 10 minutes. Take your old toothbrush and scrub the ceiling vigorously, clearing any hardened soap crust or mold away from the tiny spray jets. Wipe the sides and the floor of the empty cavity housing with your microfiber cloth until the metal and plastic look bright and pristine.
Step 5: Detail Scrub the Main Tray and Caps
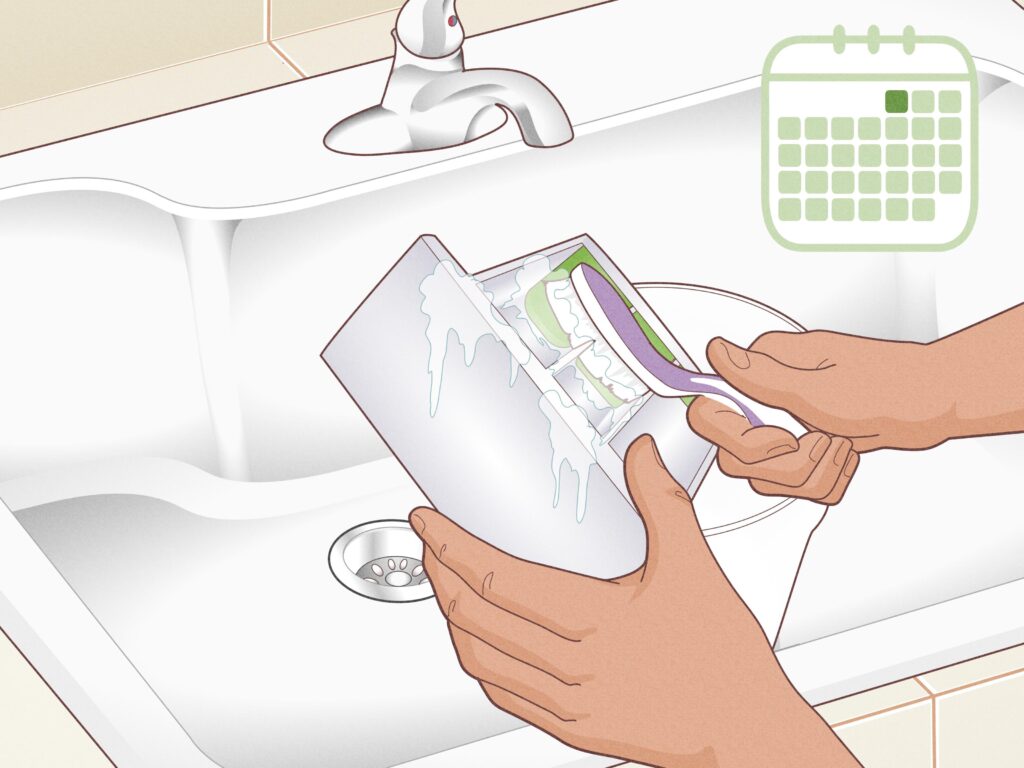
Go back to your soaking sink. The caked-on soap scum should now be soft and gooey. Take your old toothbrush and scrub inside every narrow corner, channel, and groove of the plastic tray.
If there are stubborn, rock-hard mineral spots left behind, sprinkle a teaspoon of baking soda directly onto your wet toothbrush and scrub. The gentle abrasive reaction will polish the plastic clean without scratching it. Pay close attention to the tiny holes on the siphon tubes—ensure they are completely clear of debris. Rinse all parts thoroughly under cold running water.
Step 6: Dry, Reassemble, and Slide it Home
Dry the main drawer and the small siphon caps completely with a clean towel. Snap the siphon caps back onto their matching dispenser tubes inside the drawer compartments.
Align the plastic runners on the sides of the drawer with the tracks inside the machine cavity box. Push the release tab down with your thumb once more and gently slide the entire drawer back into your washing machine. It should slide smoothly without catching.
Proactive Habits to Keep Your Dispenser Clean and Odor-Free
Now that your detergent tray is completely spotless and smells like brand-new plastic, your main focus should be long-term maintanence. You can easily keep this zone clean by adding a few minor adjustments to your daily laundry routine.
- Leave the Drawer Open After Every Wash: Mold requires dark, stagnant, high-humidity environments to grow. When you finish your last load of laundry for the day, pull the dispenser drawer open about two inches. Leaving it slightly ajar allows fresh air to circulate through the cavity, drying out the residual moisture before mold ever has a chance to take root.
- Switch to High-Efficiency (HE) Powdered Detergents: Modern liquid detergents are incredibly thick and packed with synthetic polymers that don’t dissolve easily in cool water temperatures. Powdered HE detergents dissolve much faster and wash cleanly down the main tub hose, leaving far less sticky slime behind inside the plastic tray.
- Stop Overdosing Fabric Softener: Liquid fabric softener is formulated with waxy compounds designed to coat fabric fibers. When you overfill the dispenser past the “MAX” line, it creates a thick, waterproof layer of grease inside the siphon tubes that acts like a magnet for lint and dust particles. Less is always more.
- Run a Monthly Maintenance Cycle: Once a month, pour two cups of distilled white vinegar directly into the empty soap drawer compartments and run a hot water cycle. This regular chemical flush keeps the internal water lines clear of scale and soap dams before they cause an expensive flood.
Recommended Soap Dispenser Maintenance Timeline
To extend the operating life of your unit and save money on component replacements, stick to this simple, technician-approved seasonal schedule:
[After Every Load]  -> [Leave the dispenser drawer slightly open to air dry]
         |
[Once a Month]      -> [Pull the drawer out completely, rinse out loose residue]
         |
[Every 3 Months]    -> [Perform a deep vinegar soak and scrub the cavity ceiling]
         |
[Once a Year]       -> [Inspect the internal main tub delivery hose for clogs]
By maintaining this simple habit, you ensure your water intake assembly runs efficiently without any backpressure, adding years of smooth operation to your home appliance.
Your Go-To Resource for Smart Appliance Savings
Taking care of your major home systems should be simple, stress-free, and incredibly easy on your wallet. With a little bit of technician knowledge and some basic household materials, you can confidently troubleshoot and maintain your laundry setup completely on your own terms.
If you found this step-by-step cleaning blueprint helpful, make sure to bookmark FixNest.xyz right now so you always have a trusted professional manual ready for your next household fix. Don’t forget to subscribe to our monthly newsletter below to receive practical appliance maintenance checklists and money-saving repair tips sent directly to your email inbox.
Did you hit a roadblock while trying to remove a stuck siphon cap from an older machine? Or maybe water is still pooling inside your dispenser box even after a complete ceiling jet clean? Drop a comment down below right now! I read and reply to our community comments personally, and I will help you figure out exactly how to get your machine running perfectly again. Let us get that soap tray clean!