Learn how to clear debris from front load washer pump filter quickly. Stop draining errors, fix loud noises, and save on repair fees!
How to Clear Debris From Front Load Washer Pump Filter: The Complete Technician’s Manual
Look, I get it, appliance maintenance is boring but sitting in front of your washing machine watching an error code flash while your clothes swim in a pool of dirty, stagnant water is ten times worse. You wait for the cycle to finish, but the machine just hums loudly, refuses to spin, and holds your laundry hostage.
Here is the real talk: your drain pump isn’t broken. It is just choked.
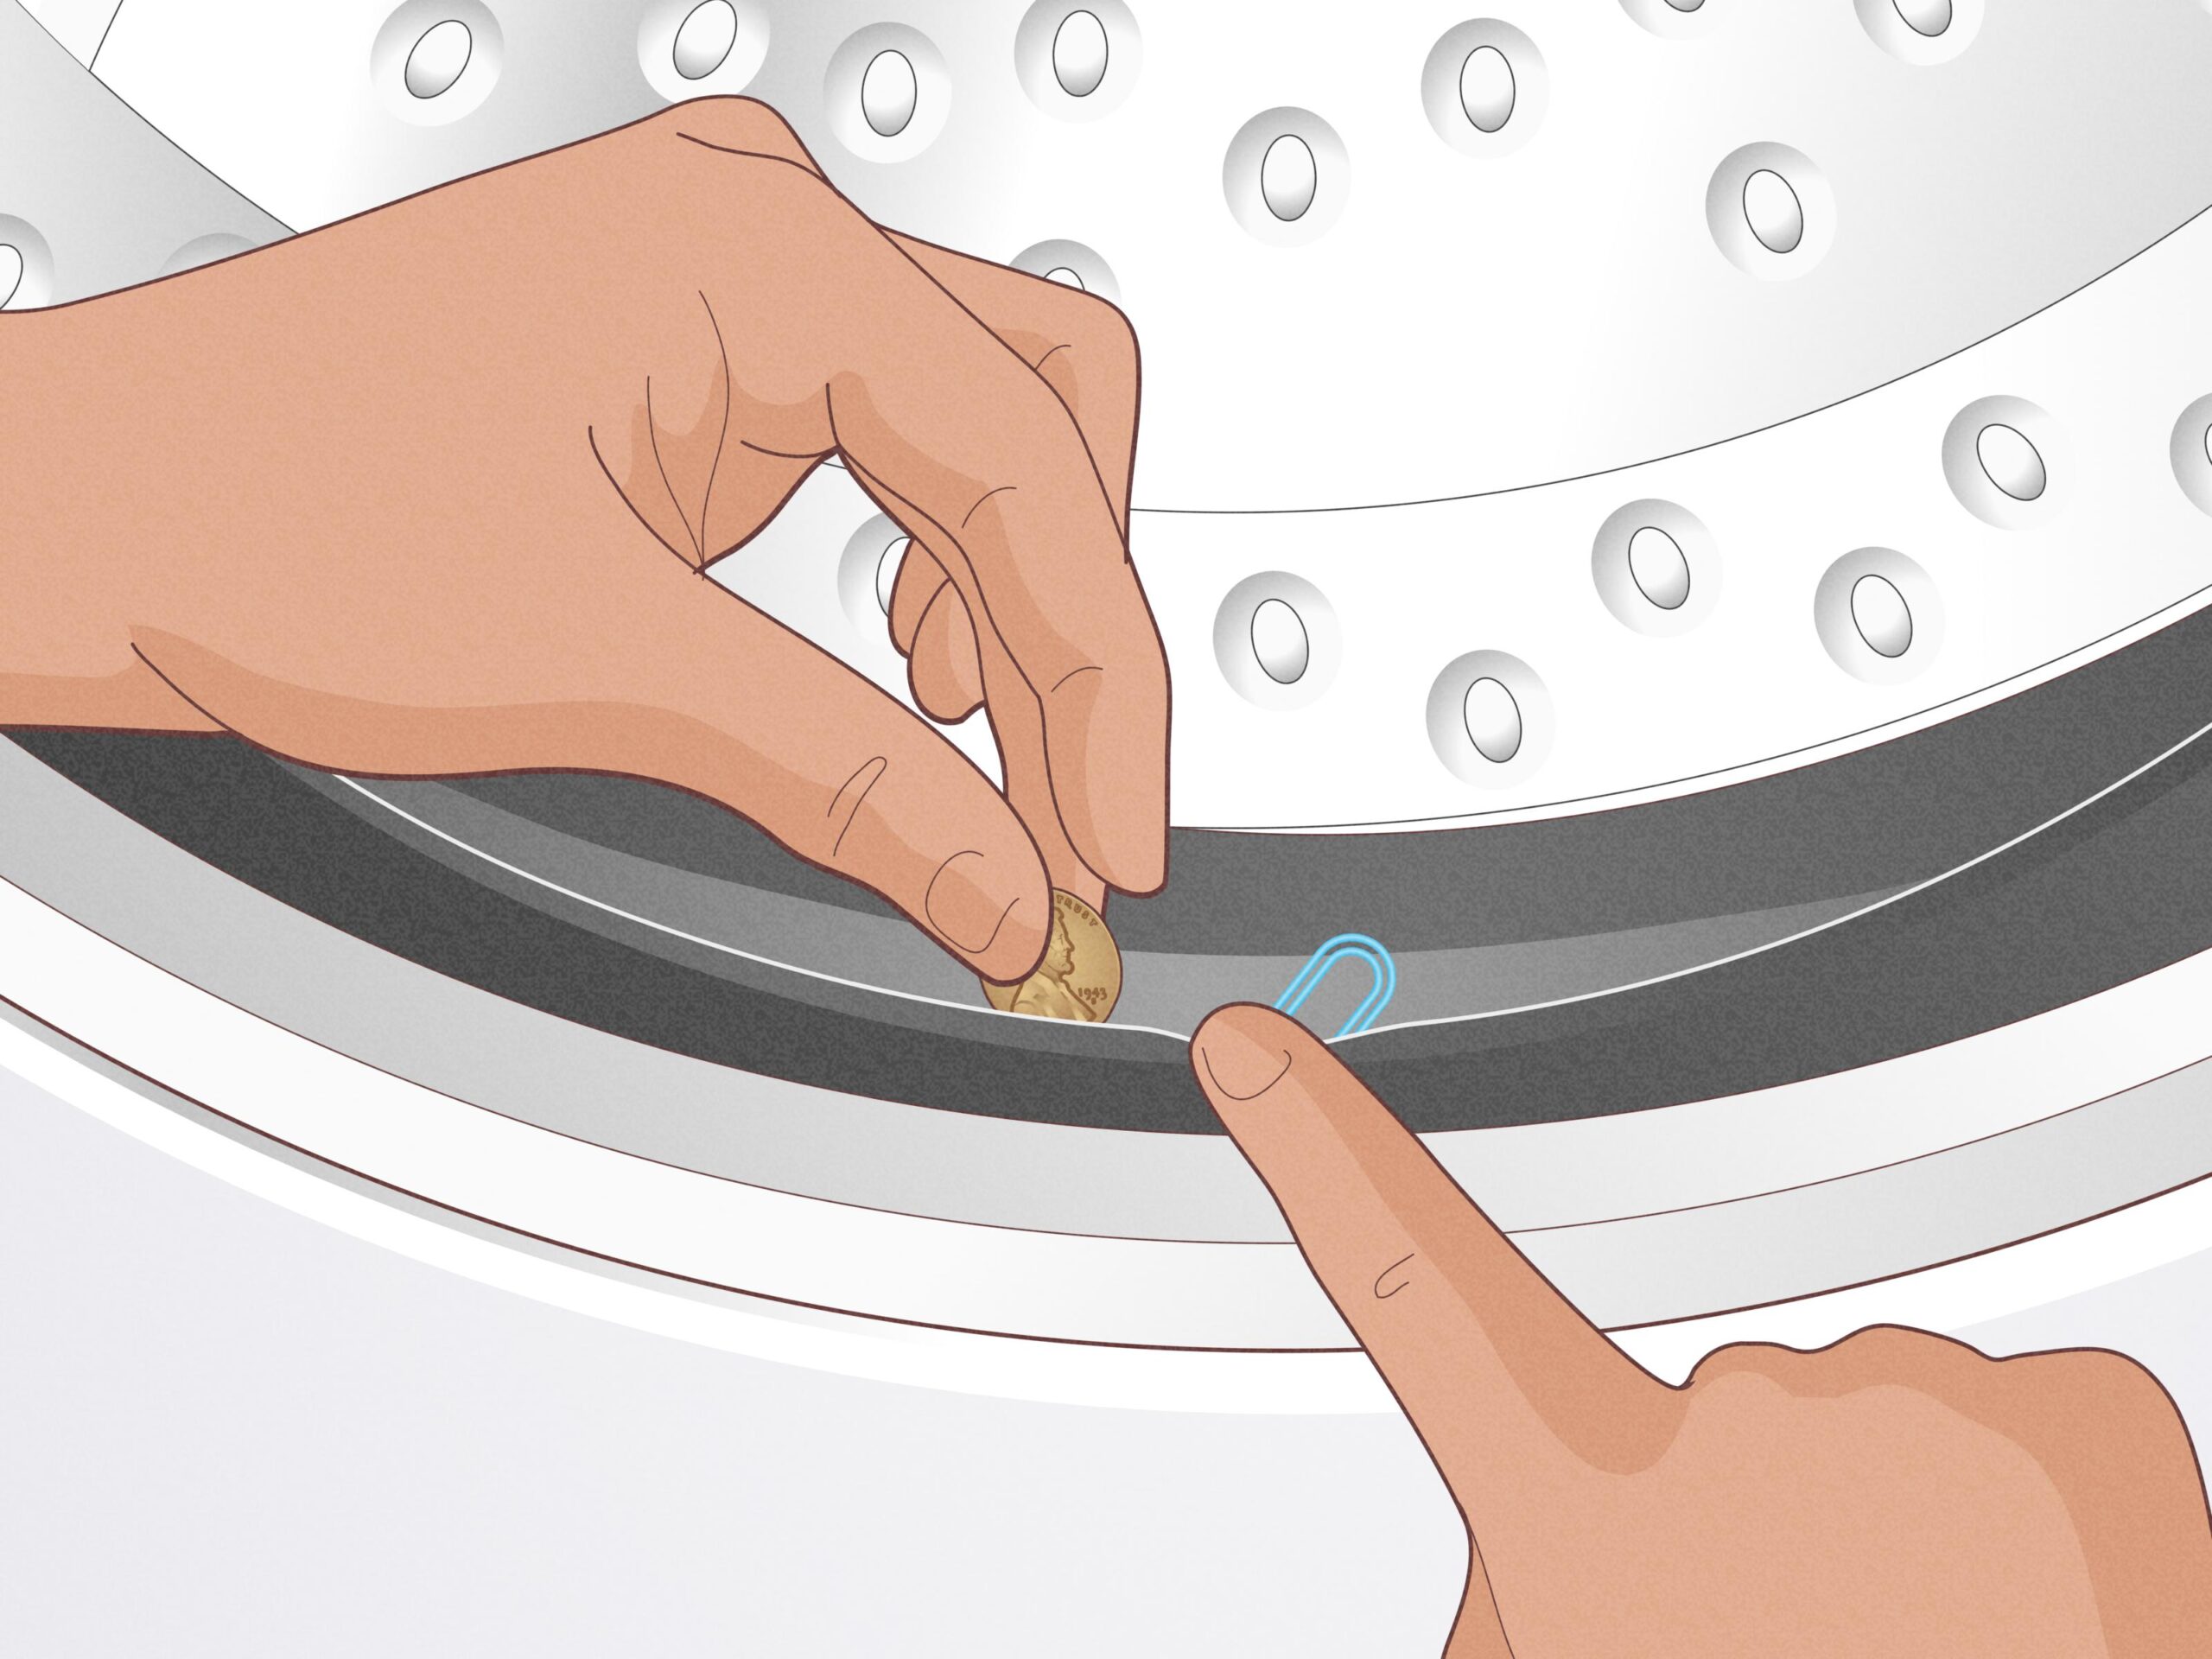
Front-loading washing machines are fantastic at cleaning clothes efficiently, but they have a vulnerable underbelly. To protect the mechanical drain pump propeller from being destroyed, manufacturers install a catch-all basket at the bottom of the unit. Over a few months of heavy laundry cycles, this little basket becomes a graveyard for loose coins, hairpins, guitar picks, stray socks, and a massive, slimy mountain of wet lint. When it fills up completely, water cannot escape.
You do not need to call a plumber or a factory repair technician to fix this. It is a simple, 15-minute job that will save you an easy 150 dollars in diagnostic fees. As a senior appliance technician, I am going to walk you through exactly how to clear debris from front load washer pump filter safely without flooding your utility room. Welcome back to FixNest.xyz, your ultimate DIY headquarters where we break down appliance care into practical, cash-saving blueprints.

Does Your Pump Filter Need Clearing?
Your washing machine will always let you know when its drainage system is suffocating. The problem is that many homeowners mistake these symptoms for a dead motor or a fried computer board.
Before we pull out the tools, review this troubleshooting matrix to see if your washer is crying out for a filter cleaning.
| Machine Symptom | Error Code Examples (LG, Samsung, Whirlpool) | Hidden Root Cause | Urgency Level |
| Water remains in drum at end of cycle | OE, 5C, Sud, F3 E2 | Massive debris plug stopping water flow entirely. | Critical (Do not run again) |
| Loud clicking or rattling during drain | None (Just heavy mechanical noise) | Hard object (like a coin) bouncing against the spinning pump propeller. | High (Can shatter the pump propeller) |
| Clothes come out soaking wet | Ub, UE, E2 | Machine can’t hit high spin speed because it is too heavy with un-drained water. | Medium |
| Severe swamp-like smell from the drum | None (Just bad odors) | Stagnant water and rotting organic material trapped in the filter housing chamber. | Medium |
If you spot any of these red flags, it is time to act. By keeping this filter clear using our guides on FixNest.xyz, your machine won’t have to work under high stress, which dramatically extends the operating lifespan of your water assembly.
The Toolkit: What You Need Before Unscrewing
You do not need any specialized mechanical trade equipment for this proccess. However, because we are releasing trapped water, preparation is key to avoiding a messy cleanup.
Gather these basic items from around your home:
- A flathead screwdriver or a sturdy putty knife (to open the plastic access door)
- A very shallow baking pan, pie dish, or Tupperware container (to catch water)
- Several old towels or rags
- An old toothbrush
- Dish soap and warm water
- A flashlight
- Your safety gloves
Step-by-Step Guide to Clearing Your Washer Pump Filter
Let us walk through the process step-by-step. Make sure you read through every step carefully before you begin unscrewing things, because water is waiting right behind that plastic cap.
Step 1: Disconnect the Electrical Power
Safety first, without exception. Before you get anywhere near the internal components of your appliance, unplug the machine from the wall. If your plug is buried behind a heavy laundry stack, go to your home electrical panel and flip the breaker switch for the laundry room. We are going to be draining water very close to internal wiring, so cutting the power completely is a non-negotiable safety step.
Step 2: Locate and Open the Filter Access Panel
Look at the very bottom front face of your front-load washing machine. You will see a small rectangular or square plastic flap. On some brands like Samsung or LG, this is a distinct little door you can pop open with your finger or by gently prying the top edge with a flathead screwdriver.
On other brands, like certain Whirlpool or Maytag models, there isn’t a decorative door; instead, you may have to unscrew the entire lower toe-kick panel using a couple of Phillips-head screws. Open or remove this panel to expose the pump assembly hidden inside.
Step 3: Set Up Your Water Catch Zone
Once the door is open, you will see a round black or gray plastic screw cap—that is the filter housing plug. But before your hand twists it, look next to it. Most modern machines feature a tiny, flexible rubber hose tucked into a clip right next to the main filter plug. This is your emergency drain line.
Lay your old towels flat on the floor directly beneath the panel. Place your shallow baking pan or Tupperware container on top of the towels, right under that little rubber hose.
Step 4: Drain the Excess Stagnant Water First
Pull the tiny rubber hose out of its retaining clip and guide the end over your shallow dish. Pull the small plastic or rubber stopper out of the tip of the hose. Water will instantly begin pouring out.
If your washing machine drum was completely full of water when it failed, you might fill your shallow dish quickly. If it fills up, pop the stopper back into the hose, empty the dish into your sink, and repeat the process until the water slows down to a gentle drip. Once the line is completely dry, replace the stopper firmly and clip the hose back into its storage slot.
Technician Tip: If your machine is an older model that does not feature this helpful little auxiliary drain hose, you will have to unscrew the main large filter plug very slowly, allowing water to trickle out gradually into your shallow pan rather than bursting out all at once.
Step 5: Unscrew the Main Pump Filter Plug
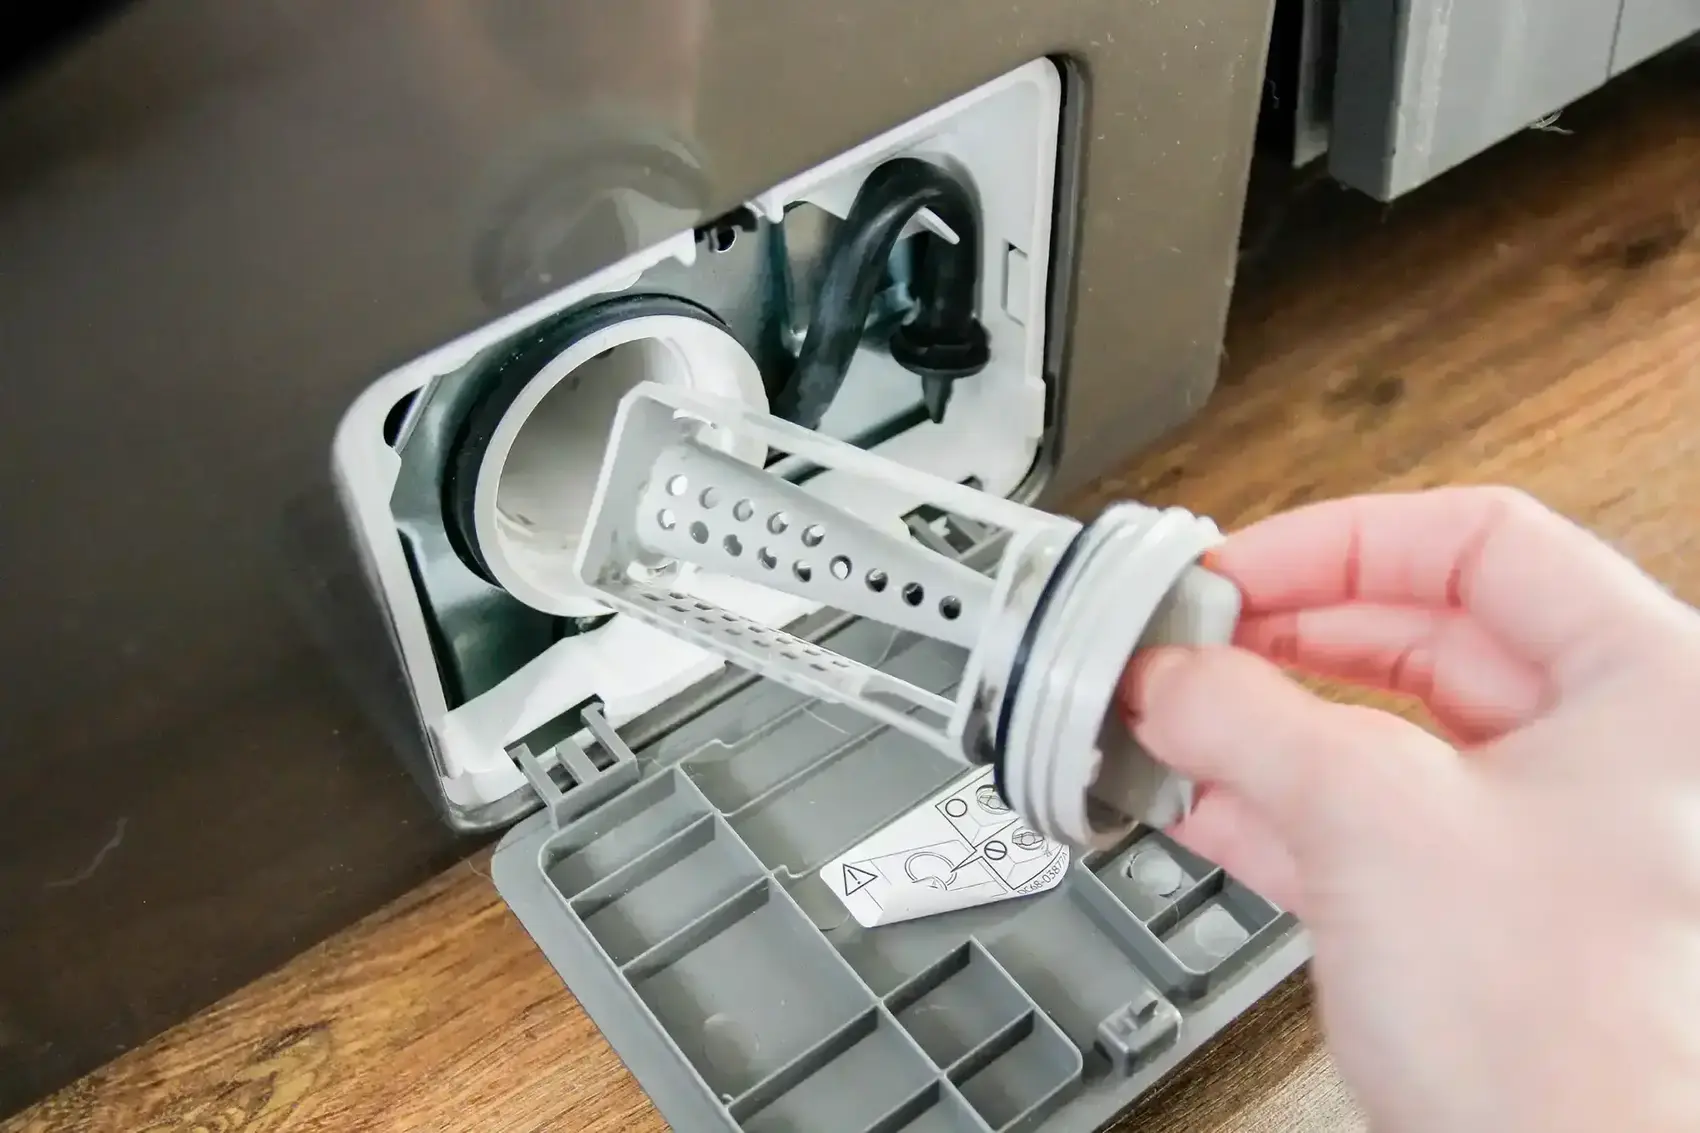
Now that the bulk of the standing water is cleared, place your empty shallow pan directly beneath the large circular filter cap. Grab the plastic handle on the cap and turn it counter-clockwise. It might feel quite stiff if it hasn’t been opened in years, so use a firm, steady grip.
As you unthread the plug completely, a small amount of residual, smelly water will spill out into your pan. Pull the entire plastic filter cylinder straight out of the machine housing slot.
Step 6: Clear the Trapped Debris Field
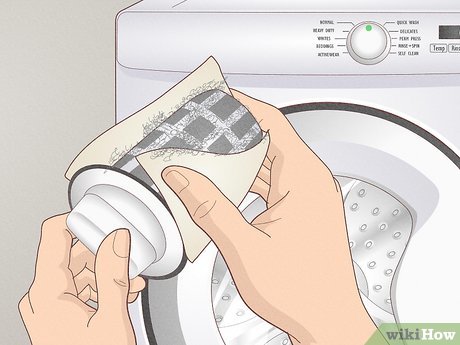
Prepare your stomach—the state of the filter can be pretty shocking. Hold the filter assembly over a trash can. You will likely find a dense wad of slimy wet lint wrapped around coins, buttons, and keys.
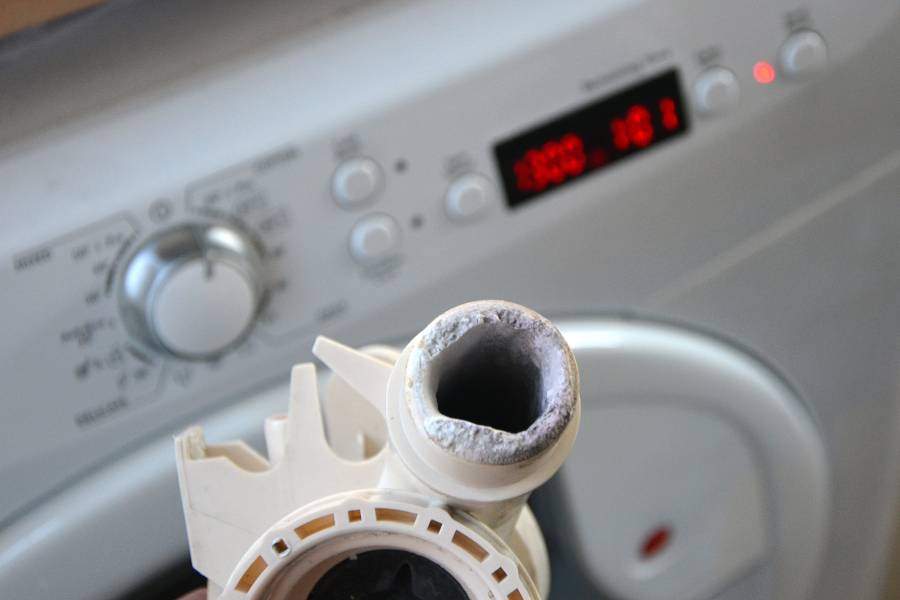
Pull all the large solid items out by hand. Take the plastic filter basket to your utility sink and give it a vigorous scrub with dish soap and your old toothbrush to clear away the slimy biofilm and scale buildup.
Step 7: Inspect the Internal Pump Impeller Cavity
Don’t just clean the filter basket and slide it back in. Grab your flashlight and peer deep inside the empty dark hole where the filter sits inside the machine.
Look at the very back of that chamber—you will see a small plastic fan blade. This is the drain pump impeller. Reach your finger inside (carefully) and give the blades a gentle flick. The propeller should spin freely and smoothly. If it feels jammed or stuck, check to see if a small bobby pin or toothpick has wedged itself behind the blade. If something is blocking that fan from turning, your machine will still throw an error code even with a spotless filter basket.
Step 8: Reinstall and Lock the Filter
Once the interior cavity and the plastic filter basket are completely clean, slide the filter assembly back into the housing slot. Make sure you guide it straight so you do not cross-thread the plastic tracks.
Turn the cap clockwise until it stops spinning and fits perfectly flush against the machine face. Make sure it is twisted tightly to ensure a watertight seal, but do not use tools to force it beyond its natural locking point, or you risk cracking the plastic housing.
Step 9: Power Up and Run a Leak Test
Slide your shallow collection pan back under the filter area, leave the decorative door open, and plug your washing machine back into the electrical wall outlet.
To ensure your seal is perfect, run a quick “Rinse & Spin” cycle while keeping your flashlight trained on the filter cap. If you see even a single drop of water seeping out around the edges, cancel the cycle immediately, unplug the machine, unscrew the cap, check that the rubber O-ring seal isn’t pinched or twisted, and tighten it back down. If it stays bone dry, close the plastic access door—your completely done!
How to Prevent Future Clogs
Now that you know how to clear debris from front load washer pump filter, your goal should be to keep that drainage path clear so you never have to deal with an emergency drain failure again. Preventing these blockages comes down to building a few smart habits:
- Check Every Single Pocket: This is the number one rule of laundry room maintenance. Before you throw jeans, hoodies, or jackets into the wash drum, check every pocket. Leftover coins, screws, keys, and hair clips are the primary items that jam pump propellers.
- Use Mesh Laundry Bags: Small clothing items like infant socks, delicate underwear, and handkerchiefs can easily slip past the rubber door seal during a high-speed spin cycle and travel down into the pump drain line. Wash these small items inside zipped mesh laundry bags to keep them contained.
- Brush Down Pet Bedding: If you are washing blankets or beds belonging to your dog or cat, shake them out thoroughly outdoors or vacuum them before putting them into the front loader. Heavy pet hair forms a dense, felt-like mat inside the pump filter that blocks water movement instantly.
Recommended Laundry System Care Schedule
To keep your entire laundry setup running at peak structural efficiency and avoid stressful, unexpected breakdowns, follow this quick technician-recommended maintenance checklist:
[Every Load]      -> [Check pockets, clear the door seal ring]
       |
[Once a Month]    -> [Run a hot tub clean cycle with vinegar]
       |
[Every 4 Months]  -> [Unscrew and clear debris from the pump filter]
       |
[Once a Year]     -> [Inspect rear water inlet hoses for cracks]
By sticking to this simple preventative routine, you can easily add several years of life to your appliance and keep your utility bills low.
Your Home for Practical DIY Appliance Support
Taking proper care of your household laundry system shouldn’t require handing over your hard-earned money to expensive repair corporations. With the right guide and a little bit of time, you can confidently keep your home running smoothly on your own terms.
If you found this troubleshooting guide clear and helpful, make sure to bookmark FixNest.xyz so you always have a professional technician manual available for your next household repair project. Don’t forget to subscribe to our monthly newsletter below to receive timely maintenance reminders and cash-saving repair tips sent straight to your email inbox.
Did you run into a problem while trying to untwist a stuck pump filter cap? Or maybe your machine is still throwing a drain error code even after a deep clean? Leave a comment down below right now! I check our community comments regularly and will help you figure out exactly how to get your front loader running like new again. Let us get that machine draining perfectly!