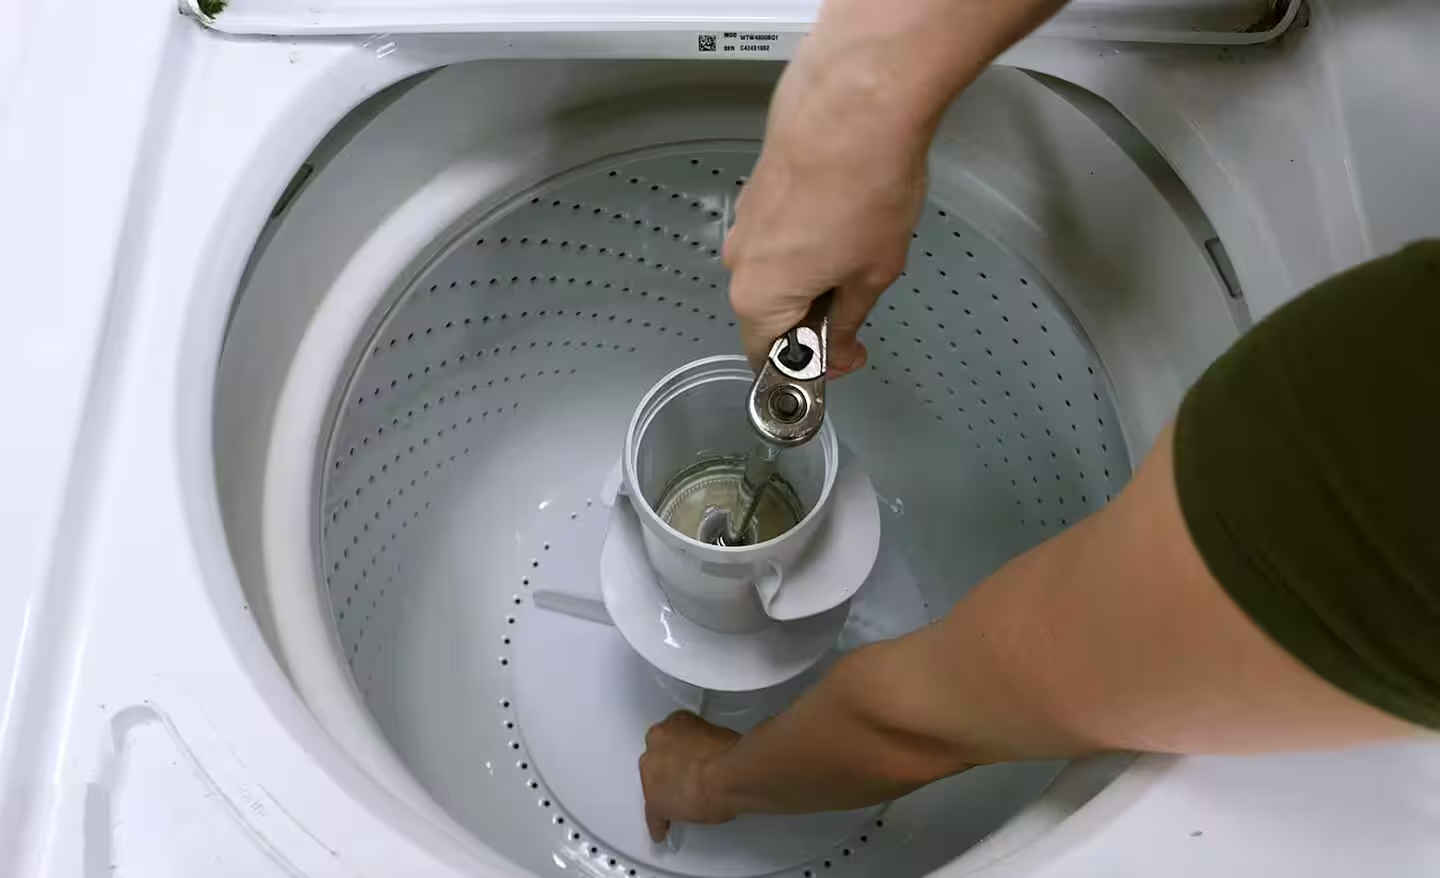
Learn how to clean the agitator on a top load washer easily. Say goodbye to hidden mold, fabric buildup, and laundry odors with our DIY guide!
How to Clean the Agitator on a Top Load Washer: The Ultimate Technician’s Guide
Look, I get it, appliance maintenance is boring but neglecting the very machine that cleans your clothes is a recipe for disaster. You pull your favorite white shirt out of the wash, and instead of a crisp, bright fabric, you notice weird gray streaks, tiny flakes of brown gunk, or a faint mildew smell. You have scrubbed the wash tub and ran cleaning cycles, but the mystery residue keeps coming back.
Here is the real talk: the culprit is almost certainly hiding right in the middle of your machine.
Top-loading washing machines are absolute workhorses, but that tall plastic column in the center—the agitator—is a massive trap for body oils, lint, undissolved detergent, and hard water minerals. Over the years, this mixture builds up inside and underneath the agitator, creating a slimy, hidden breeding ground for bacteria. Every time the machine fills with water, chunks of this old gunk break free and ruin your laundry.
You do not need to replace your washing machine, and you definitely do not need to pay a technician a hefty service fee to tear it apart. As a senior appliance technician, I am going to show you exactly how to clean the agitator on a top load washer using basic household tools. Welcome back to FixNest.xyz, your ultimate DIY headquarters where we help you save cash and extend the lifespan of your home appliances.
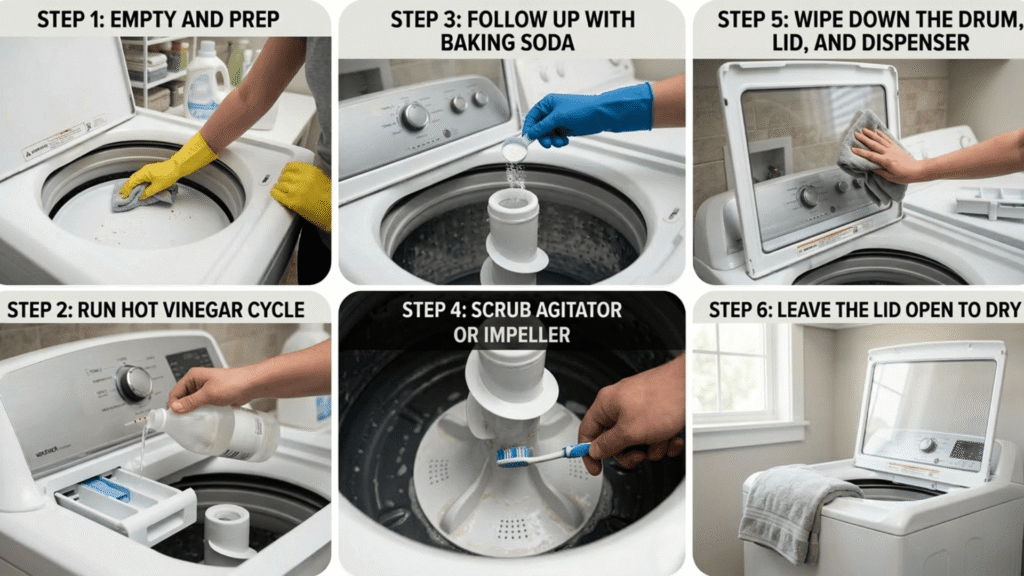
Is Your Agitator Removable or Fixed?
Before we grab our tools, we need to talk about the two main styles of top-load washer agitators. Knowing which one you have determines how we approach the cleaning process.
Dual-Action Agitators
These are standard on most Whirlpool, Kenmore, and Maytag machines. The top half of the column moves independently from the bottom half, often featuring spiral ridges that push clothing downward. These almost always feature a removable top cap that hides a central retaining bolt or a plastic “dust cap.”
Single-Action / One-Piece Agitators
Commonly found on older models or specific budget brands, the entire column is a single solid piece of molded plastic. These are usually held down by a bolt at the very bottom base or are snapped onto a splined drive shaft.
To make things easy, look at this quick diagnostic table to match your washer’s symptoms with the correct deep-cleaning solution.
| Symptom | Hidden Problem | Solution Type |
| Flakes of brown “seaweed” on clothes | Advanced detergent and lint buildup (scrud) under the agitator base. | Requires complete removal and physical scrubbing. |
| Top half of agitator spins freely both ways | Stripped directional dogs (agitator dogs) inside the upper chamber. | Requires removal to replace cheap plastic directional clips. |
| Sour, musty smell inside empty tub | Standing water and soap scum trapped in the center column cavity. | Requires flushing with hot vinegar solution or removal. |
No matter which style is sitting in your utility room, keeping this component clean is vital. By utilizing the free resources on FixNest.xyz, you can keep your laundry routine running smoothly without ever paying for a professional house call.
The Cleaning Toolkit
You likely already have everything required for this job sitting in your kitchen or garage. Before you start, pull together these supplies:
- A flathead screwdriver or a butter knife (to pry off plastic caps)
- A socket wrench set with a long extension rod (usually a 7/16-inch socket is standard for washer bolts)
- An old toothbrush or a long-handled dish brush
- White distilled vinegar
- Baking soda
- A large bucket or your kitchen sink
- Heavy-duty rubber gloves
Step-by-Step Guide to Removing and Cleaning Your Agitator
Let us walk through the physical disassembly and deep-cleaning proccess safely. Make sure the washer is completely empty of water and clothes before starting.
Step 1: Disconnect the Power
Safety first, without exception. Before you put your hands or tools deep inside the washing machine drum, unplug the appliance from the wall outlet. If your plug is buried behind a heavy laundry stack, flip the dedicated breaker switch in your electrical panel. We are dealing with moving mechanical parts and residual water, so cutting the power is non-negotiable.
Step 2: Remove the Fabric Softener Dispenser and Top Cap
Look at the very top of your central agitator column. If your machine has a built-in fabric softener cup, pull it straight up and out. If there isn’t a cup, you will see a flat plastic cap.
Take your flathead screwdriver or butter knife and gently pry up around the edge of this cap until it pops off. Underneath this external cap, you will frequently find a secondary rubber or plastic seal called a dust cap. Pull that out as well to expose the dark interior hollow of the column.
Step 3: Loosen the Retaining Bolt
Peer down into the center of the column using a flashlight. Deep inside, you will see a small hex-head bolt securing the plastic agitator to the heavy metal transmission shaft.
Attach your 7/16-inch socket to your wrench extension rod. Guide the socket down onto the bolt head and turn counter-clockwise to loosen it.
Technician Tip: The bolt doesn’t always need to come all the way out of the hole; once it spins freely and is fully unthreaded from the shaft, you can leave it resting inside the lower plastic housing so you do not drop it down into the outer tub basket.
Step 4: Lift the Agitator Out of the Tub
Place your hands firmly around the bottom base of the plastic agitator. Take a deep breath and pull straight upward with a firm, steady motion. If your machine is older, years of accumulated soap scum might have practically glued the plastic to the metal shaft.
If it feels stuck, gently rock the column side-to-side while pulling upward to break the seal. Once it releases, lift the entire assembly completely out of the washing machine drum.
Step 5: Soaking the Scrud Away
Prepare to be shocked by what the bottom of that plastic column looks like. You will likely see a thick layer of slimy gray or black sludge.
Take the agitator to a large utility sink or tub. If your agitator is a two-piece dual-action style, you can pull the top half apart from the bottom half by pulling them in opposite directions to expose the small plastic directional “dogs” inside.
Fill your bucket or sink with hot water and add two cups of white distilled vinegar. Submerge the plastic components and let them soak for at least 30 to 45 minutes to loosen the calcified mineral deposits and old detergent crust.
Step 6: Scrubbing and Cleaning the Shaft
While the plastic parts are soaking, go back to your open washing machine. Look at the exposed metal drive shaft and the circular floor of the stainless steel or porcelain tub basket where the agitator used to sit. It will likely be coated in slime.
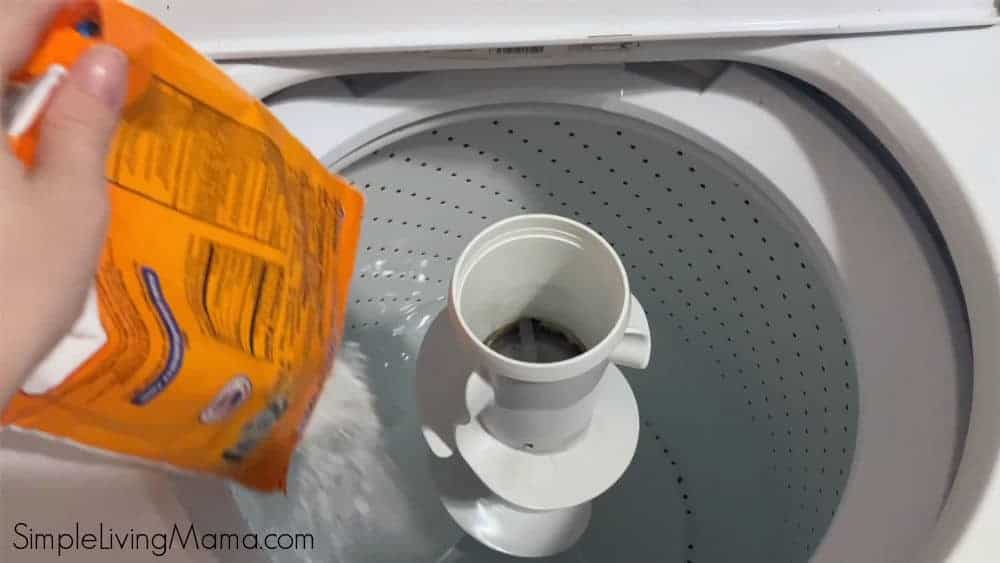
Sprinkle a generous amount of baking soda over the area, then spray it with vinegar. Take your toothbrush or dish brush and scrub the tub floor and the metal splines on the drive shaft until the metal gleams. Wipe away the loosened sludge with a damp microfiber cloth.
Step 7: Manual Scrub of the Agitator Parts
Go back to your soaking agitator. Take your long-handled brush and scrub the inside cavity of the column, the outer fins, and the entire underside base plate. The old soap deposits should slide off effortlessly after the vinegar soak. Rinse everything thoroughly with clean, warm water until the plastic looks like new and smells completely neutral.
Step 8: Reassembly and Testing
Once everything is sparkling clean, slide the bottom half of the agitator back down over the metal drive shaft splines, ensuring it seats completely flat against the bottom of the wash basket. Drop the top half back into place if you took it apart.
Drop the hex bolt back down the center hole and tighten it firmly with your socket wrench. Do not overtighten it to avoid cracking your plastic threads, but make sure it is snug enough that the column cannot wobble.
Pop the plastic dust cap and top decorative cover back into place, plug your washing machine back into the wall, and your ready to roll.
Maintaining a Fresh Laundry System
Now that you know how to clean the agitator on a top load washer, your goal should be prevention. You don’t want to have to pull your machine apart every couple of weeks just to keep your clothes clean. Implementing a few smart, structural changes to your laundry habits will prevent slime from building up again.
- Ditch Excess Liquid Detergent: Modern laundry detergents are highly concentrated. Using too much soap doesn’t make your clothes cleaner; it just leaves behind a thick coating of unrinsed chemicals inside your machine components. Always measure your soap, and never fill it past the recommended line.
- Run Monthly Hot Maintenance Washes: Once a month, run an empty wash cycle on your machine’s hottest setting with two cups of white vinegar or a dedicated washing machine cleaning tablet. This hot wash dissolves surface residue before it can migrate down under the agitator base.
- Leave the Lid Open: Mold and bacteria thrive in closed, dark, humid spaces. When your laundry day is done, leave the washer lid completely open to allow fresh air to circulate and dry out the internal drum completely.
Long-Term Top-Load Washer Maintenance Schedule
To maximize your appliance efficiency and avoid unexpected repair bills, stick to this simple technician-recommended checklist:
[Every Load]      -> [Leave washer lid open to air-dry completely]
       |
[Once a Month]    -> [Run hot tub-clean cycle with vinegar or cleaner tablet]
       |
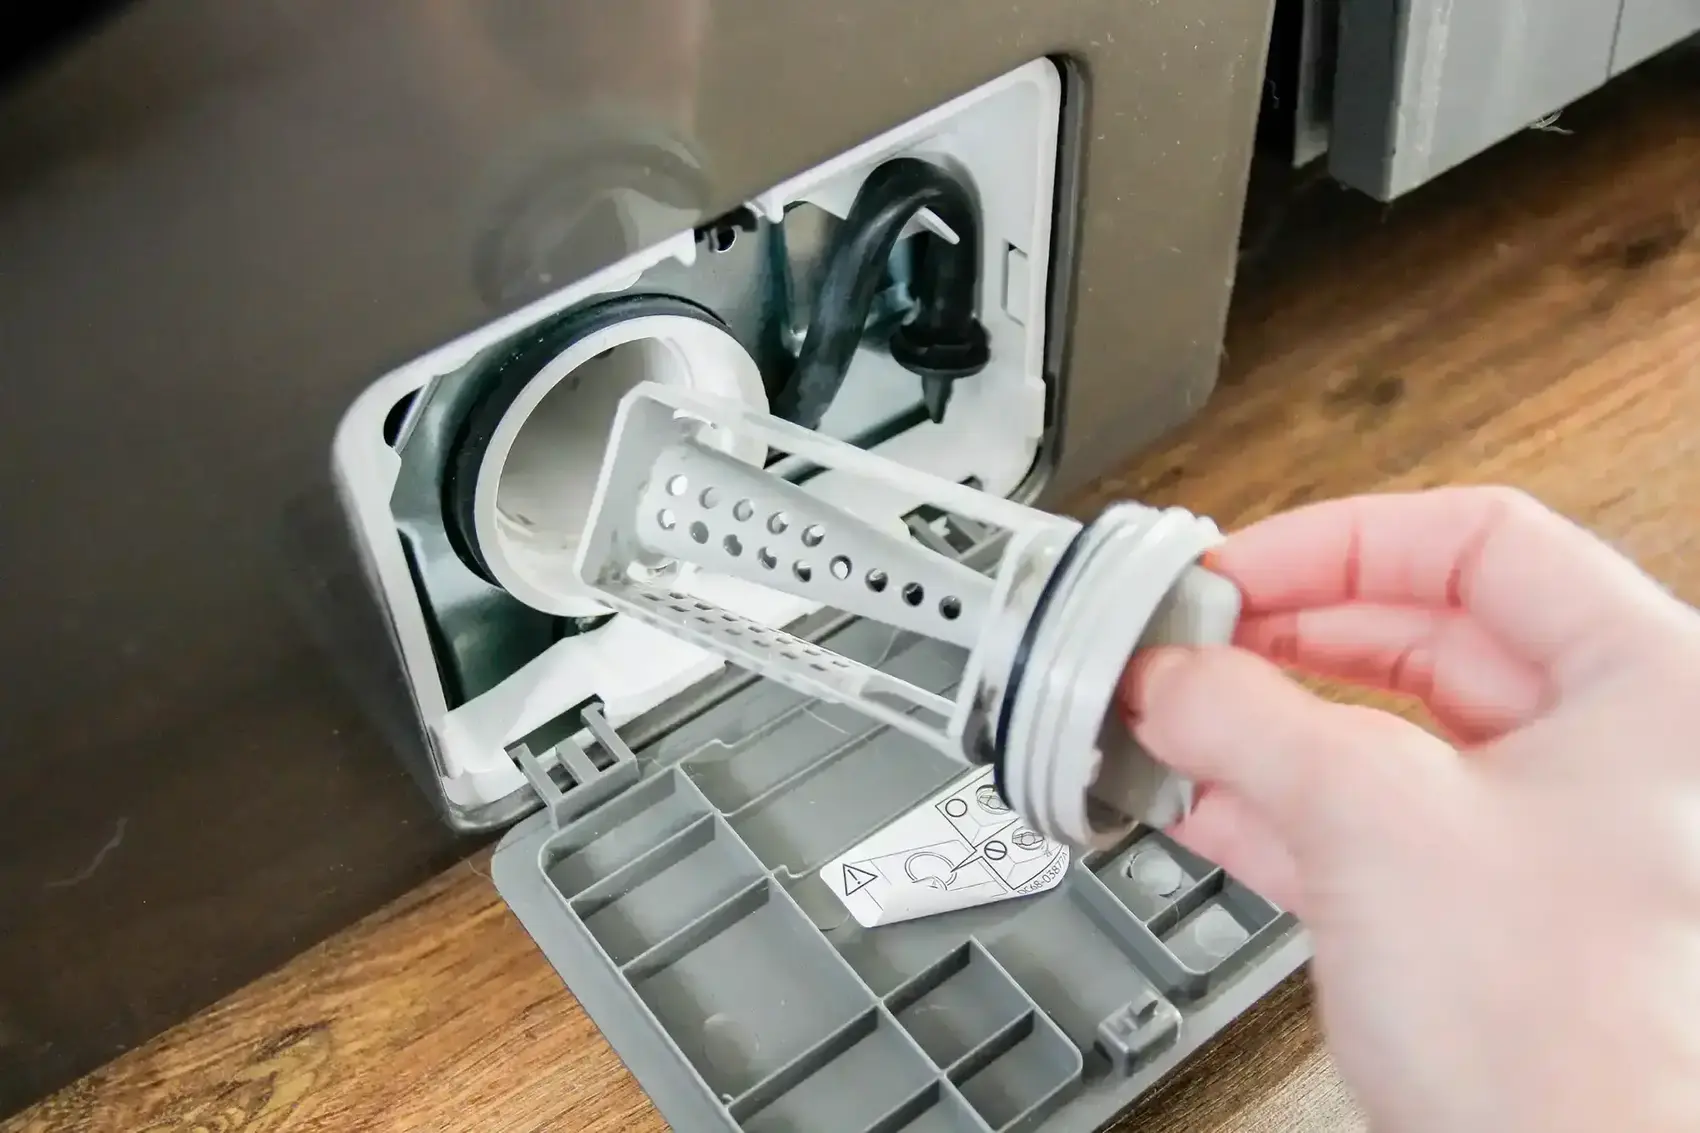
[Every 6 Months]  -> [Inspect internal drain pump filter for coins/debris]
       |
[Once a Year]     -> [Pull the agitator for a deep structural scrub]
By sticking to this simple timeline, you can easily add five to ten years to the lifespan of your washing machine’s water pump, drive coupling, and mechanical seals.
Your Trusted Manual for Appliance Savings
Keeping your household running smoothly shouldn’t mean handing your hard-earned money over to repair companies for simple maintenance tasks. With a little bit of time and the right guide, you can handle these fixes on your own terms.
If you found this breakdown empowering, make sure to bookmark FixNest.xyz so you always have an expert-led technician blueprint available for your next household repair project. Don’t forget to subscribe to our monthly newsletter below to receive timely maintenance checklists and seasonal appliance tips delivered straight to your inbox.
Did you run into a problem trying to loosen a rusted central bolt? Or maybe your cap won’t pop off your specific brand of washer? Leave a comment down below right now! I check our community comments regularly and will help you figure out how to get your machine working perfectly again. Let us get your clothes smelling fresh!