Discover simple ways to clean dust out of baseboard heaters at home. Stop burning smells, boost heating efficiency, and save money on your bills.
Simple Ways to Clean Dust Out of Baseboard Heaters
Look, I get it, appliance maintenance is boring but when the first chilly evening of autumn hits and your heating system kicks on, smelling a terrible burning odor is a quick way to panic. Baseboard heaters are fantastic, low-profile zones for keeping individual rooms warm and cozy. But because they sit directly at floor level, they act like absolute magnets for floating dust bunnies, shedding pet fur, loose carpet fibers, and stray dirt.
Here is the real talk: when those metal heating fins inside the unit get coated in a thick layer of grime, it acts like a thermal blanket. Your heater has to run significantly longer to warm the room, driving up your winter electric bills and putting unnecessary stress on the heating elements. You do not need to call a high-priced HVAC technician or an electrician just to clear out some household dust.
At FixNest.xyz, we believe you shouldn’t have to spend a fortune on professional repairs or basic service calls. Learning a few simple ways to clean dust out of baseboard heaters is a fast, safe, and highly effective DIY task that will improve your indoor air quality, eliminate that classic “burnt dust” smell, and keep your heating system running at maximum efficiency. In this comprehensive guide, we will break down how these heaters accumulate dirt, compare the best cleaning methods, and walk you through a foolproof step-by-step proccess to clean them safely.
Why Baseboard Heaters Are Absolute Dust Magnets
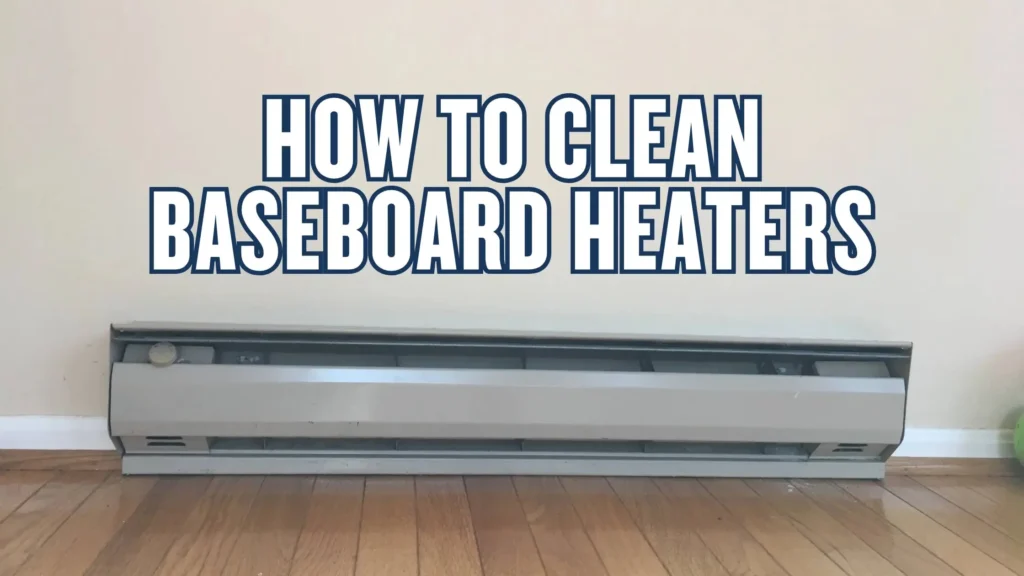
To clean these units properly, it helps to understand how they operate. Most residential baseboard heaters work via natural convection. Cold air from the floor enters through the bottom slot of the metal housing, passes over a series of hot aluminum fins wrapped around a central heating element, warms up, and exits out through the top vent.
Because this process creates a continuous, passive loop of moving air right along your floors, any debris drifting nearby gets pulled directly into the unit. Over a few months of heavy winter operation, this constant cycle creates several distinct issues:
The Burning Smell: When dust settles directly onto a super-hot heating element, it literally cooks, releasing a distinct singed odor into your living room or bedroom.
Reduced Heat Output: Thick dust insulation stops the aluminum fins from radiating heat efficiently into the air currents.
Allergy Flare-ups: Instead of clean warmth, your heater begins gently broadcasting toasted allergen particles back into your breathing zone.
Taking twenty minutes to clean your units before the heavy winter weather settles in will keep your home smelling fresh and your utility bills perfectly in check.
Comparing the Best Tools for the Job
There are a few different strategies you can use to dislodge deep debris from behind the metal covers. Depending on what equipment you have stored in your utility closet, choose the tool combination that fits your setup.
Baseboard Heater Cleaning Equipment Guide
Cleaning Method
Best Used For
Pros
Cons
Vacuum with Crevice Tool
Daily maintenance; loose dust bunnies and surface fur.
Quick, zero mess, pulls dust completely out of the room.
Cannot reach behind tightly fitted back plates or cut sticky grime.
Compressed Air / Canister Duster
Deep, compacted dust lodged deep between fragile aluminum fins.
Reaches impossible angles; incredibly fast dislodgement.
Blows dust out into the room; requires immediate vacuum cleanup.
Soft Paintbrush / Pastry Brush
Sticky dust films, cooking grease, or pet dander stuck to fins.
Safe for fragile metal; precise physical cleaning.
Takes a bit more time; requires manual sweeping motion.
Damp Microfiber Cloth
Exterior metal housing, louvers, and front faceplates.
Removes scuffs and sticky stains completely.
Danger: Cloth must never touch internal electrical components if wet.
Technician’s Warning: The aluminum fins inside your baseboard heater are incredibly soft and paper-thin. If you shove a rigid tool, a wire brush, or a stiff metal vacuum nozzle aggressively into the fins, you will bend them flat. Bent fins block the convective airflow completely, rendering that section of the heater useless. Always use a gentle, vertical brushing motion when cleaning.
Step-by-Step Guide: Simple Ways to Clean Dust Out of Baseboard Heaters
Before you begin, grab your vacuum cleaner, a flashlight, and a soft brush. Follow these steps carefully to ensure a deep, safe clean.
Step 1: Turn Off the Power at the Main Breaker
Safety is always the number one rule here at FixNest.xyz. Electric baseboard heaters run on high-voltage currents (usually 240 volts) that can cause severe shocks if you touch a live wire with a brush or tool. Do not just rely on turning the wall thermostat down to zero. Head directly to your home’s main electrical breaker panel, locate the circuit breakers labeled “Baseboard Heat” or “Heaters,” and flip them completely to the OFF position. Use a flashlight to verify that the internal heating elements do not glow when you temporarily turn the thermostat up.
Step 2: Let the Unit Cool Down Entirely
If the heater was running recently, those metal fins can reach blistering temperatures. Wait at least 30 to 45 minutes after shutting off the breaker before touching the unit. Attempting to clean a hot element can burn your fingers or melt the plastic bristles on your vacuum attachments.
Step 3: Remove or Open the Front Access Panel
Most modern baseboard heaters feature a removable front faceplate cover. Look along the bottom edge or ends of the metal housing. Some models utilize simple metal tension clips that allow you to gently pull the front panel forward and snap it off. Older models might use a few small retaining screws along the frame. Carefully remove the screws, slide the front cover away, and set it on an old towel. If your cover is permanently welded to the frame, your will have to clean through the upper and lower slot openings using narrow attachments.
Step 4: Vacuum the Heavy Debris Accumulation
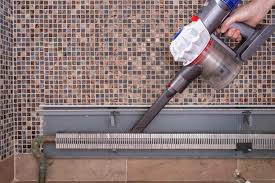
Attach the narrow crevice tool or the soft upholstery brush to your vacuum cleaner hose. Start by vacuuming the floor directly underneath and behind the heater assembly. Next, hover the nozzle over the aluminum fin array, working systematically from one side of the heater to the other. Move the vacuum attachment in a steady up-and-down motion matching the vertical orientation of the fins to avoid bending them.
Step 5: Brush Away Stubborn, Sticky Grime
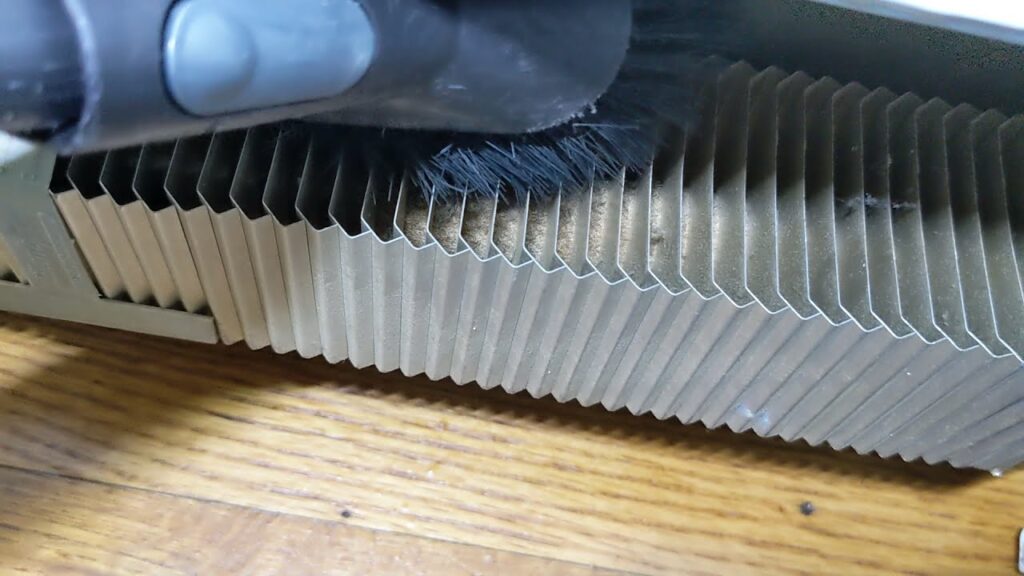
If you have indoor pets or cook frequently, a sticky layer of dander and grease will hold onto dust even under strong vacuum suction. Take a clean, dry 2-inch paintbrush or an old toothbrush and gently swipe down between the individual fins. Keep your vacuum nozzle running right next to your brush to catch the debris as it falls away, preventing it from settling back onto your clean floors.
Step 6: Use Compressed Air for Deep Blockages
If you look behind the heating element with a flashlight and spot large clumps of dust jammed deep against the back wall, grab a can of compressed air or a portable electric duster. Direct the nozzle down into the top slots and give it short, sharp bursts of air. The pressure will blast the hidden dust bunnies straight out through the bottom opening. Immediately vacuum up the loose debris before it drifts away into the room air supply.
Step 7: Wipe Down the Exterior Metal Shell
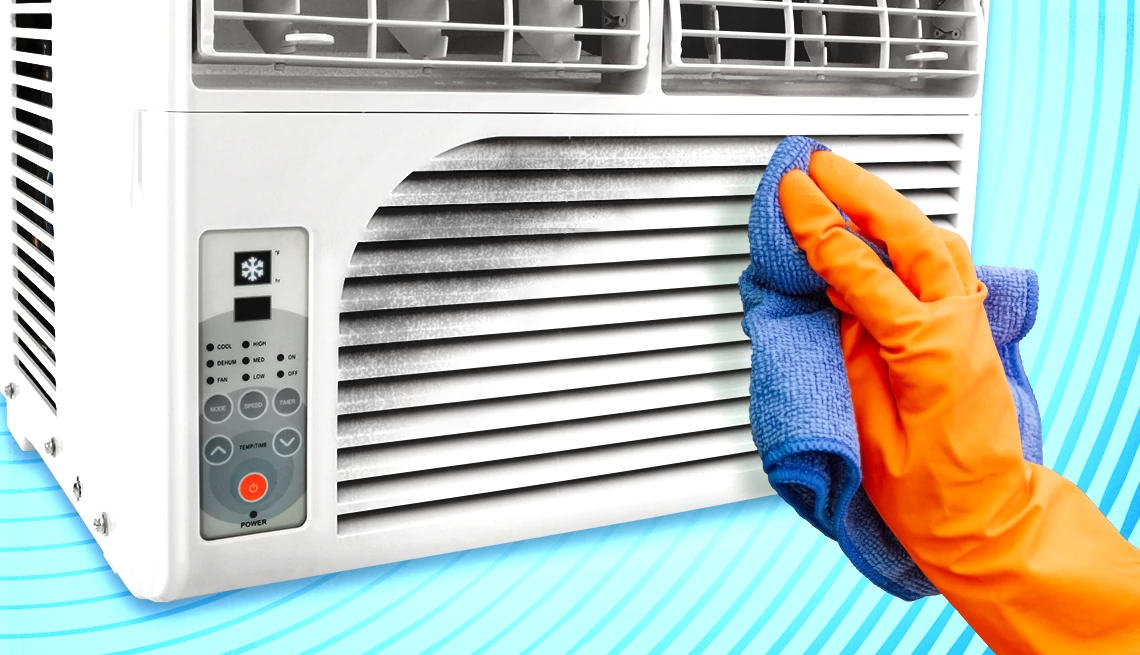
Take a microfiber cloth and dip it into a bucket of warm water mixed with a few drops of mild liquid dish soap. Wring the cloth out thoroughly until it is barely damp—never allow water to drip inside the electrical end boxes or onto the heating element wires. Wipe down the interior and exterior surfaces of the metal front cover you removed in Step 3 to clear away any scuffs, dust trails, or spiderwebs.
Step 8: Reassemble, Restore Power, and Test
Once the front metal panel is completely dry, snap or screw it securely back onto the main heater chassis. Head back to your electrical panel and flip the circuit breakers back to the ON position. Turn your wall thermostat up to your desired temperature. Stand over the unit for a few minutes; you should feel a clean, smooth wave of heat rising from the top louvers without any trace of a burnt, smoking scent.
Troubleshooting Common Baseboard Heater Complications
If your units are completely free of dust but still behaving strangely as winter sets in, look at this quick troubleshooting matrix to find your solution.
Baseboard Heater Troubleshooting Matrix
Observation
Potential Root Cause
Corrective Action Plan
Heater produces a clicking or banging noise when heating up.
Normal thermal expansion as the metal elements heat up and rub against the casing.
Turn off power and check the plastic spacers along the mounting brackets. If the metal housing screws are screwed in too tightly to the drywall, loosen them by a quarter turn to allow the metal room to flex.
The unit remains cold even when the thermostat is set to high.
A tripped safety limit switch, a blown thermal fuse, or a bad thermostat connection.
Verify the breaker isn’t tripped. Many units feature an internal high-limit safety cut-out that triggers if a heavy blanket or curtain blocks the vents. Clear any blocks and allow the unit to reset.
Scorch marks appearing on the wall directly above the heater.
Airflow is restricted at the bottom intake slot, or the heater is operating at an unsafely high temperature.
Check your carpet thickness. If plush carpet is blocking the lower intake gap, trim the carpet back or elevate the heater frame to restore critical convective airflow.
Part of the heating element is warm, but one section stays cold.
The internal electrical element heating wire has broken or burnt out in that specific zone.
The element is failing and requires total replacement. Turn off the main breaker and consult a professional electrician or order a matching replacement element insert.
Simple Habits for Season-Long Performance
Consistency is the absolute secret sauce to keeping your home comfort gear running for decades. Get into the routine of running your vacuum crevice tool along the lower slot of your baseboard heaters every single time you clean your floors. This simple five-second habit stops dust from forming a thick crust on the internal assembly in the first place.
Additionally, pay attention to your furniture placement. Never push a couch, bed, or heavy dresser directly flush against a baseboard unit. Not only does this trap the heat behind your furniture, creating a serious fire hazard, but it also creates a stagnant air pocket that accelerates dust accumulation. Maintain at least a 6-inch clearing perimeter around the entire length of the heater box to ensure optimal airflow and easy maintanence access.
Wrap Up and Next Steps
Keeping your home warm and efficient throughout the cold season doesn’t have to break your household budget. By utilizing these simple ways to clean dust out of baseboard heaters, you keep your system breathing freely, completely erase annoying burning odors, and protect your home from unnecessary energy waste. Taking matters into your own hands is exactly what being a smart homeowner or renter is all about.
Whenever you find yourself scratching your head over a temperamental home appliance or a confusing repair routine, remember that FixNest.xyz is your go-to resource for homeowners looking to extend the lifespan of their appliances and save money on repairs. We deliver the straightforward instructions and tech specs you need to conquer your household chores with complete confidence.
If you love saving money on home maintenance and want to stay on top of your seasonal checklists, go ahead and subscribe to our newsletter for your monthly dose of practical appliance upkeep reminders sent directly to your inbox. Did you run into an unexpected issue while trying to pop the front cover off your specific heater model, or is your unit still clicking loudly after a deep clean? Leave a comment down below with your setup details, and we will help you figure out your next move!