Learn how to clear a clogged AC condensate drain line yourself. Stop water leaks, prevent mold, and save money on HVAC repair calls.
How to Clear a Clogged AC Condensate Drain Line Yourself
Look, I get it, appliance maintenance is boring but discovering a giant pool of water leaking from your indoor AC unit onto your clean drywall or basement floor is a fast way to ruin your weekend. When your air conditioner is running, it does a fantastic job of pulling moisture out of the air. But all that water has to go somewhere. When the tiny pipe designed to carry that water away gets choked with slime and algae, things get messy quickly.
Here is the real talk: calling an HVAC technician to clear a backup can easily run you $150 to $250. It is a frustrating expense, especially when the solution requires zero advanced tools and takes less than thirty minutes of your time.
At FixNest.xyz, we are dedicated to helping homeowners and renters handle these exact scenarios, allowing you to fix your household appliances without spending a fortune on professional repairs. Learning how to clear a clogged AC condensate drain line yourself is a straightforward weekend project that will keep your home dry, protect your equipment, and save you cash. In this comprehensive guide, we will break down why these lines clog, how to spot the warning signs, and the exact step-by-step proccess to clear the line safely.
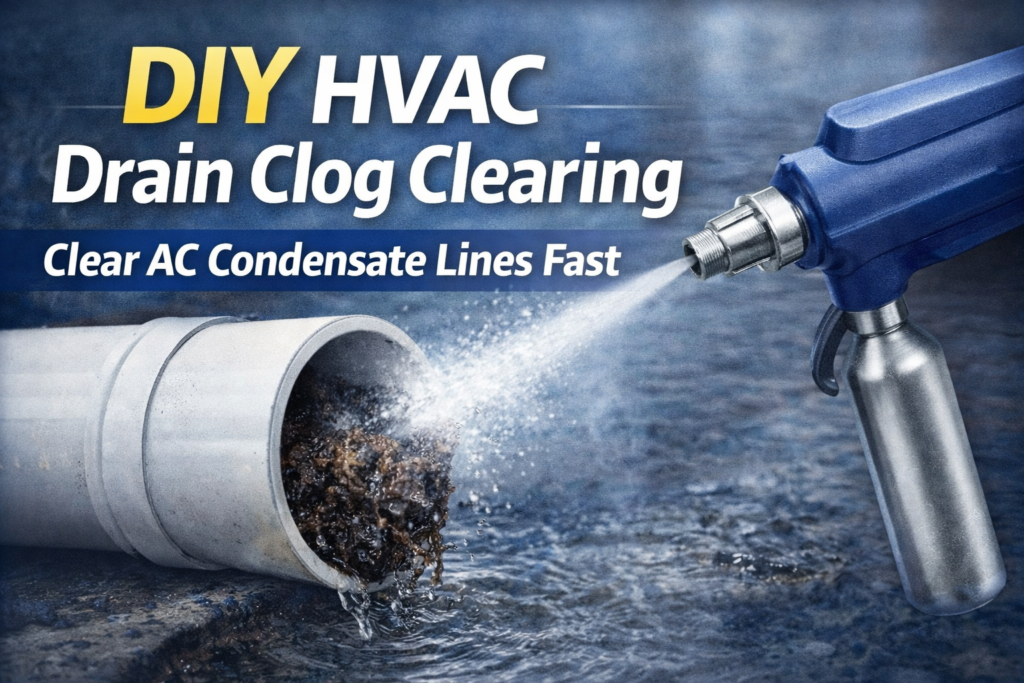
What is an AC Condensate Drain Line and Why Does It Clog?
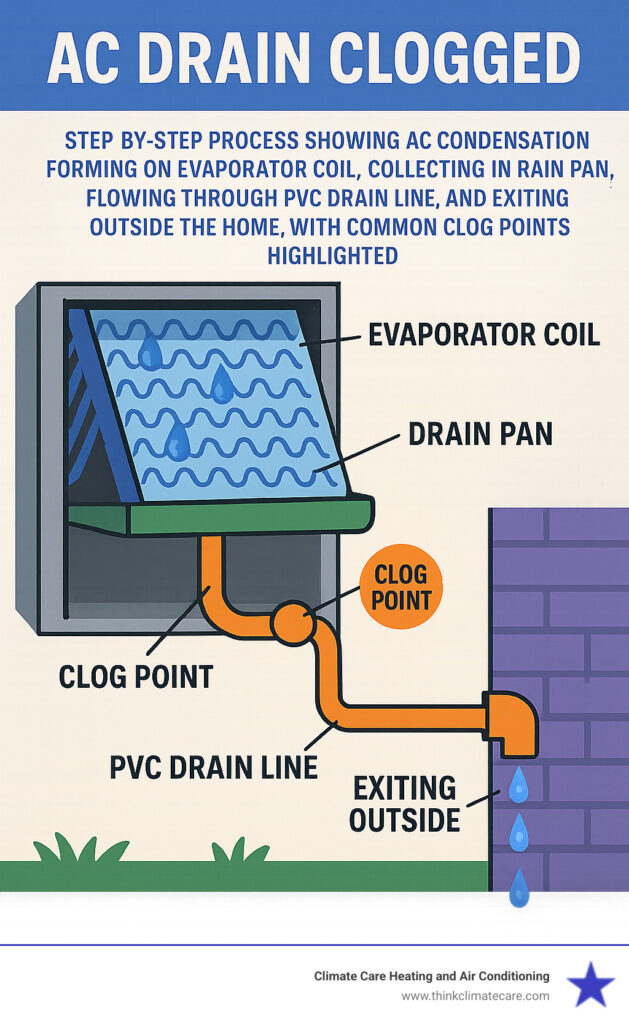
Your air conditioner’s indoor component houses a freezing cold evaporator coil. As warm air from your home passes over this coil, moisture condenses on the metal surface—just like water droplets forming on the outside of an iced glass on a hot summer day.
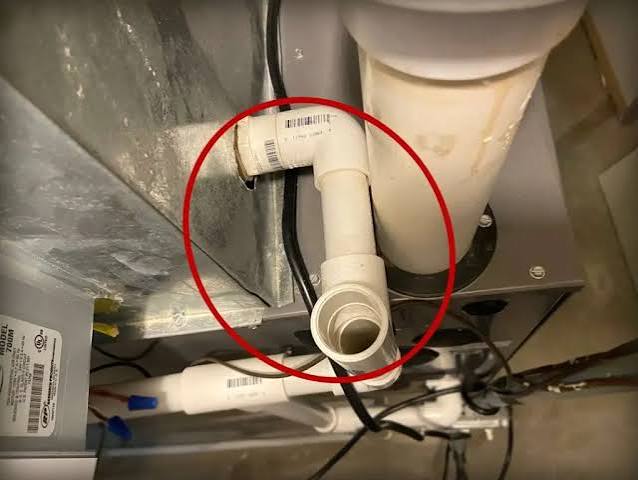
This water drips down into a plastic collection pan beneath the coil, known as the condensate drain pan. From there, gravity pushes the water down a narrow PVC pipe (the condensate line) that exits out through an exterior wall or drains directly into a floor drain.
Because this dark, damp PVC pipe is constantly filled with warm water and microscopic dust particles, it creates the absolute perfect breeding ground for:
- Algae and mold spores
- Bacterial slime (often looking like a thick jelly)
- Dust, pet dander, and lint bypass
- Insects or small critters crawling up from the outside exit hole
Over time, this organic gunk builds up until the pipe is completely blocked. When the water has nowhere left to go, it overflows the drain pan and spills into your home.
Spotting the Signs of a Blocked Drain Line
Catching a clog early can mean the difference between a simple cleanup and a multi-thousand-dollar mold remediation project.
If your air conditioner features a modern safety mechanism called a float switch, it will automatically shut your entire system down the moment water rises too high in the pan. If your AC suddenly stops running on a hot day and your thermostat screen goes completely blank, a tripped float switch is a prime suspect.
If your system is older and lacks a safety switch, you will have to rely on visual cues. Keep an eye out for water pooling around the base of your indoor furnace or air handler, damp spots on nearby drywall, or a musty, mildew-like odor coming directly out of your air vents when the system kicks on.
Comparing Your Clearing Options: Which Method is Best?
There are a few different ways to tackle a clogged pipe. Depending on what tools you already have floating around in your garage, choose the method that works best for your situation.
Condensate Drain Line Clearing Methods
| Method | Best For | Difficulty Level | Tools Required |
| Wet/Dry Shop Vacuum | Heavy, stubborn clogs jammed deep inside the PVC pipe. | Easy | A standard shop vac and duct tape or a rag. |
| Flushing via T-Pipe (Vinegar/Water) | Routine maintanence and minor, soft algae blockages. | Very Easy | Distilled white vinegar, funnel, and warm water. |
| Handheld Drain Snake / Brush | Clogs located right at the mouth of the drain pan or the exit point. | Moderate | Flexible wire brush or a small plumbing snake. |
| Compressed Air / Co2 Blaster | Instant clearing of dense, hard-packed blockages. | Advanced | Specialized HVAC Co2 cartridge gun. |
Technician’s Warning: Avoid using harsh, store-bought chemical drain cleaners (like Drano or Liquid-Plumr) inside your AC condensate line. These chemicals generate intense heat and use highly corrosive formulas designed for heavy porcelain and metal plumbing. They can easily melt or crack your thin PVC drain lines, destroy the plastic drain pan, and create toxic fumes that get sucked right into your home’s air supply. Stick to natural solutions like vinegar or physical suction.
Step-by-Step Guide to Clearing Your AC Condensate Line
Grab your supplies and follow these steps carefully to clear out the line and restore your system back to peak performance.
Step 1: Turn Off Your HVAC System Completely
Never skip this step. Head over to your thermostat and flip the system selector to the “OFF” position. Next, walk over to your indoor air handler or furnace and locate the electrical disconnect switch (which looks like a standard light switch on the side of the unit) and flip it off. If you cannot find that switch, go to your home’s main breaker panel and turn off the breaker labeled “HVAC” or “Air Conditioner.” You do not want the system’s blower motor running while your working on the plumbing, as it can create a vacuum that pulls dirty water everywhere.
Step 2: Locate the Condensate Drain Line and T-Pipe
Go to your indoor AC unit (usually located in a closet, basement, attic, or utility room). Look for a white PVC pipe extending out from the side of the cooling coil housing. Near the unit, you should see a vertical piece of pipe shaped like a “T” or a simple open pipe stub with a removable cap on top. This is the access point or vent stack designed specifically for maintenance access.
Step 3: Inspect the Drain Pan
If your access panels are easily removable, take a look inside the secondary drain pan underneath the coils. If the pan is filled to the brim with stagnant, dirty water, use an old towel, a sponge, or your wet/dry vacuum to empty it out first. This prevents the water from spilling over onto your ceiling or floor once the clog breaks loose. If your pan features a safety float switch, verify that the little plastic float can slide up and down freely without getting stuck.
Step 4: Use a Shop Vac to Suck Out the Clog (The Pro Method)
The most effective way to clear a blockage is to pull it out from the outside exit point. Head outdoors and find where the PVC pipe pokes through your home’s exterior wall (it is usually located right next to your large outdoor condenser unit).
Take the wide hose of your wet/dry shop vacuum and hold it against the end of the PVC pipe. To get a strong seal, wrap an old rag tightly around the gap between the vacuum hose and the pipe, or use some duct tape to seal it together. Turn the shop vac on and let it run for 1 to 2 minutes. The powerful suction will slide the entire plug of algae and slime right out of the pipe. Once you turn the vacuum off, open the canister—you will likely see a large, nasty clump of jelly-like substance that was choking your system.
Step 5: Flush the Line from the Inside Access Point
Now that the main blockage has been pulled out, head back inside to the T-pipe access point you located during Step 2. Remove the plastic cap from the top of the vent. Take a funnel and pour a cup of distilled white vinegar down into the line, followed by a gallon of warm water. The natural acetic acid in the vinegar will kill off any remaining bacteria, mold, or algae clinging to the walls of the pipe, ensuring a clean slate.
Note: If you do not have vinegar, regular dish soap mixed with warm water works great too. Just avoid boiling water, as it can warp and soften the PVC plastic.
Step 6: Verify Flow and Put Everything Back Together
Go back outside one more time to check the exterior drain pipe. You should see the clean vinegar and water mixture draining out smoothly onto the ground. This confirms your pipe is completely open and free-flowing. Head back inside, put the cap securely back onto your T-pipe access line, and wipe down any stray water droplets around the unit.
Step 7: Restore Power and Monitor
Flip your electrical breaker or furnace switch back to the ON position and turn your thermostat back to “Cool.” Let your air conditioner run for an hour or two. Check your indoor unit occasionally to ensure your secondary drain pan remains bone dry and that water is consistently dripping outside where it belongs.
Preventative Maintenance: Keeping Your Lines Clear
Now that you know how to clear a clogged AC condensate drain line yourself, your goal should be to prevent it from ever happening again. The secret to an efficient home is staying ahead of the game.
Every month during the heavy cooling season, pop the cap off your indoor access T-pipe and pour half a cup of distilled white vinegar down the line. This simple, ten-second habit keeps algae from gaining a foothold inside your pipes.
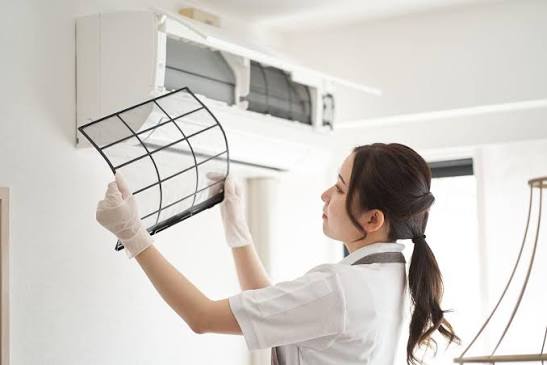
Additionally, stay diligent about replacing your indoor furnace filter. When filters get dirty, dust bypasses the frame and lands on your wet evaporator coil, eventually washing down into your drain line and forming a dense paste that guarantees a stubborn blockage.
Wrap Up and Next Steps
Dealing with a water leak can feel overwhelming, but taking care of your AC drain line is a low-risk, high-reward task that any homeowner or renter can confidently execute. By taking matters into your own hands, you keep your home safe from water damage and avoid paying a hefty service fee for a job that takes less than an hour.
Whenever you find yourself struggling with a cranky home appliance, remember that FixNest.xyz is your go-to resource for homeowners looking to extend the lifespan of their appliances and save money on repairs. We take the mystery out of home maintenance and give you the real talk you need to get the job done right.
If you love saving money on repairs and want to stay on top of your household checklist, subscribe to our newsletter for monthly appliance maintenance reminders delivered directly to your inbox. Did you hit a weird roadblock during your repair, or is your line still refusing to drain after trying the vacuum method? Leave a comment down below, and our community of experienced DIYers and techs will help you figure it out!