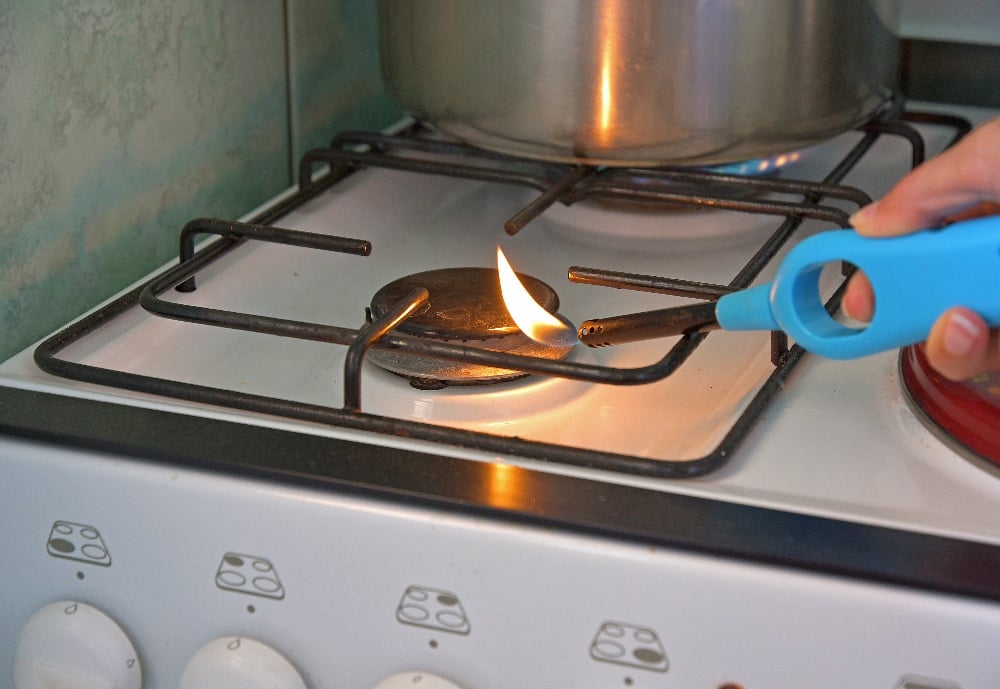
Is your gas stove clicking but refusing to ignite? Learn how to troubleshoot a gas stove burner that won’t light with our expert DIY guide.
How to Troubleshoot a Gas Stove Burner That Won’t Light
You are all set to cook a great meal, the pan is out, the ingredients are chopped, and you turn the dial on your cooktop. You hear the familiar, rapid click-click-click, but nothing happens. No beautiful blue flame appears. You try it again, smelling a faint hint of gas in the air, but the burner stays completely dead.
Look, I get it, appliance maintenance is boring but dealing with a stove that refuses to ignite right when you’re hungry is incredibly annoying. Your mind immediately races to the logistics of ordering takeout or the dread of calling a professional repair service who will charge an arm and a leg just to look at it.
Here is the real talk: a gas cooktop burner that won’t ignite is one of the most common kitchen issues I see as a technician. More importantly, nine times out of ten, it is caused by a minor blockage, a bit of moisture, or a slightly misaligned part. You do not need to drop a fortune to fix this. At FixNest.xyz, we are dedicated to helping homeowners and renters master these everyday appliance issues safely and affordably. Let’s break down exactly how to troubleshoot a gas stove burner that won’t light without breaking a sweat.
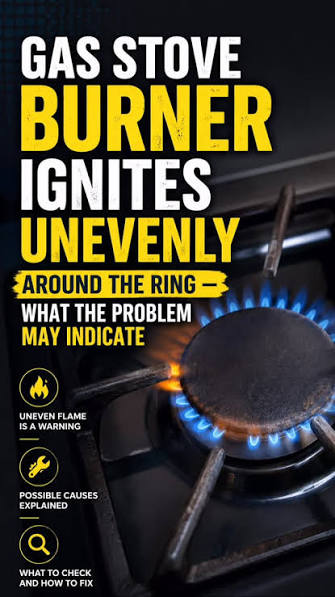
The Troubleshooting Matrix: Finding the Flame Blockage
A gas burner needs three exact ingredients to light up perfectly: gas flow, an electrical spark, and proper oxygen mixing. If any single one of these factors is cut off, you end up with a useless burner. Use this simple matrix to diagnose your stove based on what you are experiencing right now.
| What You Observe | Root Cause | Underlying Reason | DIY Fix Difficulty |
| Clicking sound heard, faint gas smell, but absolutely no flame. | Blocked Gas Flow | Food spillover or boiled-over water has clogged the tiny burner ports. | Very Easy |
| Complete silence when turning the knob, no spark visible. | Electrical Disconnect | The igniter is dead, unplugged, or the spark module has failed. | Easy to Moderate |
| Weak orange/yellow spark bouncing sideways instead of hitting the burner. | Dirty or Wet Igniter | Moisture from a recent deep clean or grease coating is shorting out the ceramic probe. | Easy |
| Burner lights with a match, but won’t light using the dial. | Faulty Igniter Electrode | Ceramic casing is cracked or the spark gap is physically misaligned. | Moderate |
The Most Common Culprit: Boiled-Over Spillover
Before you buy any replacement parts or think your cooktop is completely broken, let’s talk about the single most frequent reason a burner stops working. It usually involves your last meal preparation.
When pasta water boils over, or grease splatters out of a frying pan, the liquid runs directly down into the burner assembly head. This causes two distinct problems: it plugs up the microscopic gas release holes, or it completely coats the white ceramic spark igniter rod in damp goo.
As you can see in the technical demonstration image above, cleaning the internal path is delicate but crucial. If electricity tries to travel through a wet or dirty ceramic igniter, the spark won’t jump forward to the metal burner cap like it is designed to do. Instead, the electrical charge takes the path of least resistance and bleeds downward into the cooktop frame, leaving you with no ignition spark where the gas actually exits.
Step-by-Step Guide: How to Fix a Burner That Won’t Light Safely
Let’s walk through the technical troubleshooting proccess to get your cooktop firing safely. Work through these steps methodically, starting with the simplest solutions.
Safety First Checklist
- Turn off the burner dial completely.
- Make sure the cooktop is cool to the touch before removing any parts.
- For advanced steps involving electrical components, unplug the stove’s power cord from the wall outlet or flip the circuit breaker off.
Step 1: The Quick Dry-Out (Fixing Moisture Issues)
Did you just finish cleaning your stovetop with a spray cleaner or a damp sponge? If your burner was working perfectly before you cleaned it, the solution is likely just patience.
- Remove the round, black metal burner cap from the top of the problem burner.
- Check if there is a tiny pool of water sitting around the white ceramic igniter pin.
- The Fix: Dab the area dry with a paper towel. You can even use a handheld hair dryer set to low heat to thoroughly dry out the igniter for 60 seconds. Pop the cap back on and try lighting it up again.
Step 2: Clear Out the Burner Ports and Orifice
If the stove is completely dry but still failing to catch a flame, we need to manually clear the gas pathways.
- Remove the metal grate, the burner cap, and the underlying aluminum burner head assembly (if it lifts off your model).
- Take a straight sewing needle, a safety pin, or an unbent metal paperclip.
- Push the tip of the pin into each of the tiny flame slots running around the perimeter of the burner head ring. Scrap away any crusty, burnt food residue or carbon buildup.
- Locate the brass nozzle (the orifice jet) inside the center base of the burner well, as shown in the previous illustration. Gently clear out any loose debris blocking that tiny central hole, taking care not to widen or deform the opening.
- Blow away any loosened dust, reassemble the components flush, and test for ignition.
Step 3: Inspect the Spark Alignment and Ceramic Quality
Take a close look at the white ceramic peg sitting next to your burner. This is the electrode that generates the ignition spark.
- Look for tiny hairline cracks running down the white porcelain insulating sleeve. If the ceramic is cracked, the electrical spark will escape out the side of the crack into the stove body instead of jumping out of the metal tip. If you spot a crack, you will need to replace the igniter wire assembly.
- Check the metal tip alignment. The metal pin should point directly toward a notch or receiving notch on the burner ring, sitting roughly $1/8$ to $3/16$ of an inch away. If it is bent too far away, gently push it back into position using a pair of needle-nose pliers.
Step 4: Verify the Switch and Spark Module
If you turn the knob and hear absolutely zero clicking sounds from any of the burners on your range, you are likely dealing with an overall electrical supply fault rather than a localized burner issue.
- Ensure the power cord is securely plugged into the kitchen wall socket.
- Check if a kitchen GFCI outlet has tripped elsewhere on the counter layout. Reset it if necessary.
- If only one specific knob fails to click but the other three click fine, the tiny plastic ignition switch mounted directly behind that individual metal control dial has failed or slid out of place.
Smart Habits for Regular Gas Range Maintanence
To prevent your cooktop from quitting on you right in the middle of meal preparation, practice these simple technician habits:
- Avoid Oversaturation When Cleaning: When wiping down your stovetop, never pour liquid cleaning products or buckets of soapy water directly onto the cooktop surface. Use a damp microfiber cloth instead so moisture cannot seep down into the internal ignition switches or saturate the ceramic probes.
- Ensure Flush Assembly: Whenever you take your burner caps off for a quick scrub, make sure they sit completely flat and locked into their seating grooves when you put them back. If a cap is resting unevenly or tilted even slightly, it disrupts the ground connection, and the gas won’t ignite properly.
When Is It Time to Call a Professional?
At FixNest.xyz, we want to give you the confidence to handle your own basic appliance fixes. However, if you have cleared out all the food blockages, confirmed everything is bone dry, verified the igniter produces a strong spark, and you still cannot get gas to flow out of the line, you might be dealing with a faulty gas safety valve, a failed regulator, or a broken main spark module hidden inside the lower chassis. Because working on internal gas manifolds requires specialized pressure testing gauges and leak-detection tools, your safety comes first. Turn off the main gas line shut-off valve behind the range and bring in a licensed local service technician.
Your Trusted Partner for Smart Home Maintenance
Learning how to troubleshoot a gas stove burner that won’t light is an incredibly practical skill that pays off immediately. By understanding how the spark interacts with gas flow and clean ports, you can confidently solve dinner interruptions yourself without wasting money on professional diagnostic fees.
If this step-by-step technical guide helped you clear out the blockage and restore a perfect blue flame today, don’t stop here! Make sure to bookmark FixNest.xyz so you always have a reliable technical resource ready whenever your refrigerator starts clicking, your dishwasher leaks water from the door, or your dryer stops heating up.
Did you hit an unexpected roadblock while cleaning your burner head assembly, or are you getting a strange spark pattern on your stove? Drop a comment below! I monitor our community boards to help you get your project completely finished. And don’t forget to subscribe to our newsletter for simple, monthly appliance maintenance checklists and money-saving DIY tips delivered straight to your inbox. Let’s keep your kitchen running perfectly together!