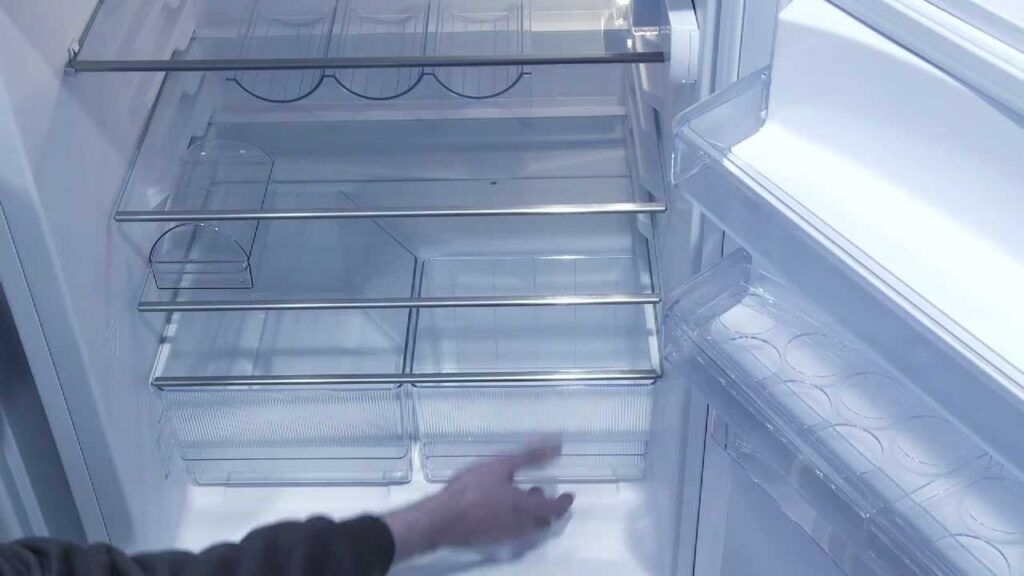
Is water accumulating under your fridge crisper drawers? Learn why water is pooling inside the bottom of your refrigerator and how to fix it DIY.
Why Is Water Pooling Inside the Bottom of My Refrigerator
You pull open your refrigerator door to grab some fresh veggies for dinner, slide out the crisper drawer, and find a miniature lake sitting right on the floor of the appliance. Your celery is waterlogged, your carrots are swimming, and there is a steady drip starting to threaten your kitchen floors.
Look, I get it, appliance maintenance is boring but soaking up mysterious puddles from the bottom of your fridge is a frustrating chore nobody wants to deal with. When you are constantly wiping down the interior and wondering why is water pooling inside the bottom of my refrigerator, it’s easy to assume your appliance is on its deathbed or that you are facing a massive repair bill.
Here is the real talk: water pooling inside your fridge is one of the most common service calls I get as a technician, and it is almost never a terminal issue. In fact, you can usually solve this problem yourself in under an hour using basic household tools. At FixNest.xyz, we want to take the mystery out of these annoying appliance breakdowns so you can save your hard-earned cash. Let’s dive into exactly where this water is coming from and how you can dry out your fridge for good.
The Troubleshooting Matrix: Finding the Source of the Puddle
To understand why water is pooling inside the bottom of my refrigerator, you need to know how a modern frost-free fridge manages moisture. Every day, your refrigerator automatically runs a defrost cycle to melt frost off its internal cooling coils. That melted water is supposed to flow down a small drain and disappear into a pan underneath the fridge, where it evaporates safely.
When that pathway breaks down, water redirects straight into your fresh food compartment. Use this matrix to figure out what part of your moisture-management system is failing.
| Visual Symptom | Primary Root Cause | Hidden Component | DIY Difficulty | Cost of Parts |
| Water under crisper drawers; ice buildup on the back freezer wall. | Frozen or Clogged Defrost Drain | Drain Hole & Tube | Easy | $0 (Just hot water) |
| Water dripping from the top ceiling vent down onto the shelves. | Frozen Evaporator Fan or Damper | Air Diffuser Housing | Moderate | $0 – $30 |
| Water pooling inside and leaking onto the kitchen floor out front. | Cracked or Misaligned Drain Pan | Evaporator Pan | Easy | $15 – $45 |
| Constant puddling accompanied by loose, tearing rubber door seals. | Warped Gasket Introducing Humidity | Door Gasket | Easy | $40 – $80 |
The Number One Culprit: The Frozen Defrost Drain
If the puddle is strictly inside the fresh food section beneath your vegetable bins, you can bet your bottom dollar that your defrost drain line is clogged.
During the automatic defrost cycle, a heater warms up the evaporator coils. As the frost melts into water, it collects in a small V-shaped trough at the back of the freezer or fridge wall and exits through a tiny drain hole. Over time, stray food particles, crumbs, dust, or even pieces of plastic wrap can slide down into that hole.
Once a tiny blockage forms, the standing water inside the tube freezes solid. The next time the defrost heater kicks on, the melting water has nowhere to go. It backs up, flows over the trough barrier, and sneaks behind the plastic interior paneling until it settles at the absolute lowest point of your fridge—right under your crispers.
Step-by-Step Guide: How to Safely Unclog Your Refrigerator Drain
Ready to fix it? Grab some old towels and let’s walk through the technical proccess to clear that line out safely.
Tool Checklist
- A turkey baster or a clean condiment squirt bottle
- Hot water (not boiling, just very warm)
- A piece of flexible wire or a specialized drain cleaning tool
- A Phillips head screwdriver
1. Disconnect the Power Source
Safety is always our absolute priority. Before you start removing internal panels or working near electronic components, pull the refrigerator away from the wall and unplug it.
2. Locate the Drain Hole
Depending on your refrigerator configuration (top-freezer, bottom-freezer, or side-by-side), the drain hole is found in one of two places:
- Fresh Food Back Wall: In many modern models, you will see a small hole centered in a plastic trough along the back wall of the refrigerator section.
- Freezer Floor: If your freezer is on top, you may need to empty out your frozen food, unscrew the rear plastic evaporator cover panel, and look beneath the silver cooling coils to find the drain opening.
3. Clear the Physical Blockage
Take your flexible wire or a long pipe cleaner and gently snake it into the drain hole. Push it down a few inches while twisting it to break up any packed dust, slime, or food debris. Avoid using sharp tools like screwdrivers or stiff wire coat hangers, as you can easily puncture the soft plastic drain tube or damage internal cooling lines.
4. Flush the Line with Hot Water
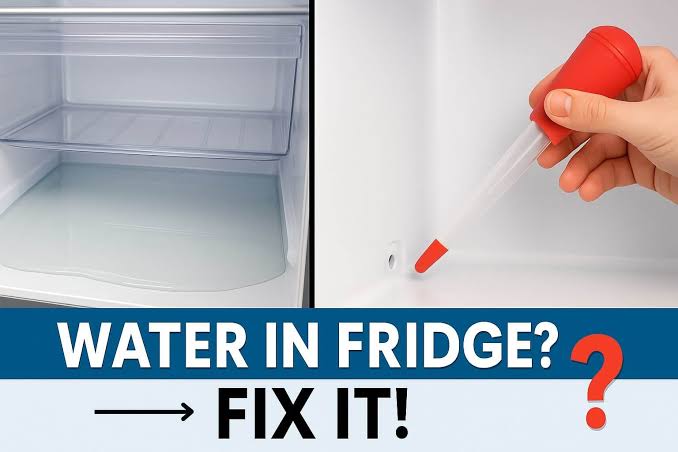
Fill your turkey baster or squirt bottle with very hot tap water. Place the tip directly against the drain hole and squirt the water into the line with force.
You will likely hear the water gurgling. Keep flushing the line until you hear a sudden, clear swoosh of water draining rapidly into the pan underneath the machine. If you want to be extra thorough, mix a teaspoon of baking soda into your hot water to kill any lingering mold or bacteria inside the line that could cause future blockages.
5. Inspect the Evaporator Pan Below
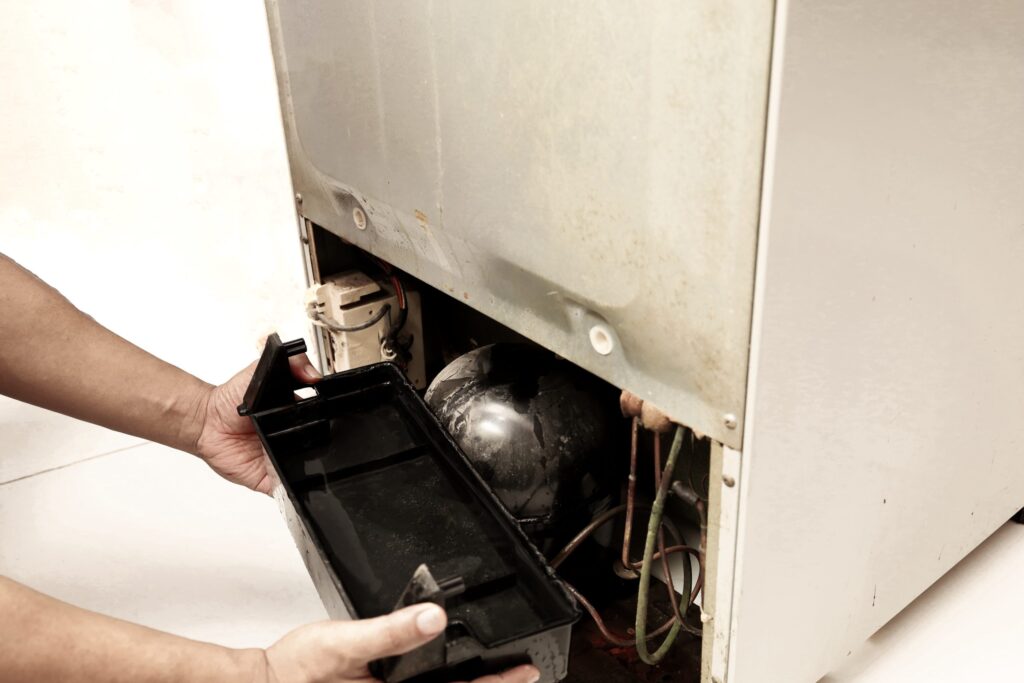
Walk around to the back of your refrigerator and remove the lower cardboard or metal access cover near the floor. Look for the plastic drain pan sitting next to the compressor compressor. Verify that the hot water you just flushed down the line has successfully arrived in the pan. Use a cloth to wipe up any overflow if you flushed too much water down the system.
6. Reassemble and Power Up
Reinstall any interior panels or shelving you removed during the cleaning process. Push the refrigerator back into position, ensuring you leave at least an inch of space between the coils and the wall for proper air circulation. Plug the power cord back in.
Step 4: Troubleshooting Secondary Gasket and Humidity Leaks
What if your drain line is completely clear but you are still finding water pooling inside the bottom of my refrigerator? It’s time to check your door gaskets.
If your rubber door seals are torn, brittle, or caked in sticky syrup, they cannot form an airtight seal. Warm, humid room air will constantly leak inside your cold refrigerator cabinet. When that warm air collides with the freezing internal air, it creates instant condensation—just like a cold can of soda sweating on a hot summer afternoon.
The Dollar Bill Test
Open your refrigerator door, place a crisp dollar bill across the rubber gasket, and close the door completely. Try to pull the dollar bill out.
- If you feel a strong, firm resistance, your gasket is holding a tight seal.
- If the bill slides out effortlessly without any friction, your gasket is loose.
If the gasket is just dirty, scrub it down thoroughly with warm water and mild dish soap to remove food oils that degrade the rubber. If it is warped, you can often use a hair dryer on a low setting to gently warm the rubber, allowing you to remold it with your fingers until it seals flush against the metal frame.
Essential Pro Tips for Preventative Refrigerator Maintanence
To prevent moisture problems from disrupting your kitchen electronics in the future, get into these simple technician habits:
- Don’t Overpack the Shelves: If you crowd large leftover containers or grocery bags directly against the rear wall vents, you block the internal airflow layout. This cold air blockage can cause local temperatures to drop rapidly, freezing the water in the defrost trough before it ever has a chance to flow down the drain hole.
- Cover Your Food: Uncovered liquids, hot soups, or fresh produce release massive amounts of ambient moisture into the air cavity as they cool down down. This forces your fridge to work overtime to eliminate the extra humidity, leading to heavy frost accumulation and overloaded defrost lines.
When Is It Time to Call a Professional?
At FixNest.xyz, we take tremendous pride in giving you the confidence to handle your own home maintenance projects. However, if you have flushed out your defrost drain, verified your door seals are perfectly airtight, and water continues to pool rapidly under your crispers, you might be dealing with a cracked internal liner barrier, a failing defrost timer clock, or an ice-maker water inlet valve that is leaking inside the rear frame casing. Because fixing automated ice-maker lines involves high-pressure plumbing connections, your safety and peace of mind come first. If you reach this point, it is wise to consult a certified local repair expert.
Your Home for Smarter, Affordable DIY Repairs
Conquering an internal refrigerator leak on your own is a huge win. Not only do you save a massive diagnostic fee and protect your kitchen flooring from water rot, but you also gain total confidence in how your household appliances actually operate.
If this step-by-step troubleshooting guide helped you dry out your crisper drawers and stop that water leak today, don’t lose that momentum! Be sure to bookmark FixNest.xyz so you always have a trusted technical guide ready the next time your dishwasher leaks, your clothes dryer loses heat, or your washing machine stops spinning.
Did you hit a roadblock while trying to access your freezer’s drain pan layout, or are you getting an unusual ice buildup pattern on your evaporator coils? Leave a comment down below! I read through our community boards to help folks troubleshoot their tricky fixes. And don’t forget to subscribe to our newsletter for simple, monthly appliance maintenance checklists and money-saving DIY advice delivered straight to your inbox. Let’s keep your home running perfectly together!