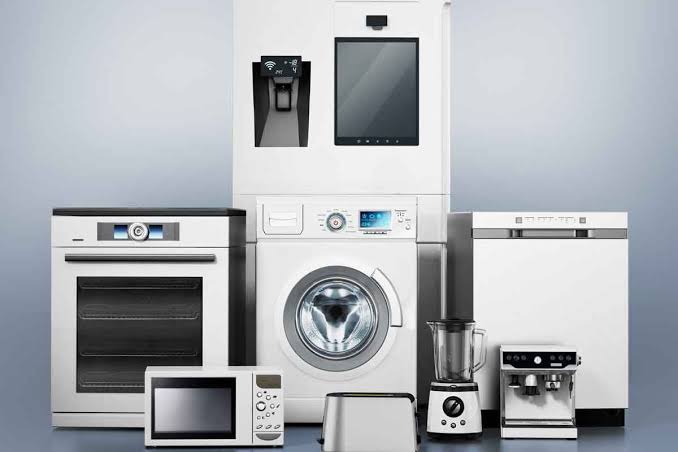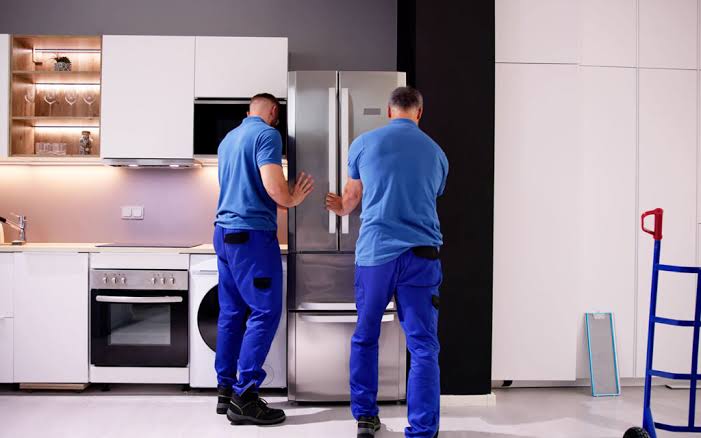
Learn when to repair vs replace a broken kitchen appliance guid. Discover the 50% rule, average lifespans, and how to make the right DIY choice.
The Ultimate Financial Dilemma: When to Repair vs Replace a Broken Kitchen Appliance Guid
Look, I get it, appliance maintenance is boring but dealing with a dead dishwasher or a smoking microwave on a Tuesday evening is flat-out stressful. Your kitchen is the heart of your home, and the moment a core machine goes down, your daily routine grinds to a chaotic halt. Your first instinct might be to panic-buy a replacement online, or conversely, pour hundreds of dollars into a patch-up job just to get things back to normal.
But here is the real talk from a veteran appliance specialist: making the wrong choice here can cost you thousands of hard-earned dollars.
As a homeowner or renter, you need a cold, calculated strategy to evaluate whether a machine is worth saving or if it is time to give it a proper send-off. At FixNest.xyz, we focus on helping you extend the lifespan of your appliances and save money on repairs. To help you navigate this frustrating crossroads, we have put together this definitive when to repair vs replace a broken kitchen appliance guid so you can make a smart, safe, and budget-friendly decision every single time.

The Core Frameworks: How Technicians Make the Call
When a professional technician walks into your kitchen, they aren’t just looking at the broken components. They are running a quick mental calculation based on three core pillars: age, repair cost, and historical reliability. You can use these exact same professional frameworks at home.
The Golden 50% Rule
This is the benchmark rule utilized across the entire repair industry. If your kitchen appliance is more than halfway through its expected operational lifespan, AND the cost of the parts and labor required to fix it exceeds 50% of the price of a brand-new machine, you should replace it.
For example, if your 8-year-old dishwasher needs a new motor pump that costs $250, and a comparable new model costs $500, pouring that cash into an old machine is a poor financial investment. It is highly likely another component will fail shortly after. However, if the fix is a simple $40 door latch assembly that you can swap out yourself, repairing it is a no-brainer.
The Depreciation and Efficiency Factor
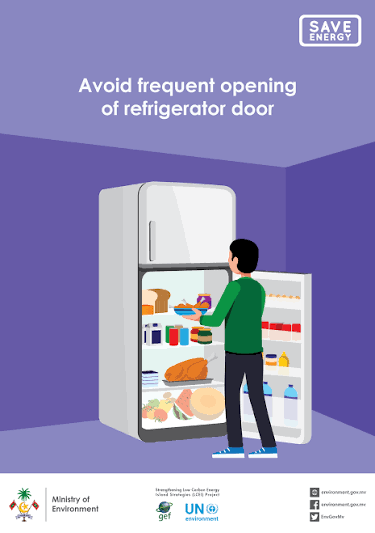
Older appliances do not just break down more often; they also consume significantly more utilities. When you evaluate an aging appliance, think about the hidden operational costs. A refrigerator built ten years ago can consume up to 40% more electricity than a modern, energy-efficient model. If your old unit requires frequent fixes, the cumulative total of minor repairs plus inflated power bills will quickly surpass the purchase price of a modern upgrade.
Expected Lifespans of Core Kitchen Appliances
Before you can apply the 50% rule effectively, your going to need to know how long these machines are actually engineered to last under normal household conditions.
The table below outlines the average useful lifespans of common kitchen appliances, along with the specific “tipping point” components that usually signal the end of the road.
| Kitchen Appliance | Average Lifespan (Years) | Highly Repairable Components | The “Tipping Point” (Replace It) |
| Refrigerator | 10 – 14 Years | Door seals, thermostats, start relays | Failed compressor, internal coolant leak |
| Dishwasher | 8 – 10 Years | Drain pumps, spray arms, door latches | Rusted tub, cracked main control board |
| Gas/Electric Range | 13 – 15 Years | Igniters, baking elements, infinite switches | Warped frame, obsolete electronic clock |
| Over-the-Range Microwave | 7 – 9 Years | Turntable motors, door switches, fuses | Failing magnetron, sparking internal cavity |
| Garbage Disposal | 10 – 12 Years | Flywheel jams, unjamming splash guards | Cracked housing leaking from bottom motor |
Step-by-Step Guide: How to Evaluate Your Broken Appliance Safely
When an appliance stops working, don’t immediately reach for your wallet. Follow this tactical diagnostic sequence to determine the exact nature of the failure before making your ultimate repair-or-replace decision.
Step 1: Execute a Complete Power and Source Reset
You would be amazed by how many people pay a technician $150 just to come out and flip a tripped circuit breaker or plug a cord back into the wall outlet.
- Walk over to your main electrical panel and verify that the specific breaker for that appliance hasn’t tripped. Turn it completely off and back on to reset it.
- Unplug the appliance for a full 10 minutes to drain the internal capacitors and reset the electronic control boards.
- Check your water supply valves (for dishwashers or refrigerators with ice makers) and gas line shutoffs to guarantee the machine is actually getting the fuel or resources it requires to operate.
Step 2: Locate the Exact Model Number and Research Part Availability
Every appliance has a data plate containing its specific model and serial number. This is usually located inside the door jamb, behind the bottom kickplate, or on the rear panel.
- Copy this model number down exactly.
- Use the search resources at FixNest.xyz to find the official parts diagram for your machine.
- Check the current price and availability of the broken component. If the machine is older and the manufacturer has discontinued the part, your choice has been made for you—you must replace the unit.
Step 3: Check for Active Recalls or Original Warranties
Before you touch a single screw, find your original purchase paperwork or search the manufacturer’s database online using your serial number.
- Many premium appliances carry a 5-to-10-year extended warranty specifically on major components like the refrigerator compressor or the dishwasher motor.
- Check government recall databases to see if your specific model has an open recall for safety defects. If it does, the manufacturer is legally obligated to repair or replace the component for free, regardless of how old it is.
Step 4: Run the Financial Equation
Grab a calculator and map out the real cost of the fix.
- Calculate the cost of the replacement parts.
- Factor in any specialized DIY tools you might need to purchase (like a multimeter or specialized nut drivers).
- Compare this total against the cost of a brand-new replacement unit plus delivery and installation fees. If the DIY repair total is less than 30% of a new machine, always opt for the repair.
Step 5: Honestly Assess the DIY Safety and Difficulty Level
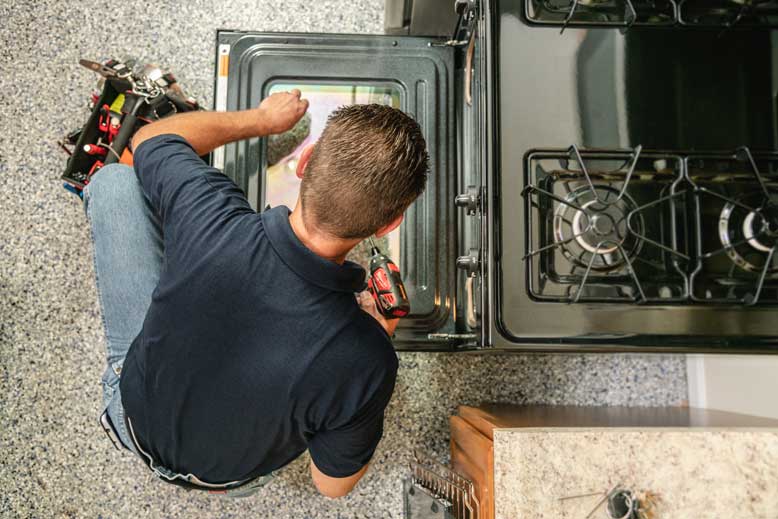
You must always maintain a safety-first mindset. Changing a heating element in an oven or replacing a dishwasher drain pump is a straightforward, low-risk mechanical task. However, if your diagnostics point toward a faulty gas valve or a complex refrigeration loop problem that requires handling volatile chemicals, special EPA certifications are necessary. If you can’t complete the repair safely using your own hands, you must factor professional labor rates ($100-$150/hour) into your decision matrix.
The Psychology of Appliance Lifespans: Why Things Fail Faster Now
I often hear folks say, “My grandma’s refrigerator lasted for thirty years without a single service call! Why is my modern dishwasher dying after seven years?”
Here is the straightforward truth: modern appliances are built differently than the mechanical beasts of the 1970s and 80s. To meet strict environmental guidelines, modern machines use smaller, highly efficient motors that run more frequently. They are also packed with sensitive microprocessors and electronic control boards that are incredibly vulnerable to electrical power surges and moisture degradation.
Understanding this shift helps adjust your expectations. Don’t expect a modern budget appliance to last fifteen years. Recognizing the realistic lifecycle of modern machines is exactly why learning basic maintanence and minor DIY troubleshooting techniques is so essential for protecting your household budget.
When Replacing Is Actually the Superior Financial Move
While we love a good DIY project, there are specific scenarios where attempting a repair is simply throwing good money after bad. You should immediately cross over to the replacement side of the fence if:
- The appliance has a history of cascading failures: If you just replaced the pump last month, the control board last week, and now the heating element has failed, your appliance is caught in a cascading wear-and-tear cycle. Cut your losses immediately.
- The structural integrity is compromised: If the internal tub of your dishwasher is cracked or the interior steel lining of your range or microwave is rusted through, the machine is fundamentally unsafe. No amount of component swapping can restore structural safety.
- The proccess of finding parts takes weeks: If you are living without a primary kitchen appliance for a month while waiting on international shipping for an obscure part, the logistical stress and the cost of eating takeout will quickly eclipse the cost of buying a readily available replacement at a local store.
Take Control of Your Kitchen with FixNest.xyz
Deciding how to handle a broken appliance doesn’t have to be a guessing game. By applying a structured, professional mindset to this when to repair vs replace a broken kitchen appliance guid, you can confidently protect your household finances and avoid the trap of expensive, premature upgrades.
FixNest.xyz is designed to be your ultimate companion for residential property management. Whether you’re working through a complicated teardown or simply trying to optimize the efficiency of your everyday equipment, we supply the clear, step-by-step blueprints you need to execute the job safely on your own terms.
Before you make a final decision on your broken appliance, be sure to bookmark FixNest.xyz so you can reference our extensive catalog of appliance repair walkthroughs whenever you face a home maintenance emergency. If you want a helpful heads-up on keeping your gear in peak condition, subscribe to our monthly newsletter below for automated maintenance reminders delivered straight to your inbox. Hit an unexpected roadblock or need an expert opinion on a specific diagnostic code? Drop a comment down below—I read through them regularly and will happily help you evaluate your options!