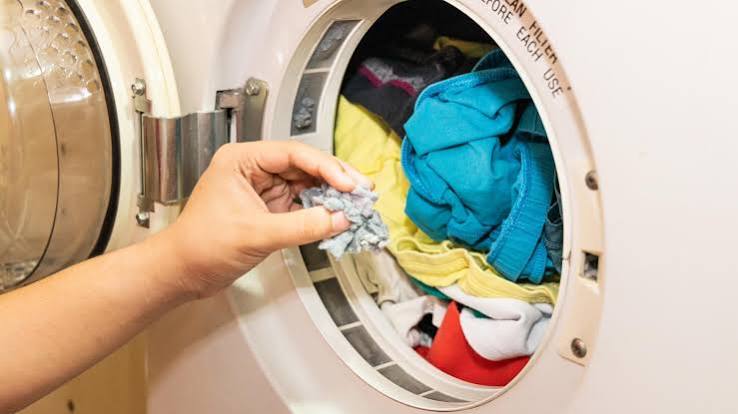
Is your dryer spinning but blowing cold air? Learn how to reset a clothes dryer that won’t start heating with our expert step-by-step DIY guide.
How to Reset a Clothes Dryer That Won’t Start Heating
You load up the dryer with a fresh batch of wet towels, turn the dial, and press start. The drum begins to spin, and you walk away expecting warm, fluffy clothes in an hour. Instead, you return to find the timer has run out, but your towels are just as cold and soaking wet as when you threw them in.
Look, I get it, appliance maintenance is boring but discovering that your dryer is blowing nothing but cold air completely derails your laundry day. When you are staring at a mountain of damp clothes, your immediate thought is probably to jump online and search for “how to reset a clothes dryer that won’t start heating” before you give up and call an expensive local appliance repair technician.
Here is the real talk: a dryer that tumbles but doesn’t get hot is one of the most common issues we face in the repair industry. More importantly, it is often triggered by a built-in safety mechanism that you can reset or fix yourself for little to no money. At FixNest.xyz, we are all about helping homeowners and renters take control of their own appliance repairs, saving you hundreds of dollars in labor fees. Let’s look at exactly why your dryer lost its warmth and how to safely reset the system.
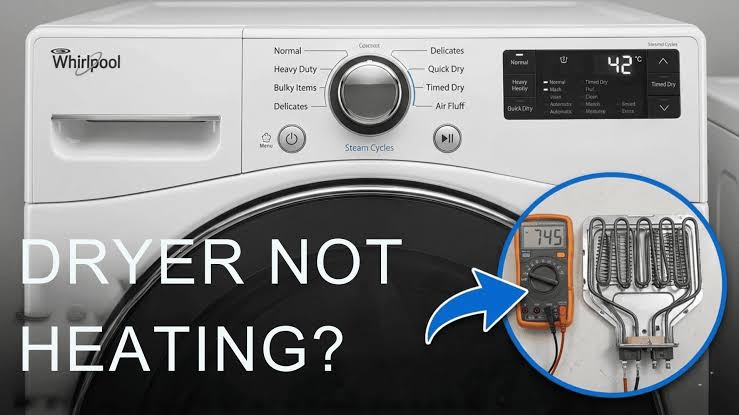
The Troubleshooting Matrix: Finding the Missing Heat
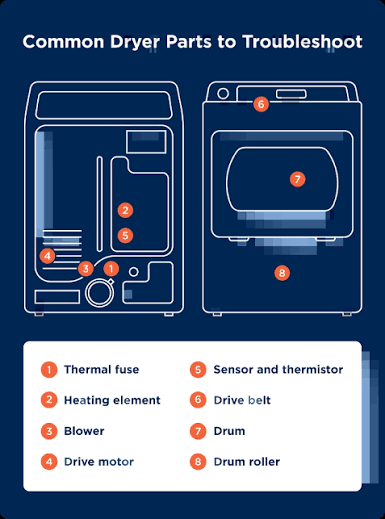
Before we pull out the screwdrivers, we need to understand what components are responsible for generating and regulating heat inside your dryer. If any of these safety parts trip or burn out, your dryer’s brain will cut power to the heating source while still allowing the drum to spin.
| Component | What It Does | Can It Be Reset? | Signs It Has Failed |
| Circuit Breaker | Supplies dual-voltage power ($240\text{V}$) to your electric dryer | Yes (Flip at the main electrical panel) | Dryer spins but produces absolutely zero heat |
| Thermal Cut-Off Switch | Safety fuse that trips if the internal exhaust line overheats | Sometimes (Some models feature a manual reset button) | Tripped due to a clogged lint vent line |
| High-Limit Thermostat | Shuts off the heating element if temperatures climb too high | Automatically resets after cooling down | Rapidly cycling heat or dropping heat mid-load |
| Thermal Fuse | One-time safety device that breaks the circuit permanently during severe overheating | No (Must be swapped for a new part) | Total loss of heat or complete power failure |
The Electric Dryer Trap: The Half-Tripped Breaker
Before you start tearing apart the back panel of your appliance, we need to cover a technical quirk that catches millions of homeowners off guard. Electric dryers require a massive amount of electrical juice to run. Because of this, they are plugged into a large, dedicated double-pole circuit breaker that delivers $240\text{V}$ of electricity.
This $240\text{V}$ line is split into two separate $120\text{V}$ legs inside your machine. One leg controls the electronic display, internal lights, and the drive motor that spins the drum. The other leg is dedicated entirely to powering the massive coils of the heating element.
When your home experiences a sudden power fluctuation, it is entirely possible for only one side of that double breaker to trip. This means your dryer will still have enough power to turn on, light up, and tumble your clothes around, but it won’t receive a single volt of power to the heating coils.
How to Reset Your Dryer’s Main Power
- Walk over to your home’s main electrical breaker box.
- Locate the large double-pole breaker labeled “Dryer” or “Range”.
- Do not just look at it—even if it looks like it is in the “On” position, it could be internally tripped.
- Firmly flip the breaker completely to the Off position until you hear a solid click.
- Wait roughly 30 seconds, then flip it firmly back to the On position.
- Go back to your laundry room, start a cycle, and check your exhaust vent or the inside of the drum after 5 minutes to see if the heat has returned.
Step-by-Step Guide: How to Reset the Thermal Cut-Off Switch
If you performed the breaker reset and your dryer is still tumbling cold, the most likely culprit is a tripped thermal safety switch. Many modern dryers from brands like Whirlpool, Kenmore, and Samsung feature a thermal cut-off switch mounted directly on the heating element housing. Some of these safety components are equipped with a tiny red or black manual reset button right in the middle of the part.
Follow this step-by-step proccess to safely access and reset the switch.
Safety First Checklist
- Unplug your dryer from the wall outlet. If it is a gas dryer, shut off the gas supply line valve.
- Pull the dryer out so you have clear access to the back of the machine.
- Wear work gloves to protect your hands from sharp sheet metal edges inside the casing.
1. Remove the Rear Access Panel
Using a quarter-inch nut driver or a Phillips head screwdriver, remove the series of small screws holding the large metal back cover panel in place. Set the panel and screws off to the side.
2. Locate the Heating Element Assembly
On the right-hand side of the lower cabinet, you will see a long, vertical metal tube or box. This is your heating element housing. Inside this tube are the coils that glow red hot to dry your laundry.
3. Identify the Thermal Cut-Off Switch
Mounted directly onto the side of this metal heating tube, you will find two small plastic and metal components with wires plugged into them. The top component is usually the thermal cut-off switch. Look closely at the center of the plastic body. If your specific appliance model utilizes a resettable style switch, you will see a very small, raised plastic button sitting between the two wire terminals.
4. Press the Reset Button
Take your finger or the eraser end of a pencil and firmly press that small center button downward. If the switch was tripped due to overheating, you will feel and hear a distinct, satisfying click as the internal bi-metal disk snaps back into its operational position.
5. Check for Wiring Security
While you’re looking directly at the switch, make sure the wire harnesses are pushed tightly onto the metal terminals. If a wire is loose or showing signs of being scorched or melted, it will interrupt the electrical circuit and prevent heating.
6. Reassemble and Test Run
Slide the rear metal panel back into place and secure it with the screws. Plug the power cord back into your heavy-duty wall outlet. Turn your dryer onto a standard timed dry cycle and let it run. Open the door after a minute or two—you should feel a wave of comforting, warm air filling the drum.
The Critical Next Step: Why Did It Trip?
If you pressed that button and got your heat back, congratulations! You just saved yourself a costly repair bill. However, here is the real talk: a thermal safety switch does not trip for no reason. It is designed to shut off the heat because the internal temperatures inside your machine reached a dangerous level that could have sparked a house fire.
If you don’t fix the underlying cause of the overheating, that switch is going to trip again during your very next load of laundry.
The number one reason a dryer overheats is poor airflow caused by a buildup of trapped lint. When your exhaust duct lines are packed with thick lint, the hot air produced by the heating element cannot escape the cabinet. The heat backs up inside the metal housing until it blows past the safety limit of the switch.
Essential Exhaust Vent Maintanence
- Clean the Lint Screen: Clean your lint trap before every single load of laundry without exception.
- Vacuum the Housing Slot: Once a month, use a thin vacuum attachment to reach deep into the slot where your lint filter slides to pull out fallen debris.
- Inspect the Outside Duct: Go outside your home while the dryer is running. The exterior wall vent flaps should be flipping wide open, and you should feel a strong, hot exhaust blast. If the airflow feels weak or sluggish, your entire duct line needs to be cleaned out with a flexible dryer vent brush kit from your local hardware store.
When Is a Replacement Required?
If you open up the back of your machine and your thermal switch does not have a manual reset button, or if you reset the button but the heat still fails to turn on, you are likely dealing with a blown thermal fuse or a broken heating element coil.
Testing these parts requires a cheap digital multimeter set to the Ohms ($\Omega$) setting. Touch the meter leads to the terminals of the component. If the meter displays a reading of “OL” (Open Line), it means the internal circuit path has broken. These parts cannot be reset; they must be unscrewed and replaced with inexpensive new components matching your appliance’s model number.
Keep Your Laundry Room Running Smoothly
Taking the time to understand how to reset a clothes dryer that won’t start heating is a fantastic way to protect your wallet from predatory repair fees. Most laundry issues come down to basic maintenance and safety switches, and your completely capable of handling them yourself.
If this guide helped you bring the heat back to your laundry room today, don’t stop there! Be sure to bookmark FixNest.xyz so you always know where to turn when your refrigerator clicks, your dishwasher leaks, or your washing machine refuses to spin.
Did you hit an unexpected roadblock while tracking down your thermal switch, or is your multimeter giving you confusing resistance readings? Drop a comment below! We check our community sections regularly to help you get your project past the finish line. And don’t forget to subscribe to our newsletter for quick, monthly appliance care tips and troubleshooting reminders sent straight to your inbox. Let’s keep your home running perfectly together!