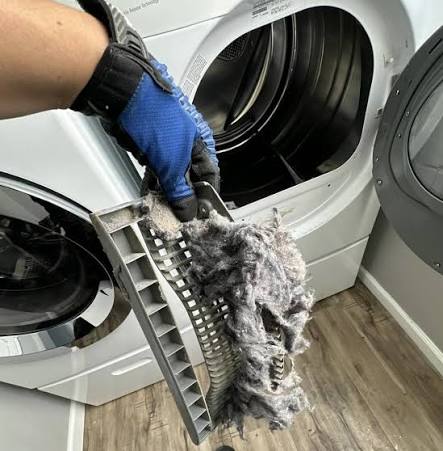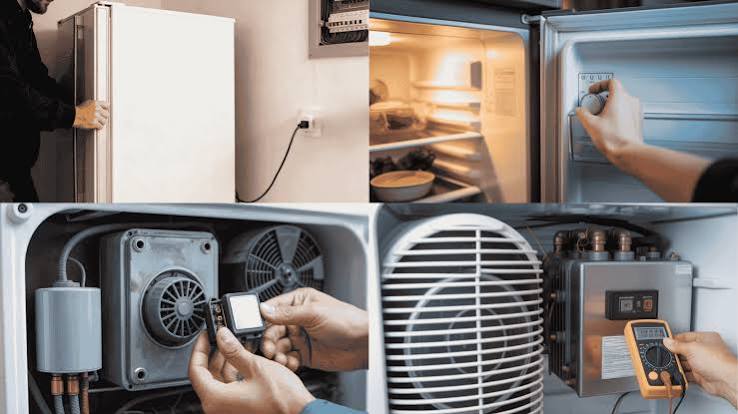
Want to avoid a costly laundry disaster? Discover how to make your washing machine last longer with simple care tips anyone can do at home.
How to Make Your Washing Machine Last Longer with Simple Care
Look, I get it, appliance maintenance is boring but taking a few minutes to care for your laundry setup today will save you a massive headache tomorrow. Here is the real talk: your washing machine is one of the hardest-working appliances in your entire home. It spins at thousands of revolutions per minute, sloshes around gallons of water, and handles pounds of heavy, soaking-wet fabrics week after week. Yet, most people completely ignore it until they walk into a flooded laundry room or smell something resembling a swamp emitting from the drum.
Replacing a broken washer in 2026 isn’t cheap. Between the cost of a new machine and the jaw-dropping prices of professional repair calls, a little neglect can easily drain your savings.
As a senior technician, I see the same avoidable mistakes over and over again. The good news? You do not need a degree in mechanical engineering to keep your washer running smoothly for a decade or more. Let’s dive into exactly how to make your washing machine last longer with simple care, protect your wallet, and keep your clothes smelling fresh.
The Secret Enemies of Your Washing Machine
Before we get into the actual cleaning steps, we need to understand what is secretly killing your appliance from the inside out. It usually boils down to three major culprits.
Overloading the Drum
We have all been there. You have a mountain of laundry, you are tired, and you decide to cram every single piece of clothing into one giant load to save time. Don’t do it.
Overloading puts an incredible amount of strain on the machine’s drive motor, transmission, and the delicate bearings that allow the drum to spin smoothly. When you pack it too tight, the load becomes unbalanced during the high-speed spin cycle. This causes the machine to violently shake, bang against your walls, and prematurely destroy its shock absorbers.
Excess Detergent and Fabric Softener
If a little detergent cleans your clothes, then a lot must clean them even better, right? Wrong. Modern high-efficiency (HE) washing machines use a fraction of the water that older models did. If you use too much soap, it creates a thick buildup of suds that your machine cannot fully rinse away.
This soapy residue coats the outer tub, drains, and hoses, turning into a sticky magnet for dirt, lint, and body oils. Over time, this mixture hardens into “scrud”—a nasty, gooey substance that breeds bacteria, ruins your clothes, and can block internal pressure sensors.
Leaving Wet Clothes Inside
Life happens, and it’s easy to forget a load of wet laundry in the machine overnight. However, leaving damp clothes trapped in a dark, sealed environment is an open invitation for mold and mildew to take over the rubber door boot and drum. Once mold gets a foothold inside the internal plastic components, it is incredibly difficult to eliminate completely.
The Ultimate Washing Machine Maintenance Schedule
Consistency is everything when it comes to extending the lifespan of your appliances. At FixNest.xyz, we are all about making things practical. Use this simple schedule to stay on top of your washer’s health without breaking a sweat.
| Frequency | Maintenance Task | Why It Matters | Time Required |
| Every Load | Check pockets, don’t overload, leave the door cracked open | Prevents physical damage to the pump; prevents mold growth | 30 seconds |
| Monthly | Clean the coin trap/drain filter and wipe down the rubber door seal | Prevents drainage failures and stops foul odors from developing | 5 minutes |
| Every 3 Months | Run a hot self-clean cycle with vinegar or a specialized washing machine cleaner | Dissolves soap scum, mineral scale, and deep internal mold | 1 hour (Passive) |
| Every 5 Years | Inspect the water inlet hoses for cracks, bulges, or signs of wear | Prevents catastrophic high-pressure water leaks in your home | 2 minutes |
Step-by-Step Guide to Maintaining Your Washing Machine Safely
Ready to give your washer some love? Grab a couple of basic household items and follow this straightforward maintenance routine. Doing this regular proccess will keep your machine running like new.
Step 1: Disconnect and Prep for Safety
Whenever you are working on or cleaning an appliance that handles both electricity and water, safety must be your top priority. Ensure that you turn the machine off and unplug it from the wall outlet. If you cannot reach the plug easily, flip the corresponding breaker in your electrical panel.
Step 2: Clean the Drain Pump Filter (The Coin Trap)
If your washing machine isn’t draining properly, or if it makes a weird rattling noise during the drain cycle, a clogged filter is almost always the reason. Front-loading machines have an explicit access door at the bottom front. Top-loaders may require you to look inside the agitator or access it from the back, though many modern top-loaders are self-cleaning (check your manual if you aren’t sure).
Open the small hatch at the bottom of your front-loader. Place a shallow tray and a towel on the floor right underneath it because a cup or two of trapped water will spill out. Slowly unscrew the plastic filter cap counterclockwise. You will likely find a treasure trove of lost coins, bobby pins, hair ties, and a thick layer of lint. Wash the filter under warm water, clear out any debris from the housing inside the machine, and screw the filter back in tightly.
Step 3: Scrub the Door Gasket and Soap Dispenser
For front-load washers, the rubber ring around the opening (the gasket) is notorious for trapping water. Pull back the folds of the rubber gently. You will probably see a slimy mix of gray sludge and hair. Wipe this out completely using a microfiber cloth dipped in a mix of warm water and a splash of white vinegar.
Next, pull out the detergent drawer. Most drawers have a small release tab you can press to slide it completely out. Wash it in your kitchen sink, scrubbing away the crusty, dried-up soap and fabric softener buildup from both the drawer and the cavity it slides into.
Step 4: Run a Deep-Clean Cycle
Now that the physical blockages are gone, it’s time to clean the parts of the machine you cannot see.
If your washer has a dedicated “Tub Clean” cycle, use it. If not, set your machine to its hottest temperature, longest cycle, and heaviest load setting. Pour two cups of white vinegar directly into the drum or detergent drawer and let the machine run completely empty. The natural acidity of the vinegar cuts through mineral deposits from hard water and breaks down stubborn soap residue.
Step 5: Check the Water Hoses
Pull the washing machine away from the wall so you can see the rubber or braided metal hoses connecting the machine to your home’s water supply valves. Feel along the hoses for any dampness, cracks, or stiff spots.
If you see a small bulge in a rubber hose, you are looking at a ticking time bomb. A ruptured washing machine hose can pump hundreds of gallons of water into your home in less than an hour. If your hoses are over five years old or show any wear, replace them immediately with braided stainless steel hoses.
Smart Daily Habits That Save You Big Bucks
The steps above are great, but your daily habits are what truly determine how long your appliance survives.
Always leave the washing machine door or lid slightly ajar when it is not in use. This allows fresh air to circulate inside the drum, drying out any residual moisture and completely preventing the growth of smelly mildew.
Additionally, make it a strict rule to empty all pockets before throwing clothes into the hamper. Loose coins can slip between the inner and outer drum, tearing up the machine’s plastic tub or getting lodged in the drain pump impellers, which will burn out the pump motor instantly.
The Verdict: A Little Effort Goes a Long Way
At FixNest.xyz, we believe that you shouldn’t have to spend a fortune on professional repairs for things you can easily handle yourself. Spending ten minutes a month on simple care will quite literally add years to the life of your washing machine, ensuring your clothes stay clean and your utility bills stay low.
Don’t wait for a breakdown to start caring for your home. Bookmark FixNest.xyz right now so you always have a trusted guide ready whenever another household appliance acts up. If you want practical, money-saving maintenance reminders delivered straight to your inbox, subscribe to our monthly newsletter. Hit a roadblock or noticed a strange noise coming from your washer during your inspection? Leave a comment below—I check them regularly and am always ready to help you figure it out!