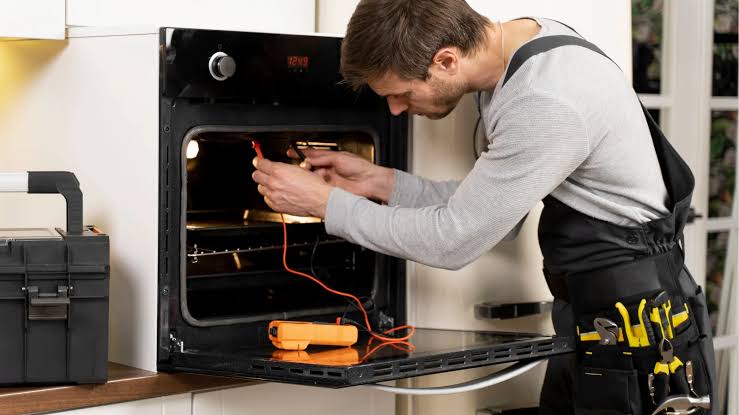
Is your microwave running, lighting up, and spinning but leaving your food ice-cold? Learn what to do to diagnose and fix it yourself safely.
What to Do When Your Microwave Turns On But Doesn’t Heat
You pop a plate of leftover pasta into the microwave, set the timer for two minutes, and press start. The interior light comes on, the glass turntable begins to spin, and you hear that familiar, reassuring hum. But when the timer beeps and you open the door, you’re greeted by a blast of cold air and a plate of food that is still completely frozen in the middle.
Look, I get it, appliance maintenance is boring but dealing with a microwave that goes through all the motions without actually heating anything is incredibly annoying. It completely throws off your quick meal plans and leaves you wondering if you need to throw the whole unit in the trash.
Here is the real talk: when your microwave turns on but doesn’t heat, it means the low-voltage systems (like the control panel, display, and turntable motor) are working perfectly, but the high-voltage heating circuit has encountered a serious problem. As a senior technician, I see this specific failure all the time. While some internal microwave components carry dangerous electrical charges that amateurs should never touch, there are several safe, cost-effective troubleshooting steps you can perform right now. At FixNest.xyz, we are dedicated to helping you extend the lifespan of your household appliances safely while saving a bundle on unnecessary replacement costs.
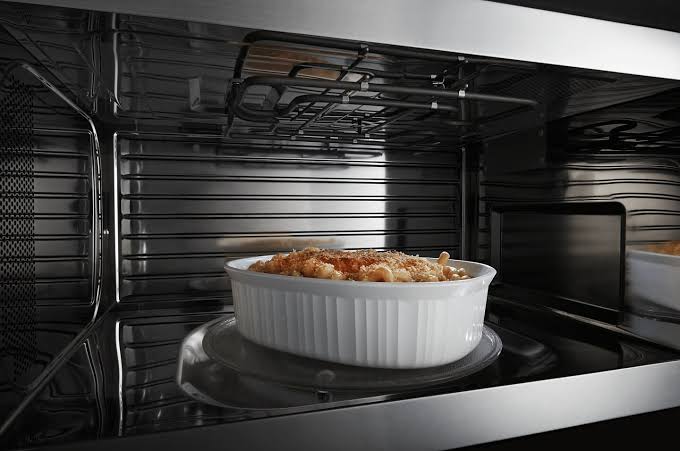
The Troubleshooting Matrix: Isolating the No-Heat Problem
To help you figure out what to do when your microwave turns on but doesn’t heat, I’ve compiled this quick diagnostic matrix. It maps out the most common failure points, how they trick the machine, and whether they are safe for a DIY weekend fix.
| Component | What It Does | Why It Causes a No-Heat Symptom | DIY Safety Level |
| Door Interlock Switch | Verifies the door is completely latched shut before allowing high-voltage power | Senses the door is slightly open, so it turns on the lights/spin but cuts the heater | Safe & Easy |
| Waveguide Cover | Protects the internal electronics from moisture and food splatters | Food grease chars the card, blocking or short-circuiting the microwave energy | Safe & Easy |
| High-Voltage Fuse | Protects the heating circuit from sudden electrical power surges | Fuses blow during a spike, permanently cutting power to the magnetron tube | Advanced Only |
| Magnetron / High-Voltage Capacitor | Generates the actual radio waves that vibrate water molecules to cook food | Component burns out or shorts out completely due to age or overheating | Professional Only |
The Most Common Culprit: The Deceptive Door Switches
Before we even think about opening up the main metal outer casing, we need to talk about the most common reason for this exact problem. It involves the microwave door interlock switches.
Most modern microwaves utilize three or four miniature microswitches mounted on a plastic latch board inside the frame. When you close the door, the plastic hooks on the door panel push into slots, activating these small buttons.
Here is how it tricks you: these switches don’t all do the same job. One switch turns on the interior light and the turntable platter. Another switch tells the computer control panel that it is okay to count down the timer. The final “primary” switch is what actually completes the circuit to send high-voltage electricity to the heating core.
If that primary switch fails or its plastic mounting bracket warps over time, your microwave will happily light up, spin your food around, and count down the clock. But because the broken switch never completes the electrical bridge, the heating cycle never receives power. Your essentially running a very fancy, lighted lazy Susan.
Step-by-Step Guide: What to Do and How to Test the Appliance
Let’s walk through the exact troubleshooting proccess to pinpoint the issue. We will start with the zero-tool inspections and progress safely from there.
Step 1: Perform the Classic Water Test
Before jumping to conclusions, we need to rule out a temporary digital lag on your main control board.
- Pour exactly one cup of cold tap water into a microwave-safe glass measuring cup.
- Place it directly in the center of the turntable and shut the door firmly.
- Set the unit to cook on High Power for 1 minute. Do not use a specialty preset button like “Popcorn” or “Defrost,” as these cycle the power up and down.
- Listen closely. Do you hear a deep, heavy thudding sound right when the countdown starts, or does the machine sound noticeably quieter than usual? A complete lack of that deep internal rumble usually points directly to an electrical break in the heating circuit.
Step 2: Inspect the Internal Waveguide Cover
Open your microwave door and look closely at the inside right-hand wall of the cooking cavity. You will see a small, rectangular piece of material that looks like thick cardboard or plastic, often held in place by a couple of plastic clips or a single screw. This is your waveguide cover.
The waveguide cover allows microwave energy to travel smoothly from the internal magnetron tube into the cooking area, while preventing grease, steam, and food splatters from getting inside the delicate electronic components.
- Look at the cover closely. Is it caked in old, hardened spaghetti sauce? Is it showing black scorch marks or tiny burn holes?
- The Fix: If the cover is charred or heavily coated in grease, it can absorb and block the microwave waves or cause the machine to spark. Pop the old card out gently with a flathead screwdriver. Wipe down the metal cavity behind it thoroughly, and slide a cheap new replacement waveguide cover into place.
Step 3: Test and Replace a Faulty Door Switch
If your waveguide cover is pristine, your next DIY step is to check those door microswitches.
CRITICAL TECHNICAL SAFETY WARNING: Microwaves are not like standard coffee makers or vacuums. They contain a massive internal component called a high-voltage capacitor that stores up to 4,000 volts of lethal electricity, even when the appliance has been completely unplugged from the wall for weeks. You must never reach blindly into the main cabinet or touch the large silver capacitor cylinder unless you are a trained professional who knows how to manually discharge the stored energy with an insulated screwdriver. However, accessing the door switches is completely safe as long as you follow these boundaries:
- Unplug the microwave completely from the wall outlet.
- Remove the screws holding the main outer metal cabinet wrap in place. Slide the wrap backward and away from the unit.
- Look directly behind the door latch opening panel. You will see the plastic latch board holding the stack of small microswitches.
- Do not touch any components near the large transformer or silver capacitor toward the back of the cabinet layout. Stay focused entirely on the plastic door assembly framework.
- Disconnect the wire terminals from one switch at a time (take a quick smartphone photo first so you don’t forget where the wires go!).
- Set your digital multimeter to the Continuity or Ohms ($\Omega$) setting. Place your tester probes onto the two main metal terminals of the switch.
- Manually press the tiny plastic button on the switch body. If the switch is working, your multimeter will beep clearly or drop to zero resistance when pressed, and show “OL” (Open Line) when released. If you press the button and the meter doesn’t change, that specific switch is dead. Replacing a switch takes about two minutes and costs less than ten dollars.
Crucial Tips for Microwave Maintanence
To prevent your kitchen electronics from breaking down prematurely, implement these quick technician habits into your normal routine:
- Never Run an Empty Microwave: If you turn on your microwave with nothing inside, the radio waves have no water molecules to absorb them. The energy bounces straight back into the magnetron tube, causing it to overheat and burn out instantly. Always make sure there is something inside before hitting start.
- Avoid Slamming the Door: Repeatedly slamming the microwave door shut bends the delicate plastic tabs on the internal latch board over time. This minor physical misalignment prevents the hooks from pushing the door microswitches in far enough to activate the heating circuit. Close the door firmly but gently.
When Is It Time to Call a Professional?
At FixNest.xyz, we want to give you the confidence to tackle your own home maintenance projects. However, if you have verified that your door switches have perfect electrical continuity, your waveguide cover is sparkling clean, and the machine still refuses to heat water, the fault lies with the high-voltage diode, the primary transformer, or the magnetron tube itself. Because testing these parts requires working directly around that hazardous high-voltage capacitor, this is where the DIY path ends. It is time to call a certified local technician or decide if buying a replacement machine makes better financial sense.
Your Home for Smarter Appliance Repair
Learning what to do when your microwave turns on but doesn’t heat gives you an incredible edge as a homeowner or renter. By understanding the difference between the low-voltage control circuits and the high-voltage heating systems, you can confidently check the simple fixes yourself without getting ripped off by expensive diagnostic house-call fees.
If this step-by-step troubleshooting guide helped you isolate your kitchen breakdown today, make sure to bookmark FixNest.xyz so you always have an expert technical roadmap ready for your next household fix.
Did you run into a tricky issue while testing your door switch alignment, or are you confused by a reading on your multimeter? Drop a comment down below! I review our community boards regularly to help you solve your appliance issues. And don’t forget to subscribe to our newsletter for practical, monthly appliance maintenance check-lists and money-saving DIY tips delivered right to your inbox. Let’s keep your home running perfectly together!