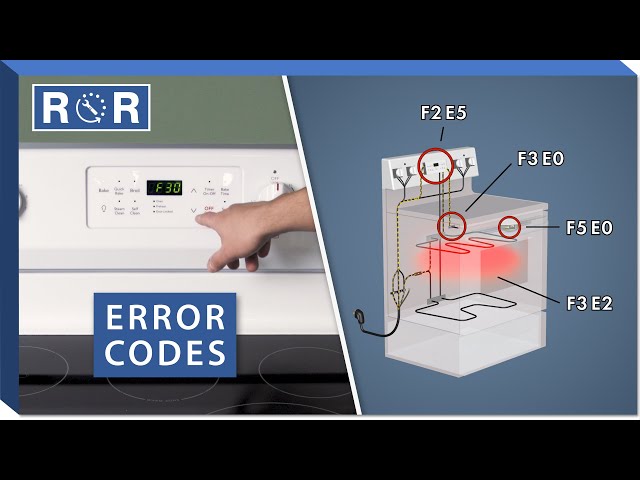
Is your electric oven flashing a cryptic error code like F10 or E15? Learn how to safely troubleshoot and clear oven errors yourself.
How to Clear Common Electric Oven Error Codes at Home
You are halfway through prepping a family dinner, the chicken is seasoned, and you go to preheat the oven. But instead of the familiar glow of the heating elements, your appliance lets out a piercing beep and starts flashing a cryptic alphanumeric message on the control panel. Whether it says F10, E15, or F30, your cooking plans just ground to a halt.
Look, I get it, appliance maintenance is boring but staring down a flashing dashboard while your dinner sits cold on the counter is incredibly frustrating. Your first instinct might be to pull out your phone and call a local repair service, braced to pay a hefty diagnostic fee just for someone to tell you what a couple of letters mean.
Here is the real talk: modern electric ovens are basically computers wrapped in insulated steel. When something goes slightly wrong, the Electronic Control Board (ECB) throws up a fault code to protect itself from damage. Many times, these codes are caused by simple electronic glitches, loose wire connections, or minor sensor issues that you can resolve without spending a fortune. At FixNest.xyz, we want to give you the exact knowledge you need to diagnose these errors safely and get your kitchen back on track.
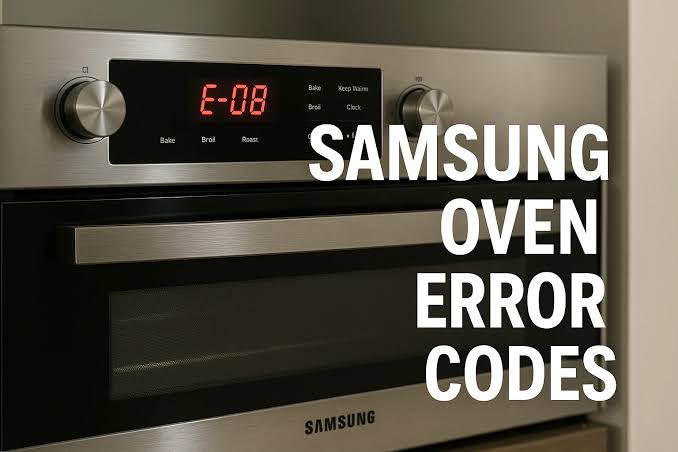
The Troubleshooting Matrix: Common Oven Error Codes Decoded
While different brands (like Whirlpool, GE, Frigidaire, and Kenmore) use slightly different lettering systems, oven fault codes generally follow a predictable pattern. The table below breaks down the most common codes you will encounter, what they actually mean in plain English, and your likely DIY fix.
| Error Code Patterns | What It Means | Root Cause | DIY Success Rate |
| F1, F10, F11, E1 | Control Board Glitch / Shorted Keypad | The main computer board is overheating or a button is stuck | Moderate |
| F3, F30, F31, E3 | Open or Shorted Temperature Sensor | The oven cannot read the internal temperature accurately | High |
| F9, F90, E9 | Door Lock Circuit Failure | The latch mechanism failed during a self-clean or cooking cycle | High |
| F5, E5 | Communication Error | The control board and user interface chips cannot talk to each other | Moderate |
The “Master Reset”: Your First Line of Defense
Before we start unscrewing access panels, we need to rule out a temporary digital glitch. Just like your smartphone or home router, your oven’s control board can get confused by a sudden power surge or a minor voltage drop in your home’s electrical line.
Simply pressing the “Clear” or “Cancel” button won’t remove a hard fault code from the board’s memory. You need to perform a hard power reset.
How to Hard Reset Your Oven
- Go directly to your home’s main electrical breaker box.
- Locate the dedicated double-pole circuit breaker labeled for your oven or range (it is usually a large 40-amp or 50-amp switch).
- Flip the breaker completely to the “Off” position.
- Wait at least 5 to 10 minutes. This absolute down-time allows the capacitors on the electronic control board to completely drain their residual power, erasing the temporary error memory cache.
- Flip the breaker back to “On”.
If the code was just a one-time electronic hiccups, your display should return to the normal clock setting, and your good to go. If the code flashes back instantly, it’s time to tackle the specific hardware component responsible.
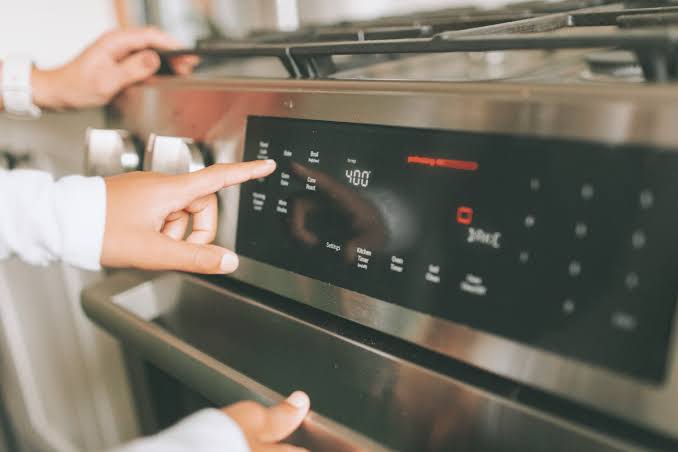
Detailed Step-by-Step Guide to Resolving Hardware Error Codes
If the master reset didn’t work, don’t worry. We can methodically test the two most frequent physical hardware issues that trigger these faults: stuck door latches and failing temperature sensors.
Procedure A: Clearing Door Latch Errors (F9 / F90)
Door lock errors usually pop up right after you finish running a high-heat self-cleaning cycle. The oven gets incredibly hot, and if you try to force the door open before the system cools down down, you can misalign the motorized latch mechanism.
1. Cut the Power
Safety first, always. Make sure your oven breaker is flipped off before touching any moving internal components.
2. Manual Latch Alignment
Open the oven door (if it isn’t completely locked shut). Look at the hook mechanism near the top center of the door frame. Gently press the small door switch button inside the frame to see if the motorized latch tries to move or if it is physically jammed with grease or charred food residue from the self-clean cycle. Wipe it down thoroughly with a degreaser.
3. Inspect the Microswitches
If the latch moves freely but the code remains, the control board isn’t receiving the signal that the door is safely open or closed. You will need to slide the oven out, remove the rear access panel, and look at the tiny microswitches attached to the latch motor assembly. Ensure the wire wire harnesses are plugged tightly into the switches. If a wire has wiggled loose from the vibrations of normal usage, push it securely back onto its terminal.
Procedure B: Testing and Replacing the Temperature Sensor (F3 / F30)
When your oven shows an F3 series error, it means the computer has lost its ability to monitor how hot the interior is getting. To prevent a dangerous runaway heating situation, it cuts power to the elements. Testing this requires a basic multi-meter.
1. Locate the Sensor Probe
Open your oven door and look in the upper back corner of the internal cavity. You will see a thin, metal rod about 3 to 4 inches long sticking straight out of the back wall. This is the RTD (Resistance Temperature Detector) sensor.
2. Remove the Mounting Screws
Using a Phillips head screwdriver or a nut driver, remove the two screws holding the sensor mounting plate to the back oven wall. Carefully pull the sensor forward into the oven cavity. Be gentle—you want to pull the plastic wire connector through the hole without snagging or tearing the insulation.
3. Disconnect the Wire Harness
Unplug the sensor from the main wiring harness by depressing the small plastic locking tab on the connector.
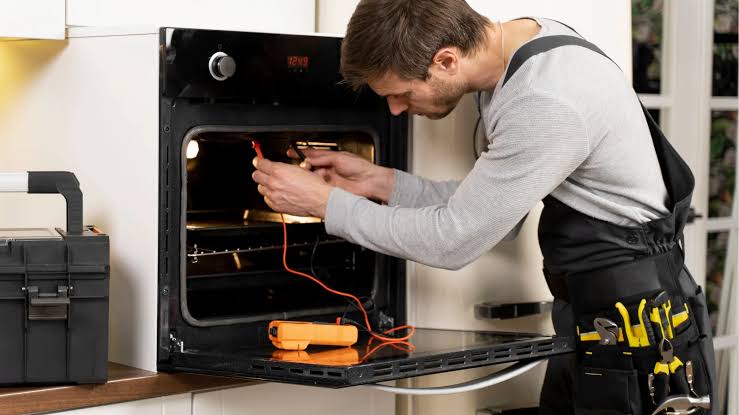
4. Check the Resistance with a Multimeter
Set your multimeter to the Ohms ($\Omega$) setting. Place one tester probe into each of the two terminals inside the plastic sensor plug.
- At normal room temperature (around 70°F or 21°C), a standard oven temperature sensor should read approximately 1,050 to 1,100 Ohms.
- If your multimeter reads less than 900 Ohms, greater than 1,200 Ohms, or displays an “OL” (Open Line) reading, the internal ceramic sensor elements have degraded. The part is broken and cannot be saved.
5. Install the New Sensor
If your test fails, take your oven’s exact model number (found on a sticker inside the bottom drawer or along the door frame) and order a matching replacement sensor online. Plug the new sensor back into the appliance wiring harness, push the wires cleanly back through the rear hole, and secure the mounting plate with your original screws. Flip your breaker back on to confirm the code has cleared cleanly.
Essential Pro Tips for Oven Maintanence
Preventing an error code is always easier than fixing one under the pressure of a looming dinner deadline. Keep these technical insights in mind to protect your appliance’s electronics:
- Skip the Self-Clean Cycle: As technicians, we generally advise against using the built-in high-heat self-clean feature on modern electronic ovens. This cycle ramps the oven temperature up to over 800°F (425°C). Because the electronic control boards are located directly above or adjacent to the oven cavity, this extreme heat can literally bake the delicate solder joints and microprocessors on your ECB, leading to premature F1 or F5 control board failures. Instead, use a manual paste of baking soda and water to clean the interior safely.
- Protect Against Power Surges: Your oven contains sensitive computing electronics. If your area is prone to frequent thunderstorms or grid fluctuations, consider installing a whole-house surge protector at your main electrical panel to safeguard all your major appliances from frying.
Let’s Get Your Kitchen Fixed
Figuring out how to clear common electric oven error codes at home doesn’t just save you a massive professional service bill—it keeps your household running smoothly without unnecessary downtime. Knowing your way around a basic multimeter and a screwdriver is a fantastic skill that pays dividends every single time an appliance acts up.
If you managed to clear your flashing display screen and save dinner today, don’t stop there! Be sure to bookmark FixNest.xyz so you always have an expert-led guide ready the next time your refrigerator clicks, your washing machine refuses to spin, or your dishwasher leaks water.
Did you hit an unexpected roadblock with a stubborn code pattern, or are you getting strange resistance numbers on your multimeter? Leave a comment below! I monitor our comment sections to help folks troubleshoot their tricky fixes. And don’t forget to subscribe to our newsletter to receive handy, monthly appliance maintenance checklists and money-saving DIY tips delivered right to your inbox. Let’s tackle your household repairs together!