Learn how to remove mold from front load washer rubber seal easily with this expert DIY guide. Save money and eliminate bad odors today!
How to Remove Mold From Front Load Washer Rubber Seal: The Ultimate DIY Guide
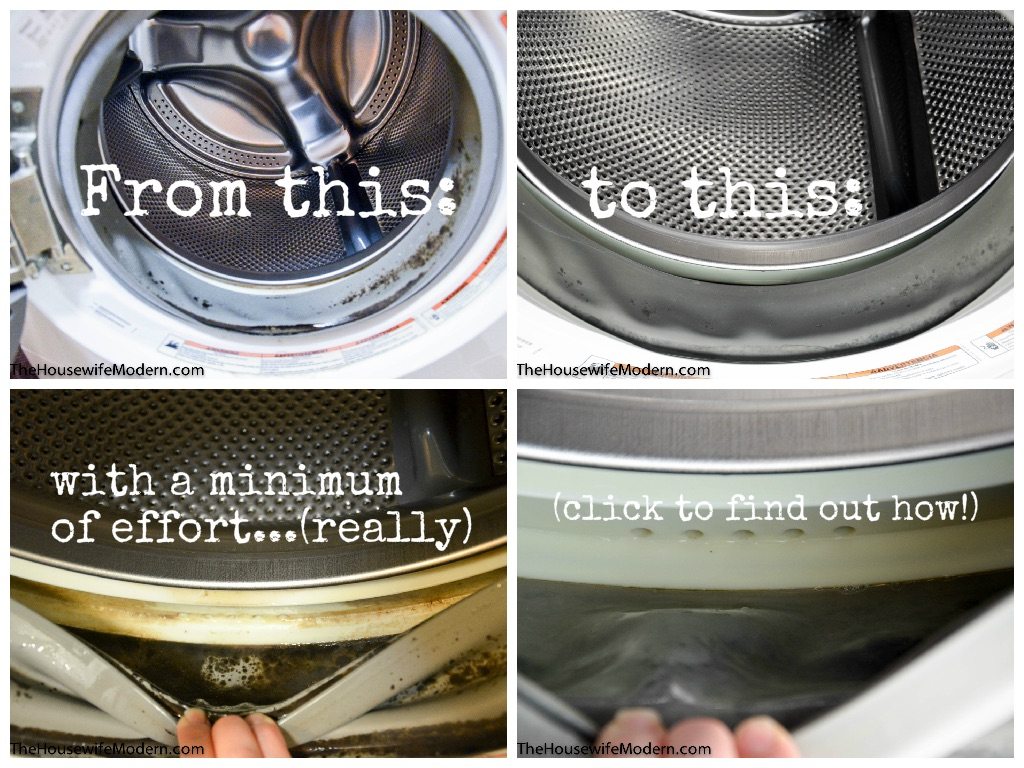
Look, I get it. You open your washing machine door, expecting the fresh scent of clean laundry, but instead, you get hit with a funky, swamp-like odor. You peel back that thick gray rubber gasket, and there it is: a slimy, blackish-green layer of mold staring back at you. It is nasty, it ruins your clothes, and honestly, it makes you feel like your machine is doing more harm than good.
But here is the real talk—this is the single most common issue with modern front-loading washing machines. You do not need to call an expensive repair technician, and you definitely do not need to replace the entire gasket just yet.
As a senior appliance technician, I deal with this exact issue every single week. Today, I am going to walk you through exactly how to remove mold from front load washer rubber seal safely, effectively, and without spending a fortune. Welcome back to FixNest.xyz, your go-to digital manual where we break down complex appliance maintanence into simple, money-saving steps.
Why Front Load Washer Seals Are Mold Magnets
Before we grab our cleaning supplies, we need to understand the enemy. Why does this happen?
Front-load washers are designed to be incredibly water-efficient. To keep all that tumbling water inside the machine, they use a heavy-duty rubber door boot seal (often called a gasket). This gasket creates an airtight seal when the door is closed.
However, that great seal comes with a major downside. The lower folds of the rubber seal naturally trap water, leftover liquid fabric softener, and lint after every single cycle. This mixture forms a slimy residue known as “scrud.” Combine this dark, damp, soap-laden environment with a warm laundry room, and you have literally built a five-star luxury resort for mold and mildew spores.
If you use cold water cycles exclusively and pour in too much high-efficiency (HE) liquid detergent, the proccess accelerates. The excess soap never fully rinses away; it just sticks to the rubber and becomes food for fungal growth.
The Cleaning Arsenal: What Works Best?
Not all cleaning agents are created equal when it comes to rubber seals. Some can actually degrade the rubber over time, leading to leaks and a much more expensive repair down the road. Let us look at your options in this quick comparison matrix.
| Cleaning Agent | Effectiveness on Mold | Rubber Safety Rating | Best Used For |
| Liquid Chlorine Bleach | Excellent (Kills spores instantly) | Medium (Can dry out rubber if left too long) | Heavy, deep-seated black mold infestations. |
| White Vinegar & Baking Soda | Good (Natural, safe option) | High (Completely safe for rubber components) | Light mold, regular monthly maintenance, and odor removal. |
| Commercial Mold Gel | Excellent (Thick formula clings to folds) | Medium-High (Formulated specifically for seals) | Vertical surfaces where liquids run off too fast. |
| Rubbing Alcohol / Peroxide | Moderate | High | Minor surface discoloration and final sanitization. |
Here at FixNest.xyz, we always recommend starting with the least aggressive method if your mold issue is mild. But if your seal looks like a science experiment, it is time to bring out the big guns: chlorine bleach.
Step-by-Step Guide: How to Remove Mold From Front Load Washer Rubber Seal Safely
Let us roll up our sleeves and clean this thing out. Make sure your laundry room is well-ventilated before you begin, especially if you choose the bleach method.
Step 1: Gather Your Supplies
Do not start this project only to find out you are missing something halfway through. Grab these items from around your house:
- Standard liquid household bleach (or white vinegar if you prefer a natural route)
- Baking soda
- A small bowl
- An old toothbrush or a medium-bristle utility brush
- Microfiber cloths or heavy-duty paper towels
- A pair of protective rubber gloves
Step 2: The Preliminary Wipe-Down
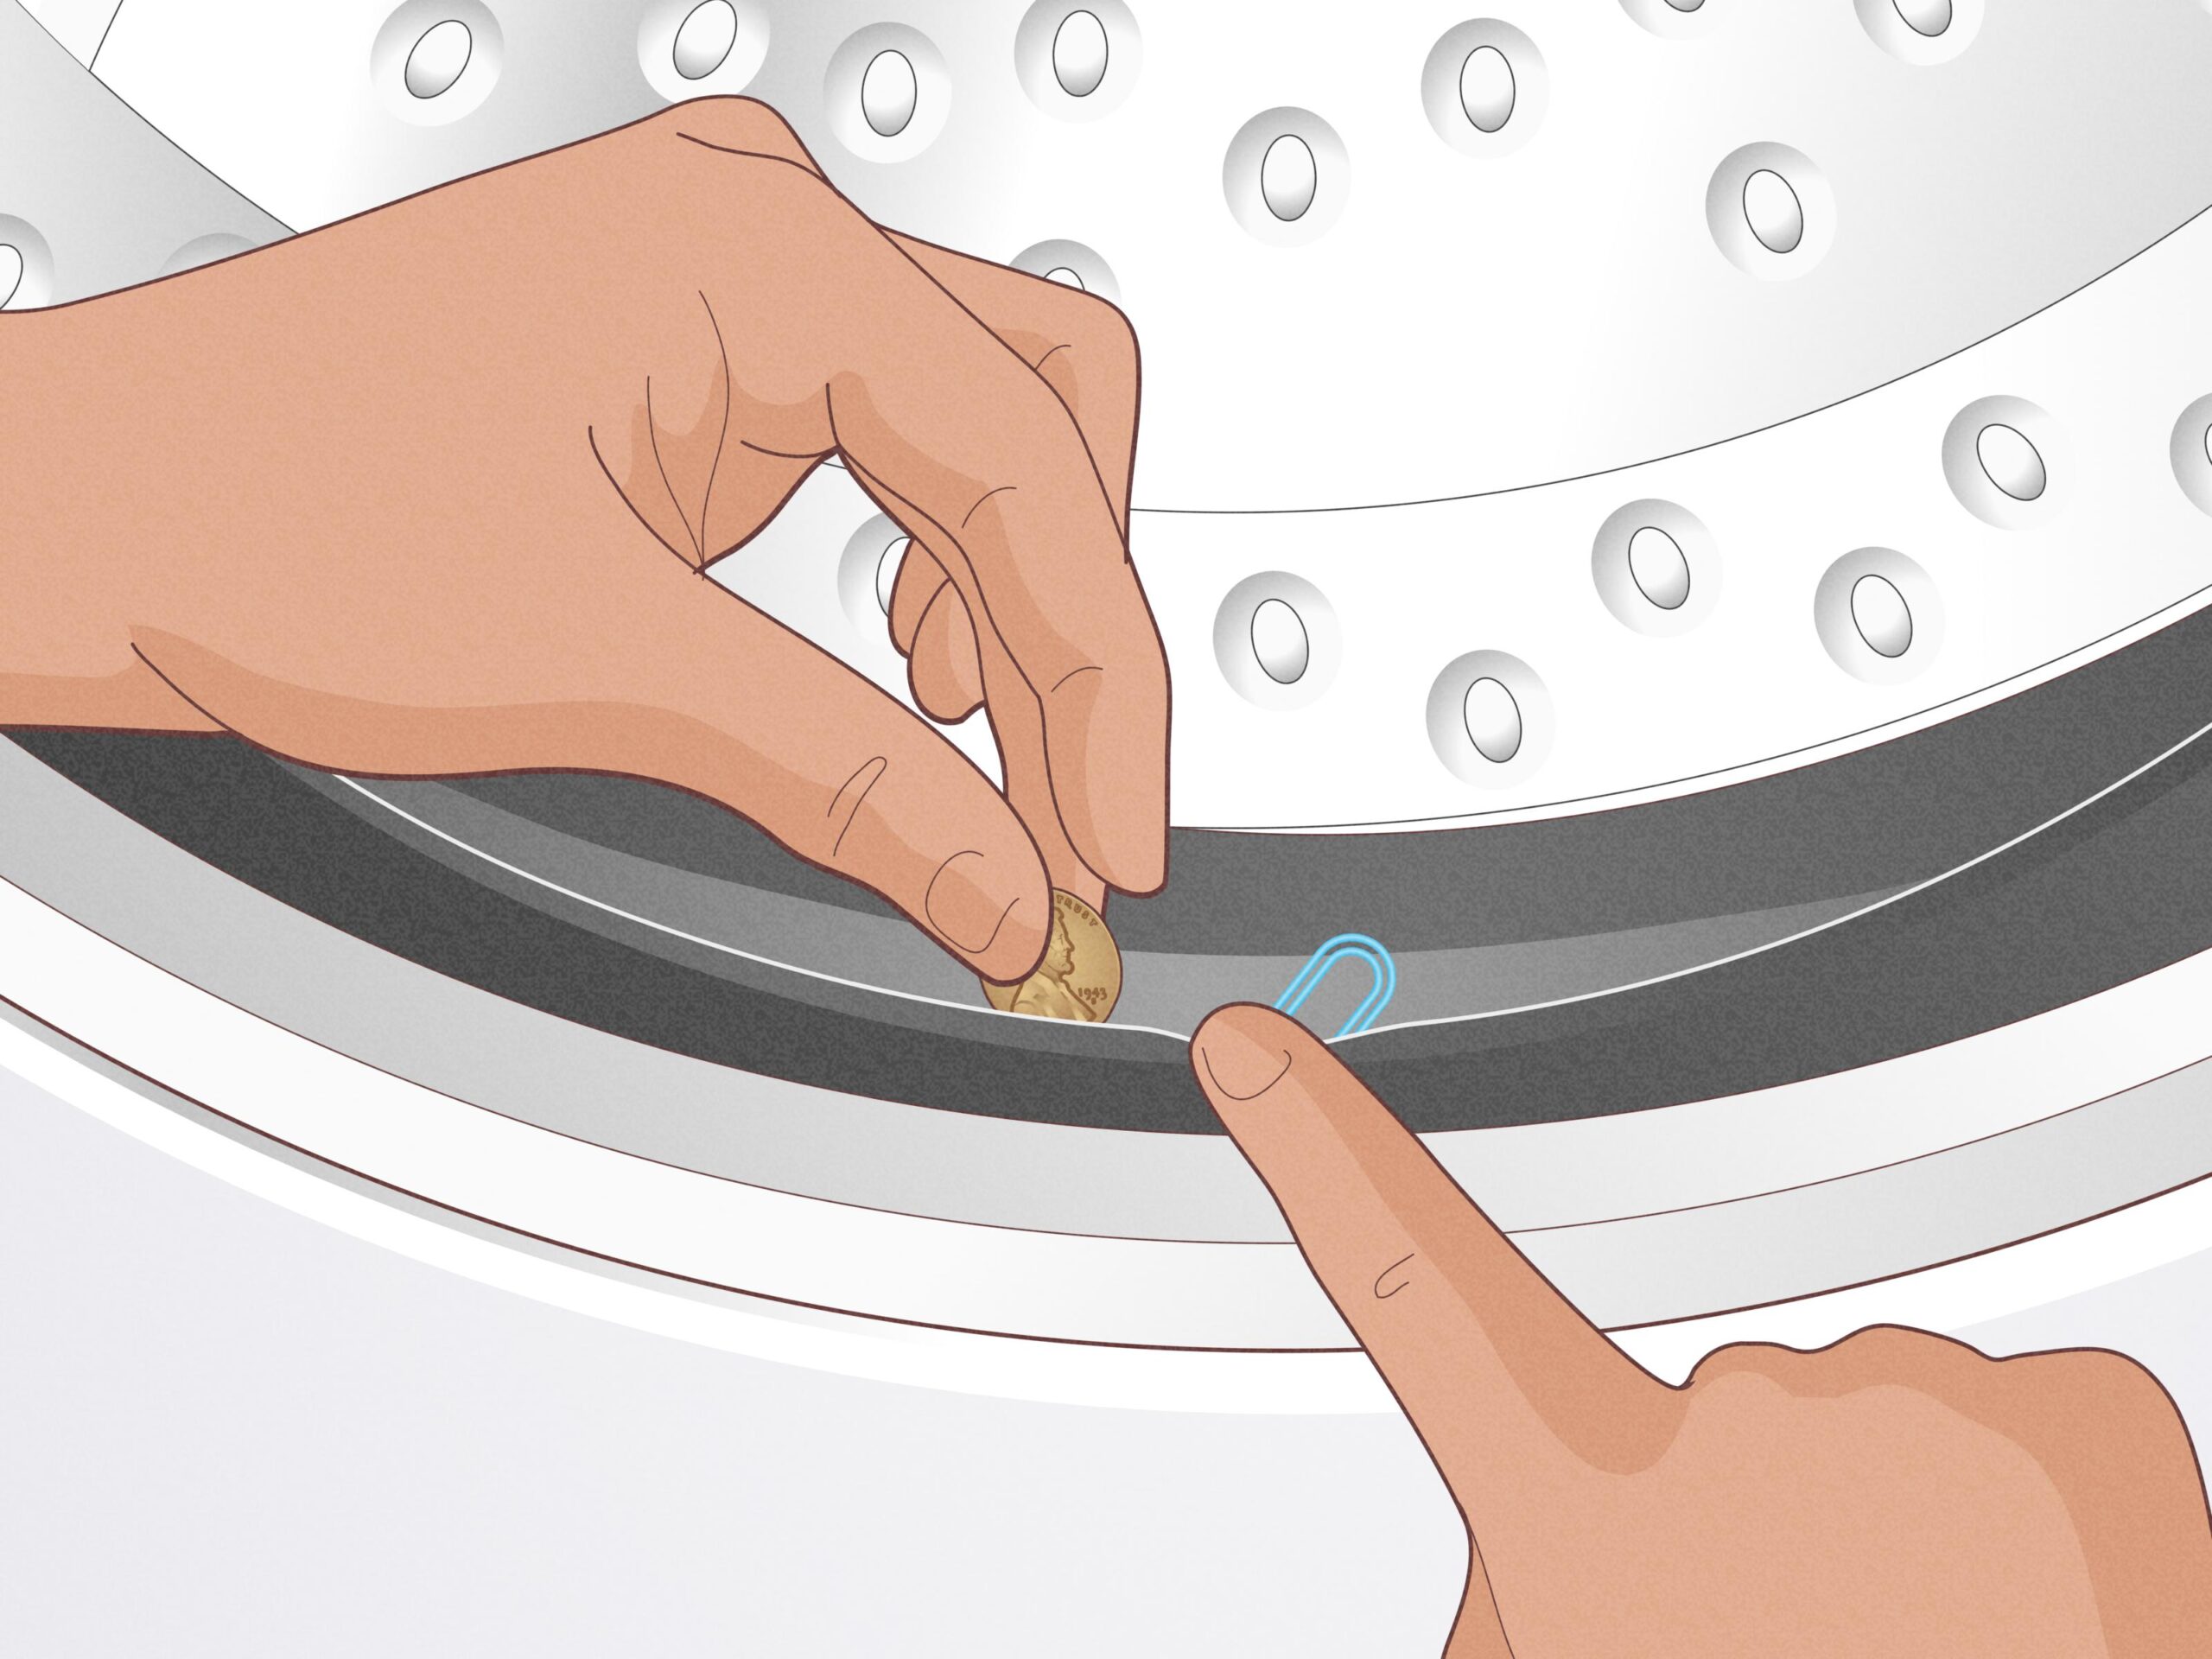
Put on your gloves. Open the washer door completely and gently pull back the folds of the rubber seal with your fingers. Use a damp microfiber cloth to wipe away any loose debris, loose hair, lint, or coins that might be trapped inside the folds. You might be surprised by what has crawled into those pockets!
Step 3: Mix and Apply Your Cleaning Paste
If you are dealing with stubborn black spots, create a cleaning paste by mixing one part bleach with one part baking soda in your bowl until it forms a thick sludge.
Technician Tip: If your mold is running deep along the lower curve, you can also soak strips of paper towels in liquid bleach, then pack them tightly inside the rubber folds, pressing them firmly against the moldy patches.
Using your old toothbrush, spread the paste generously into every single fold, crevice, and drain hole along the bottom half of the rubber seal. Do not rush this part—make sure you get deep into the track where the rubber meets the metal drum.
Step 4: Let It Sit (The Secret Weapon is Time)
Once the paste or soaked paper towels are in place, close the washer door and leave it alone for at least 1 to 2 hours. If your mold is incredibly severe, you can leave it for up to 4 hours. This gives the chemicals enough time to break down the cellular structure of the mold spores and lift the deep stains out of the porous rubber material.
Step 5: Scrub and Wipe Clean
Open the door and remove the soaked paper towels if you used them. Take your toothbrush and give the entire area a vigorous scrub. The mold should slide off easily now. Next, take a clean, damp cloth and wipe away all the leftover paste and loosened sludge. Keep rinsing your cloth in clean water and wiping until the rubber looks bright and feels smooth.
Step 6: Run a High-Heat Maintenance Cycle
To ensure that absolutely no bleach residue or loose mold spores remain inside your drum to ruin your next load of dark clothes, you need to flush the system.
Pour 1 cup of bleach (or a dedicated washing machine cleaner tablet) directly into the empty drum. Set your washing machine to its “Tub Clean” cycle or the hottest, longest regular wash cycle available. Ensure your spin speed is set to high to completely flush out the internal drain lines.
Step 7: The Final Dry
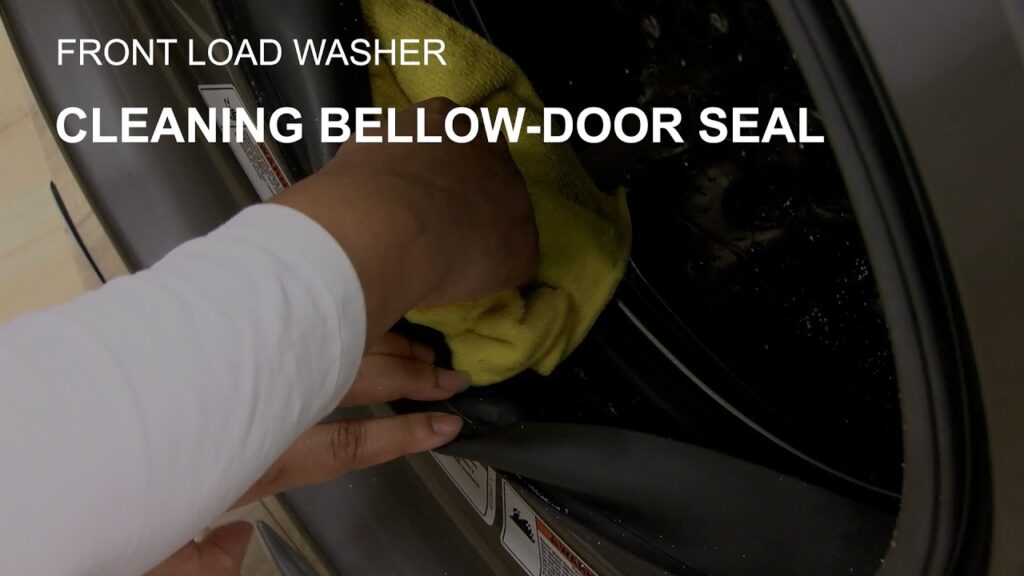
Once the cycle finishes, take a dry towel and thoroughly dry the inside of the rubber seal, paying special attention to the bottom reservoir where water pools. Leave the washer door completely ajar to let air circulate.
How to Prevent Mold From Returning
Now that your seal is sparkling clean, your goal is to keep it that way. You do not want to repeat this deep-cleaning process every single month. Luckily, preventing mold accumulation is incredibly simple if you build a few quick habits into your laundry routine.
- The Golden Rule: Leave the Door Open: When your machine is not in use, leave the door cracked open at least two to three inches. This allows the internal moisture to evaporate, dropping the humidity levels inside the drum below the threshold that mold needs to grow.
- Wipe it Down Daily: Keep a small microfiber cloth hanging near your machine. At the end of your laundry day, spend just 10 seconds wiping down the inside of the rubber seal folds and the glass door.
- Remove Wet Laundry Promptly: Leaving damp clothes sitting in a closed machine for hours creates an absolute greenhouse environment for fungal spores. Transfer your clothes to the dryer or clothesline as soon as the chime goes off.
- Switch to High-Efficiency Powder Detergent: Liquid detergents and liquid fabric softeners contain animal fats and synthetic oils that do not always dissolve fully, leaving behind a perfect film of food for mold. Switching to a high-quality powder HE detergent can drastically reduce residue buildup inside your machine.
- Ditch the Fabric Softener: Use white vinegar in your fabric softener compartment instead. It naturally softens your clothes, helps strip out old soap buildup, and keeps your machine clean during regular cycles.
Long-Term Appliance Maintenance Schedule
To keep your entire laundry setup running at peak efficiency and avoid sudden, stressful breakdowns, try to follow this technician-approved maintenance checklist:
[Every Wash Load] -> [Leave door open, remove clothes immediately]
       |
[Once a Week]    -> [Quickly wipe down the rubber seal track]
       |
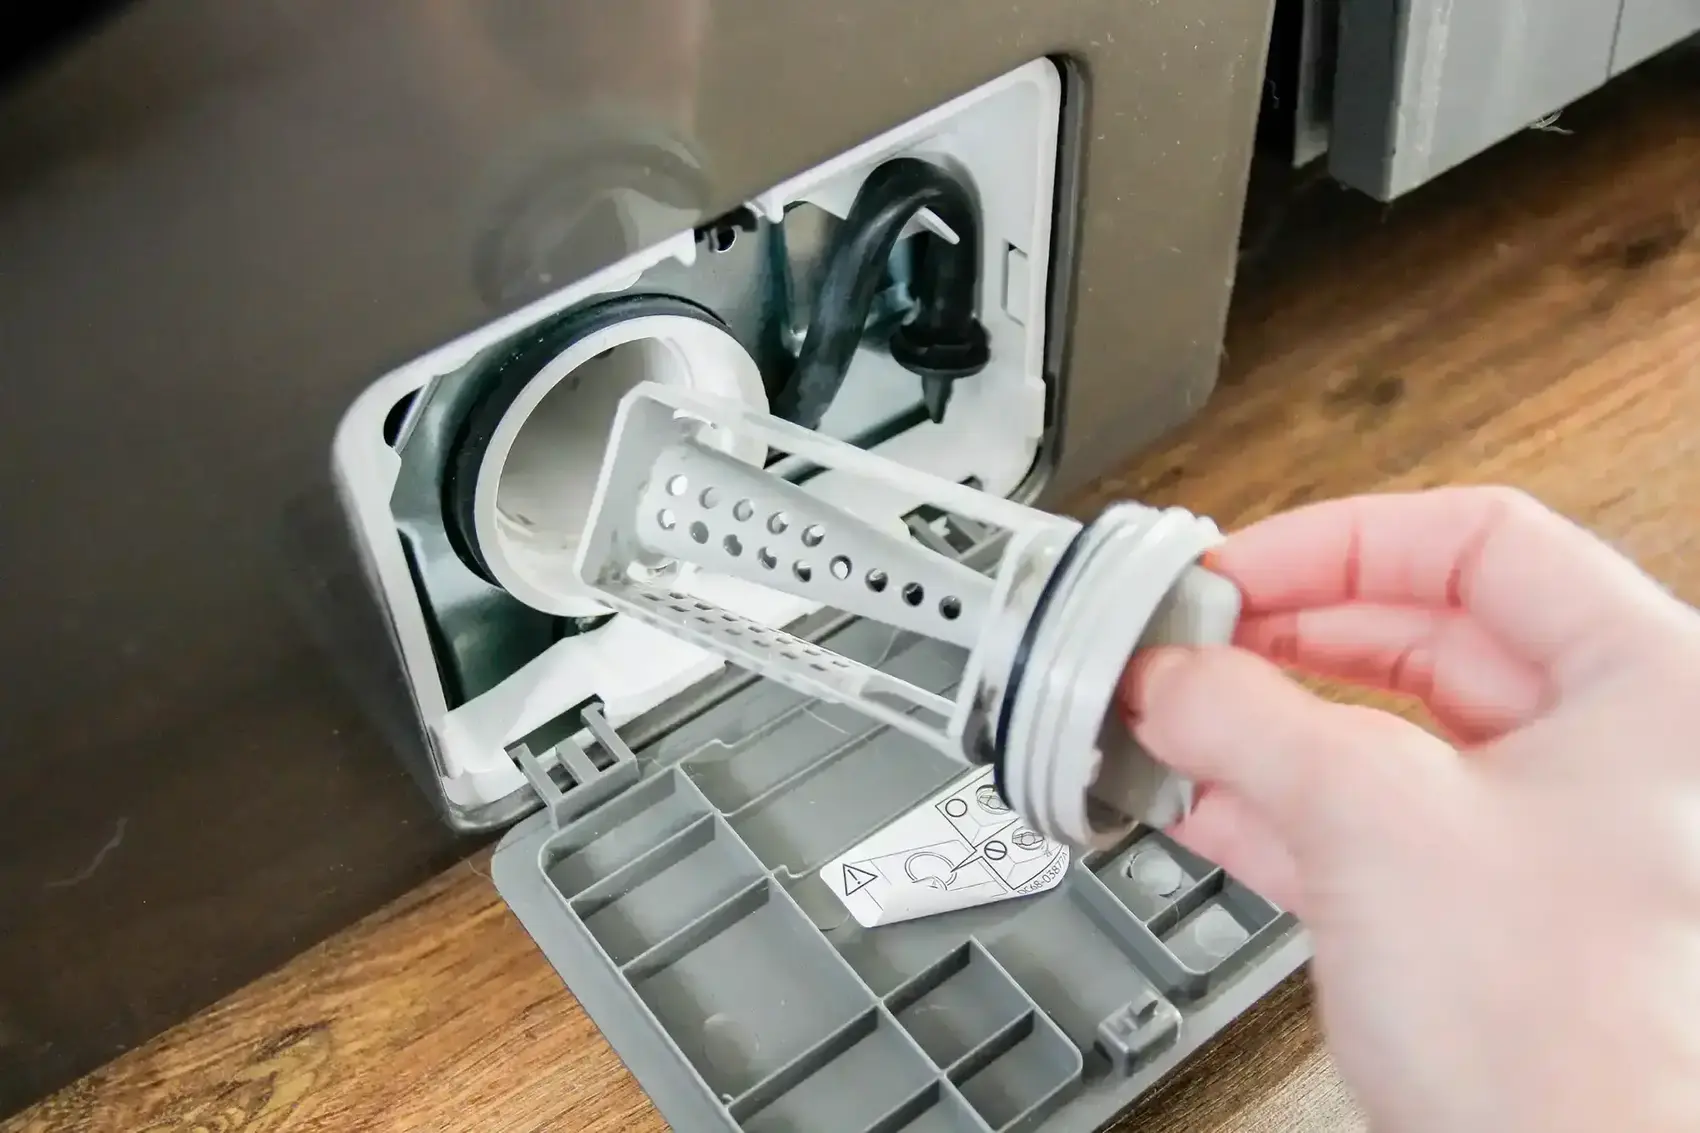
[Once a Month]   -> [Run a hot tub clean cycle, check drain filter]
       |
[Every 6 Months] -> [Inspect water inlet hoses for cracks or bulges]
By sticking to this simple routine, you will not only prevent nasty odors from returning, but you will also extend the lifespan of your machine’s water pump and internal drive components by several years.
When to Replace the Gasket Entirely
Sometimes, despite your best DIY efforts, the rubber seal might be past the point of saving. If the mold has been growing completely undisturbed for years, it can eat its way deep into the chemical structure of the rubber, causing it to rot, crack, or become permanently brittle.
If you notice your machine is leaking water onto the floor from the bottom of the door, or if the rubber feels sticky and falls apart when you scrub it, your mold issue has turned into a structural failure.
But do not panic! Replacing a door boot seal is a straightforward DIY project that you can absolutely handle yourself with a few basic tools like a screwdriver and a pair of needle-nose pliers. When your ready to tackle that, we have got you covered with step-by-step installation blueprints right here on our site.
Your Partner in Smart Home Maintenance
Taking care of your home shouldn’t drain your bank account. By learning how to tackle these everyday appliance hiccups yourself, you take control of your household budget and build skills that keep your home running smoothly.
If you found this guide helpful, make sure to bookmark FixNest.xyz so you always have an expert tech in your pocket for your next appliance repair or troubleshooting puzzle. Don’t forget to subscribe to our monthly newsletter below to get timely, seasonal maintenance reminders sent straight to your inbox—we promise no spam, just real, practical tips to save you cash.
Did you run into a stubborn patch of mold that just won’t budge? Or maybe you are confused about how to pull back the seal on your specific washer brand? Drop a comment below right now! I read through them personally and will do my best to help you troubleshoot your machine. Let us get your laundry room smelling fresh again!