Learn the best way to clean smelly washing machine drum naturally. Say goodbye to mold and bad odors using simple pantry staples with our guide.
Best Way to Clean Smelly Washing Machine Drum Naturally: The Ultimate Eco-Friendly Blueprint
Look, I get it, appliance maintenance is boring but smelling like a wet dog because your laundry machine has turned into a swamp is way worse. You throw your clothes into the wash, add your favorite scented detergent, and expect fresh results. Instead, when the cycle finishes, your fabrics have a funky, sour, or moldy odor that just won’t go away.
Here is the real talk: your washing machine is dirty.
It sounds backwards, right? A machine designed entirely to clean things shouldn’t get dirty itself. But as a senior appliance technician, I see this exact issue more than almost any other. Over months of heavy laundry days, a combination of undissolved liquid soap, body oils, hair, lint, and hard water minerals build up inside the hidden outer tub of your machine. This slimy sludge is called “scrud,” and it serves as an absolute playground for odor-causing bacteria and mildew.
You do not need to head to the store and buy harsh, expensive chemical cleaners that smell like a chemistry lab and pollute our waterways. Today, I am going to share the best way to clean smelly washing machine drum naturally using simple, budget-friendly pantry staples. Welcome back to FixNest.xyz, your ultimate digital home care manual where we break down complex appliance maintenance into real, cash-saving DIY steps.
The Chemistry of Natural Appliance Cleaners
Before we jump into the steps, let us talk about why natural ingredients are so effective. You do not need bleach to kill bad odors if you understand how simple household acids and bases interact with appliance grime.
The two primary weapons in our natural toolkit are distilled white vinegar and baking soda.
- White Vinegar (Acetic Acid): This mild acid is an absolute powerhouse. It cuts directly through alkaline soap scum, breaks down calcified hard water scales, and neutralizes bad odors at a molecular level without damaging your machine’s rubber or plastic internal seals.
- Baking Soda (Sodium Bicarbonate): A mild alkali that acts as a fantastic deodorizer and a very gentle abrasive. It helps lift off the stubborn, greasy biofilm left behind by commercial fabric softeners.
To see how these eco-friendly options compare to heavy commercial chemical cleaners, take a look at this quick diagnostic matrix.
| Cleaning Solution | Odor Elimination | Scale & Soap Scum Removal | Environmental & Appliance Safety | Cost Per Clean |
| Vinegar & Baking Soda | Excellent | Great (Dissolves mineral deposits) | High (100% biodegradable and non-corrosive) | Under $2.00 |
| Commercial Cleaners | Great | Moderate (Varies by brand) | Low (Contains harsh synthetic fragrances) | $5.00 – $10.00 |
| Chlorine Bleach | Excellent (Kills mold) | Poor (Does not dissolve soap scum) | Medium (Can dry out rubber over time) | Under $1.00 |
Here at FixNest.xyz, we always advocate for the natural route first. It protects your family’s skin from chemical residue, shields your machine from premature wear, and keeps your hard-earned cash in your wallet.
The Toolkit: Gather Your Eco-Friendly Supplies
You don’t need to make a special run to the hardware store for this routine. Head over to your kitchen pantry and grab the following items:
- 2 to 4 cups of distilled white vinegar
- 1 cup of baking soda
- A small spray bottle
- An old toothbrush or utility cleaning brush
- A clean microfiber cloth or rag
Step-by-Step Guide to Cleaning Your Washing Machine Drum Naturally
Let us walk through the deep-cleaning proccess together. This method works beautifully for both front-loading and top-loading washing machines.
Step 1: Deep Clean the Soap Dispenser Drawer
Before we tackle the main drum, we need to clean the gateway where your soap enters the machine. Most people never look inside their detergent drawer, but it is often choked with thick, black mold.
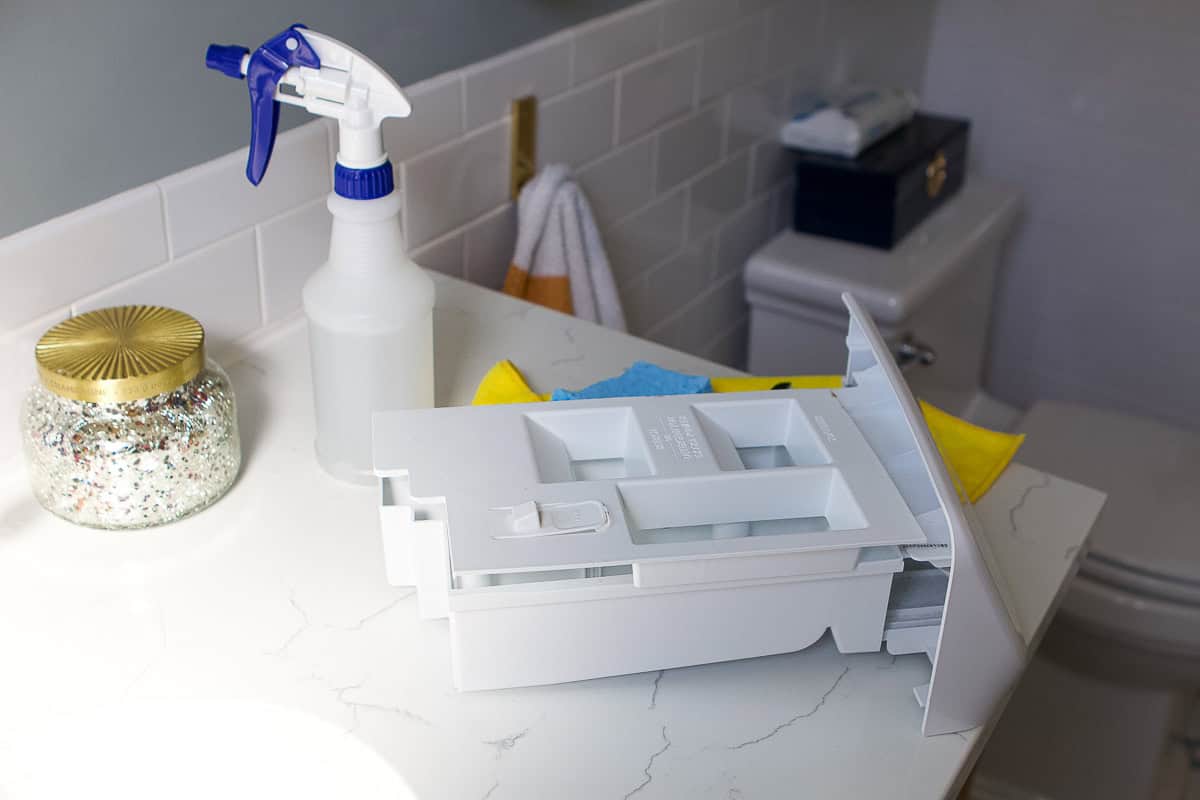
Pull the drawer out completely (most models have a small release tab in the center pocket you can press down to slide it right out). Submerge the plastic drawer in your kitchen sink filled with hot water and one cup of white vinegar. Let it soak for 15 minutes, then use your old toothbrush to scrub away all the crusty, congealed soap buildup. Wipe the empty cavity inside the washer housing before sliding the clean drawer back in.
Step 2: Prep and Spray the Internal Drum
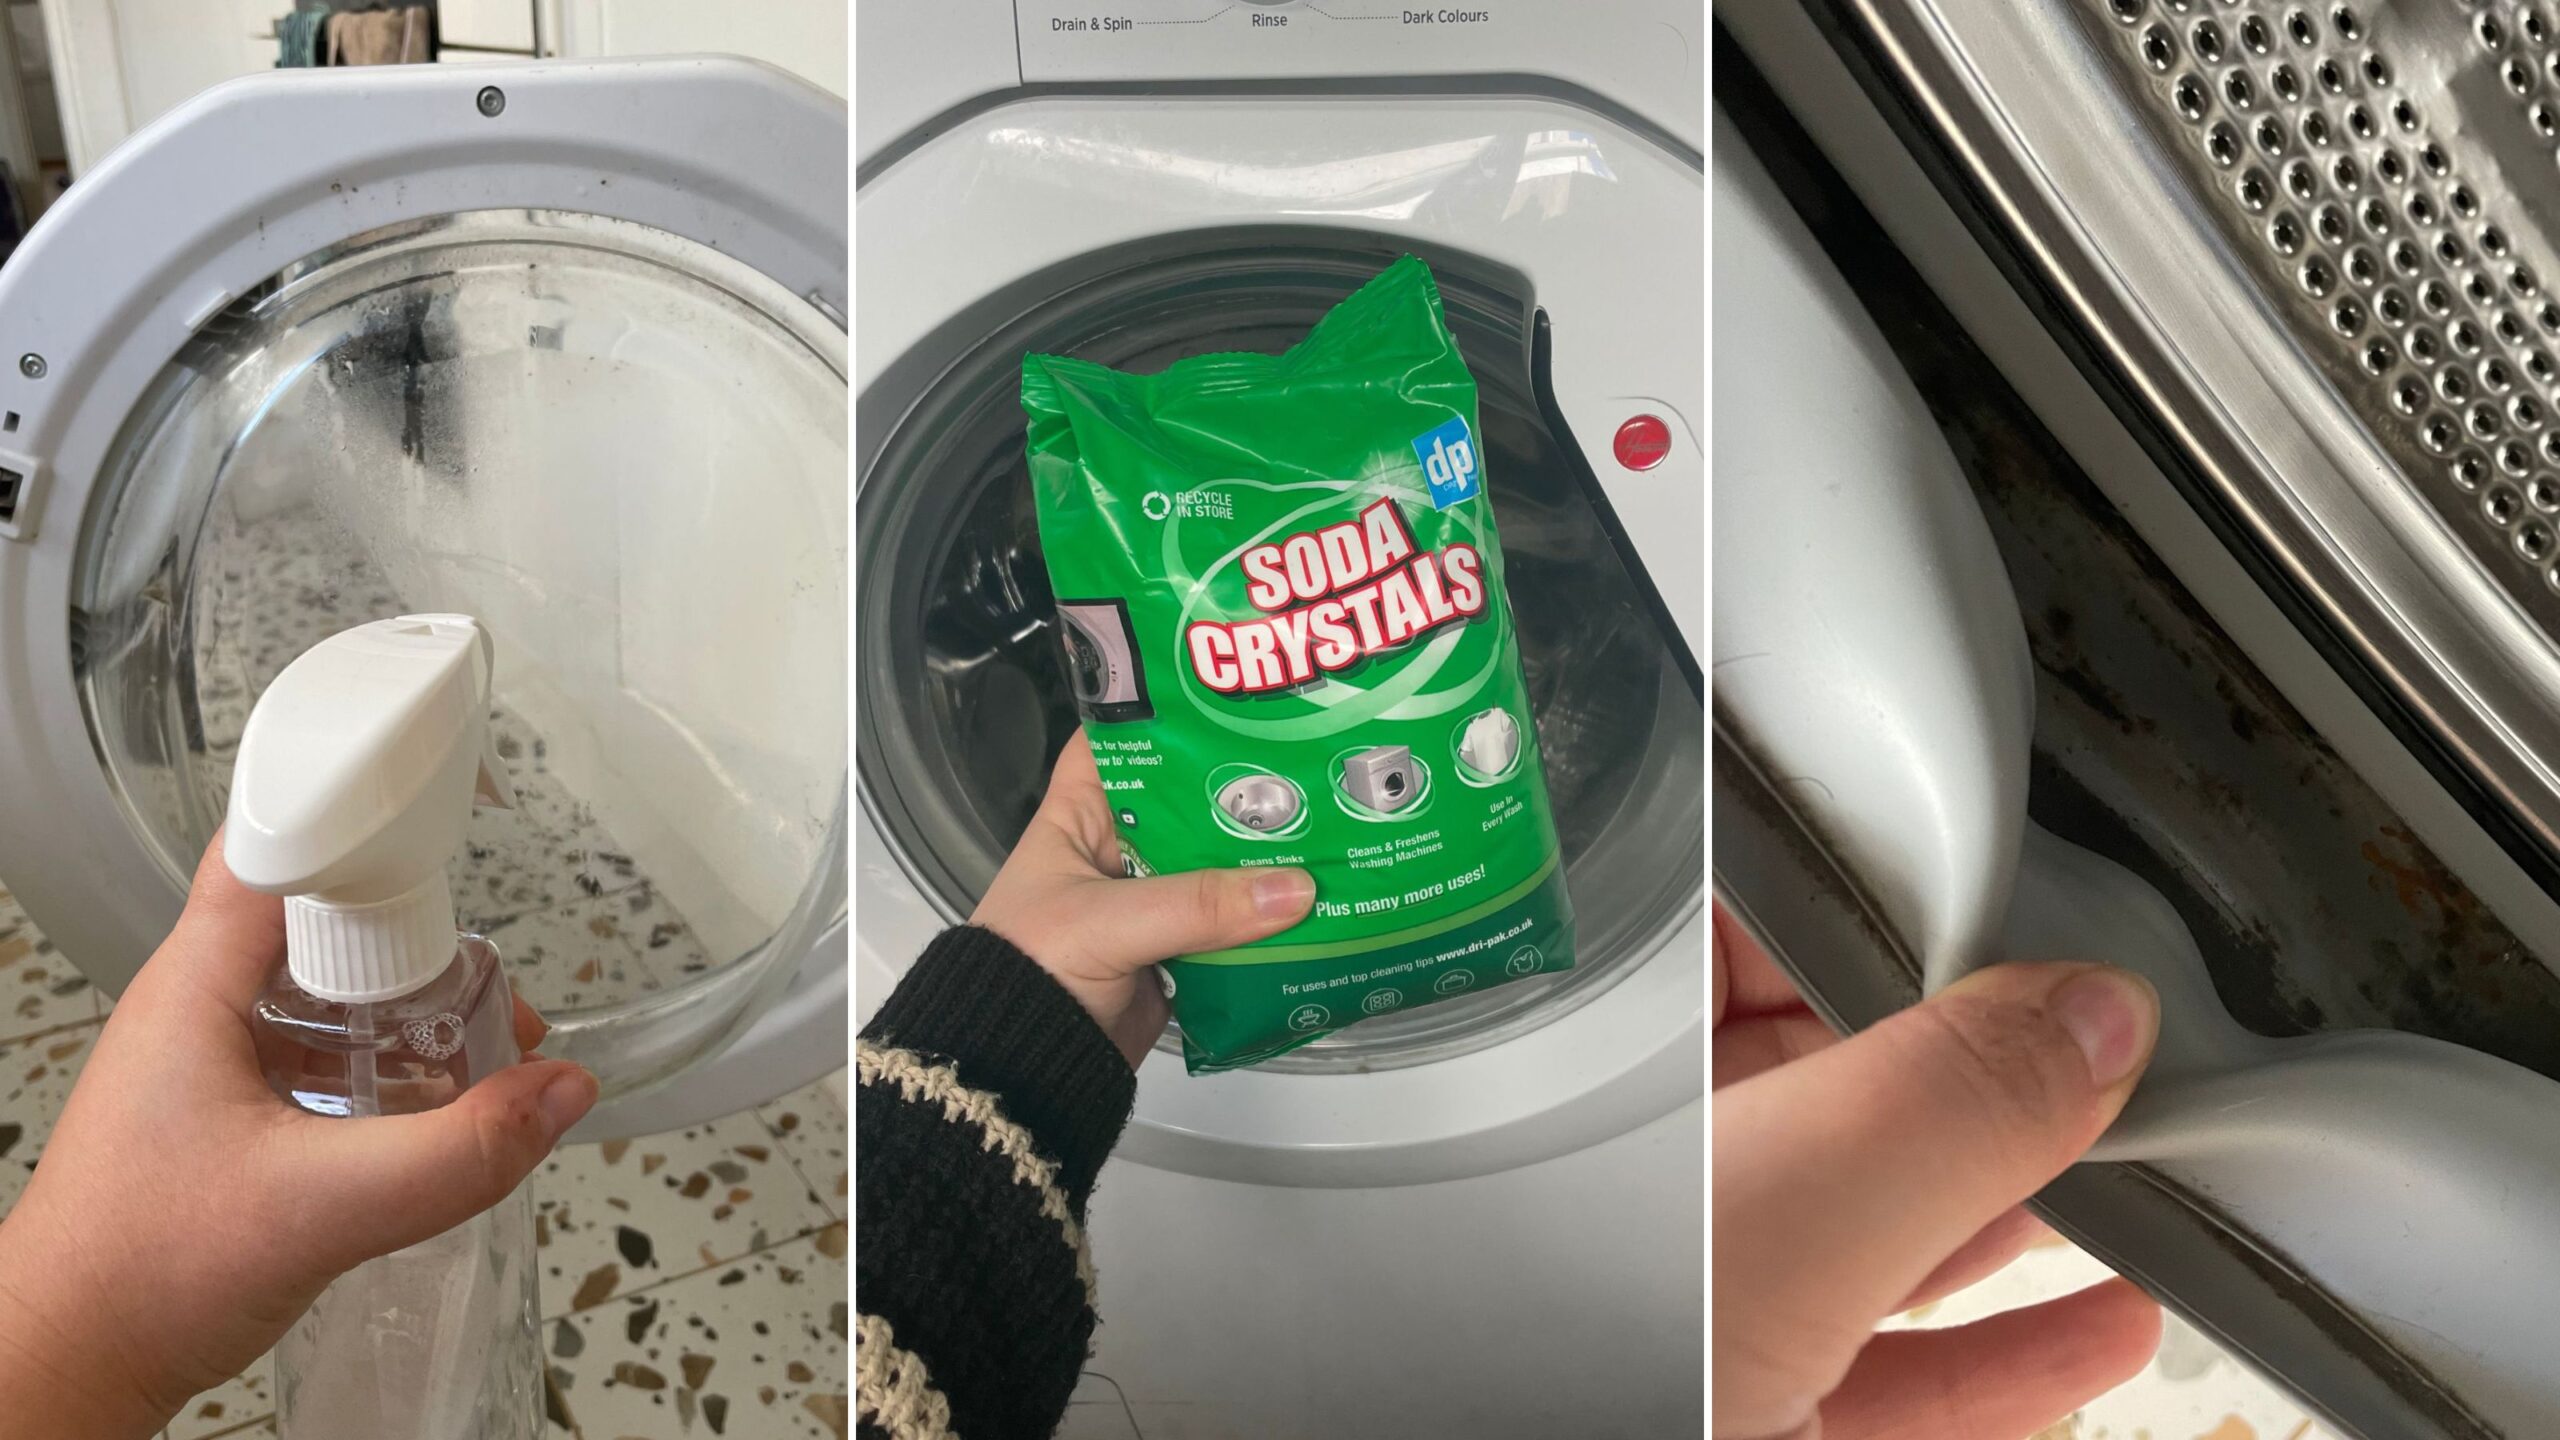
Take your small spray bottle and fill it with straight, undiluted white vinegar. Open your washing machine door wide and give the entire interior stainless steel drum a generous misting.
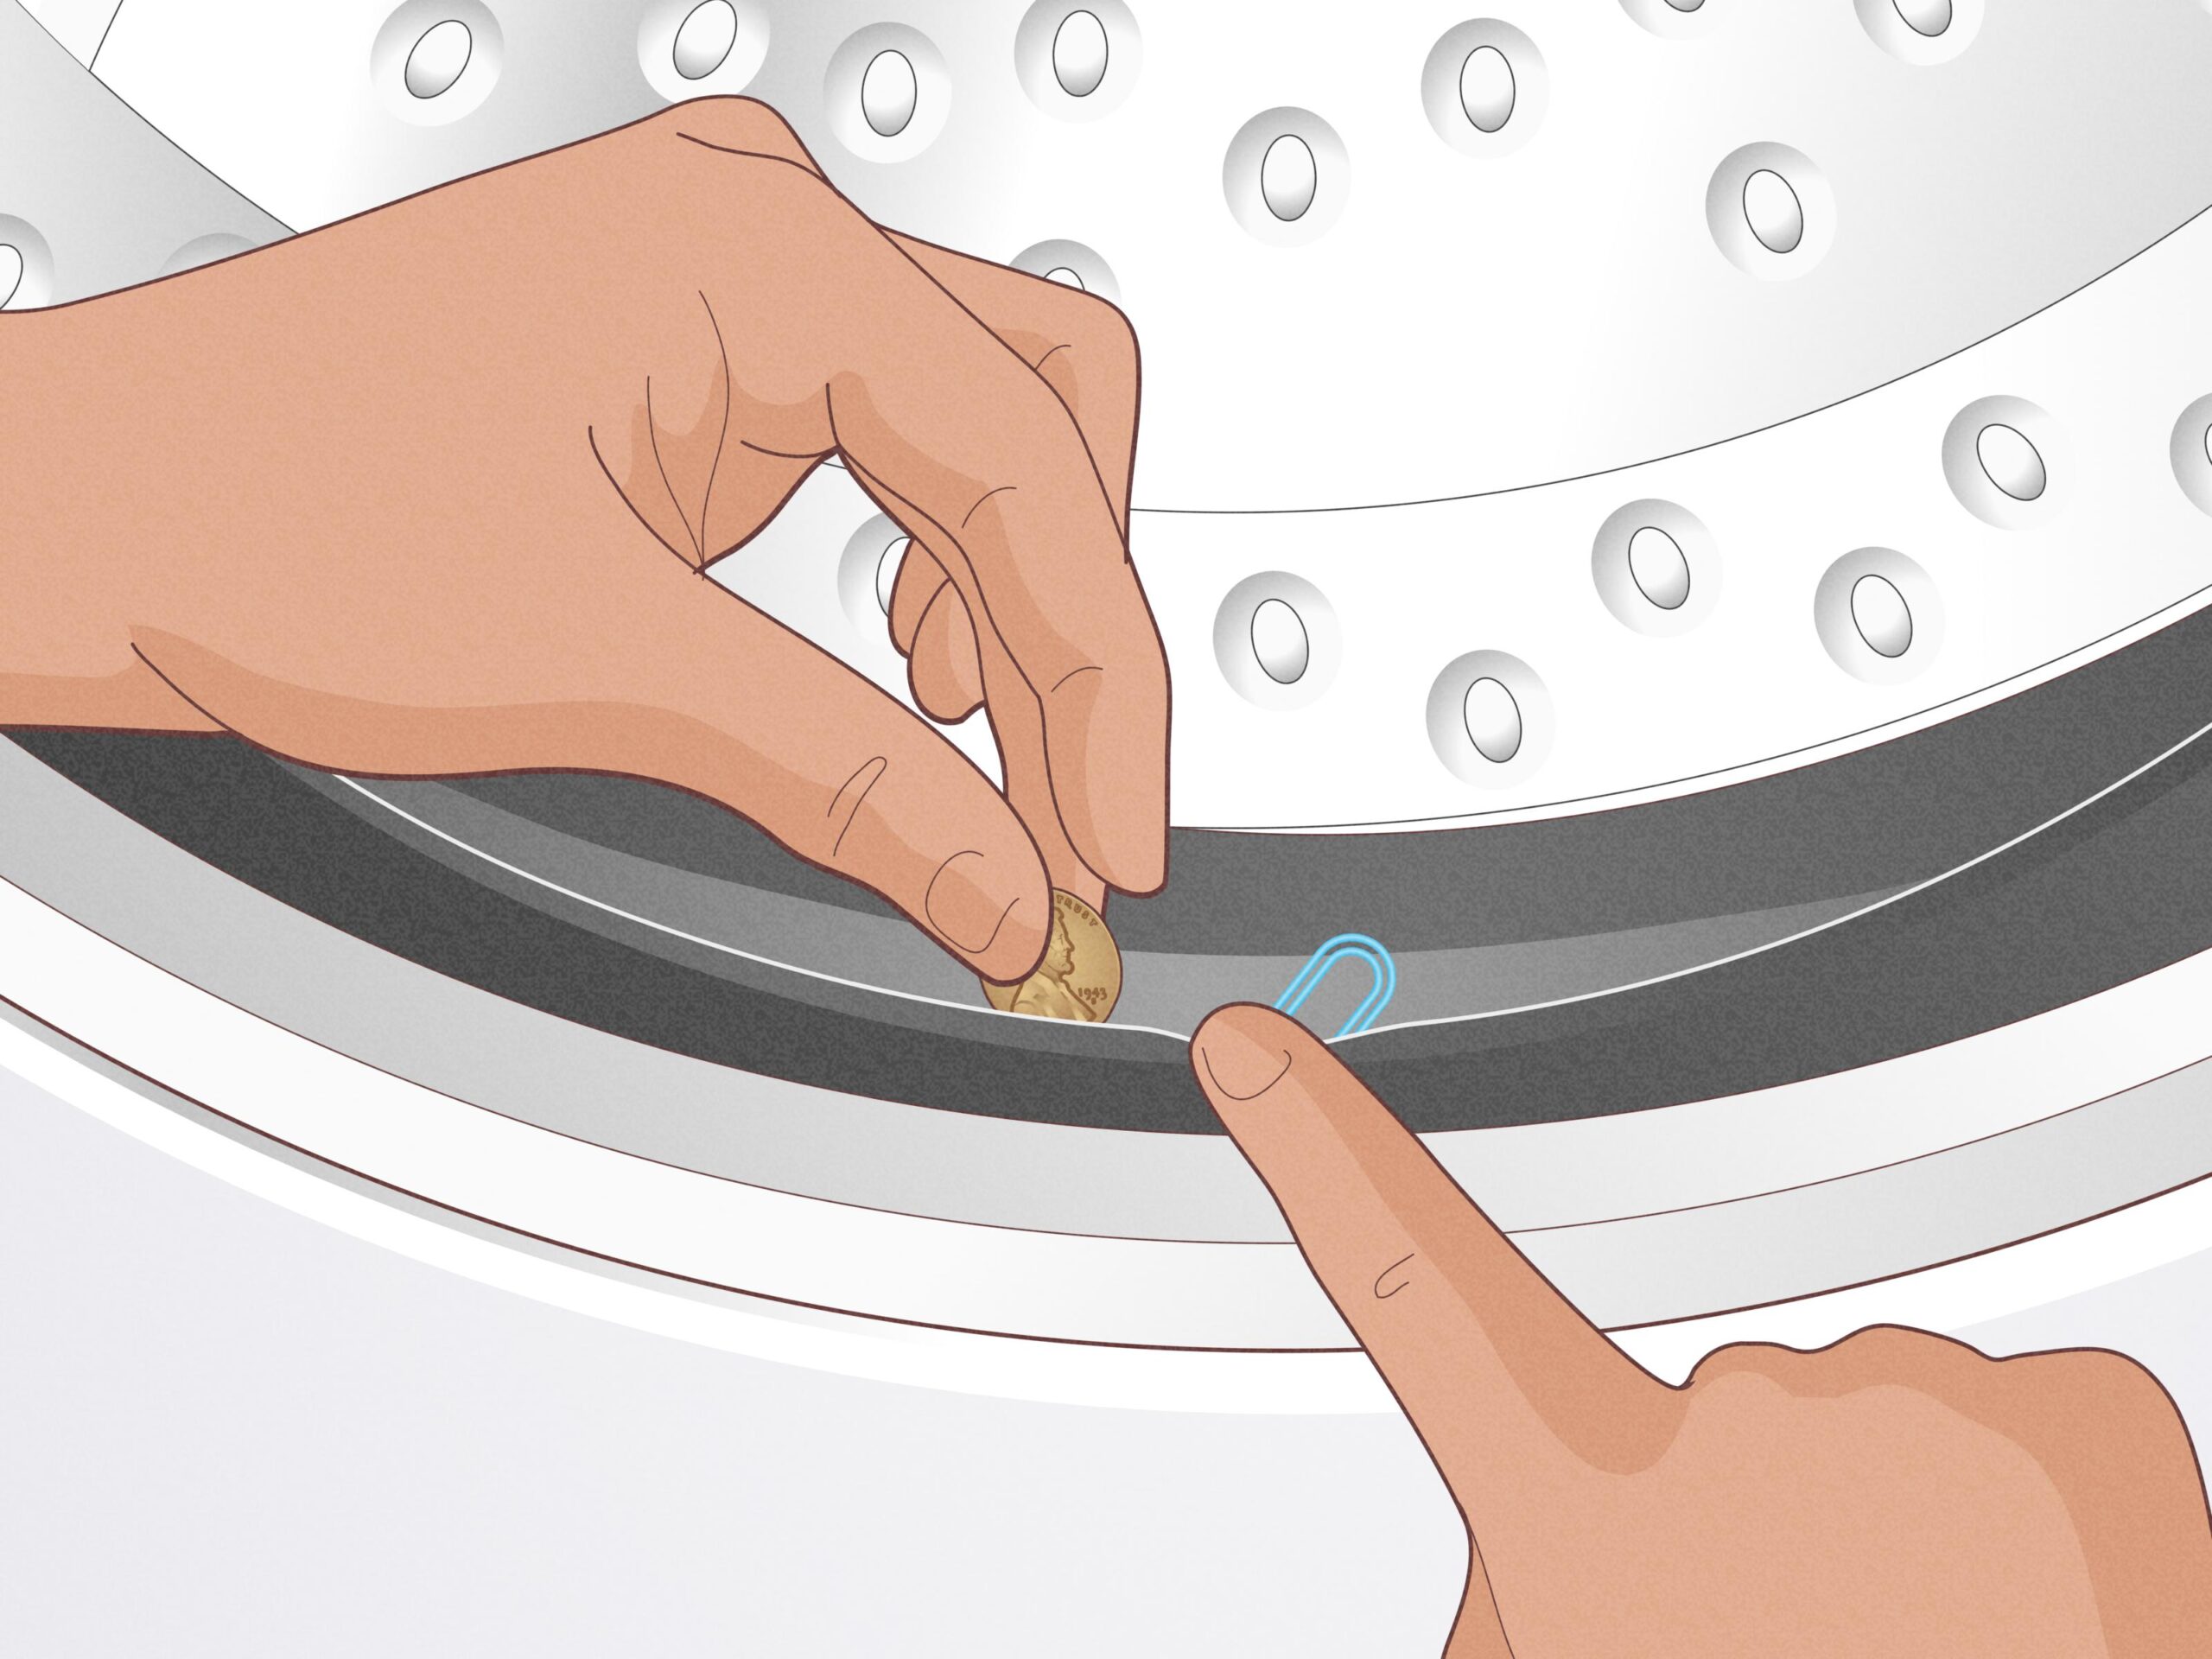
If you own a front-load washer, peel back the thick rubber door seal folds and spray heavily inside the track where water normally pools. Let the vinegar sit on the metal and rubber surfaces for about 10 minutes to start breaking down the surface grime.
Step 3: Scrub the Door Seals and Agitator Crevices
While the vinegar is working its magic, take your toothbrush and scrub the physical crevices. For front loaders, scrub the inside of the rubber boot seal vigorously—you will likely see gray sludge loosen up. For top loaders, scrub around the base of the central plastic column or agitator fins. Use your microfiber cloth to wipe away the loosened gunk.
Step 4: The Hot Vinegar Wash Cycle
Now it is time to clean the hidden outer parts of the tub that you can’t reach by hand.
For a top-load washer, fill the drum with your machine’s hottest water setting. As it fills, pour 4 cups of white distilled vinegar directly into the open water. For a front-load washer, pour 2 cups of white vinegar directly into the empty drum chamber and add a splash into the main detergent drawer compartment.
Set your machine to its longest, hottest wash option—usually labeled as “Tub Clean,” “Sanitize,” or “Heavy Duty.” Start the cycle and let it run completely. The hot acid solution will flush through the drum perforations, dissolving the hidden layers of crusty soap scum attached to the outer tub.
Step 5: The Baking Soda Deodorizing Flush
Once the first cycle finishes completely, your machine will be free of scale, but we need to tackle the residual odor molecules and scrub away any lingering greasy film.
Open the door and sprinkle 1 cup of baking soda directly onto the floor of the empty wash drum. Do not put the baking soda in the dispenser drawer; it needs to sit right inside the main chamber.
Close the door and run a second hot wash cycle. The baking soda will react gently with any remaining vinegar traces, fizzing inside the drain lines and lifting away the final layers of musty odor.
Step 6: Empty and Clean the Drain Pump Filter
This is the step that trips up almost everyone. If you complete the drum washes but your machine still smells like rotten eggs, your drain filter is clogged.
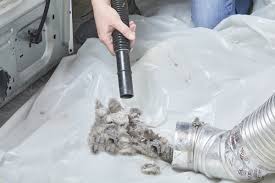
For front loaders, look for a small access door at the bottom front panel of the machine. Place a shallow tray or towel on the floor, open the flap, and slowly unscrew the round plastic filter cap. Water will rush out—that is completely normal. Pull out the filter basket and you will likely find a tangled mass of wet lint, hair, bobby pins, and stagnant, smelly water. Rinse it under the tap, scrub it clean, and screw it tightly back into place.
Step 7: The Final Wipe and Air-Dry
Take a clean, dry towel and wipe down the interior glass door, the rubber seals, and the metal drum surface. The machine should look sparkling clean and smell incredibly fresh.
Smart Laundry Habits to Stop Odors Before They Start
Now that you have successfully cleaned your machine, you want to make sure the funk doesn’t return next month. Preventing odor accumulation is incredibly simple if your willing to make a few quick tweaks to your daily laundry habits.
- Leave the Door Open: This is the absolute golden rule of laundry room maintanence. When your machine is not running, leave the door or lid completely ajar. This allows the internal moisture to evaporate, dropping the humidity levels so mold spores cannot grow.
- Switch from Liquid to Powder Detergent: Liquid detergents are formulated with synthetic oils and animal fats that do not always dissolve fully in cool water, creating a perfect food source for bacteria. Switching to a high-quality powder detergent drastically reduces the sticky residue left behind inside your tub.
- Stop Over-Dosing Your Soap: More soap doesn’t equal cleaner clothes. In fact, using too much detergent leaves a film on your fabrics and coats the interior walls of your machine. Follow the recommended lines on the cap, especially if you have a high-efficiency (HE) machine.
- Banish Chemical Fabric Softener: Liquid fabric softeners are essentially liquid wax designed to coat fabric fibers. This wax also coats the inside of your drum and pipes, sealing in moisture and creating a prime breeding ground for slime. Use half a cup of white vinegar in your softener compartment instead—it naturally softens fabrics without leaving a greasy residue behind.
Long-Term Washing Machine Care Checklist
To keep your washing machine operating at peak performance and extend its total running life, follow this technician-approved seasonal schedule:
[Every Wash Load] -> [Leave door open, remove wet clothes instantly]
       |
[Once a Week]    -> [Quickly wipe down the rubber door boot seal]
       |
[Once a Month]   -> [Run a preventative natural vinegar and baking soda flush]
       |
[Every 3 Months] -> [Unscrew and clean out the lower drain pump filter]
By sticking to this simple timeline, you can easily save hundreds of dollars on premature water pump replacements or professional diagnostic visits.
Your Home for Smart DIY Appliance Repair
Taking proper care of your household laundry system doesn’t have to be expensive or complicated. By managing these basic maintenance steps yourself, you protect your household budget and keep your appliances working like brand new for years to come.
If you found this natural cleaning breakdown simple and effective, make sure to bookmark FixNest.xyz so you always have an expert appliance technician’s advice ready for your next household fixing project. Don’t forget to subscribe to our monthly newsletter below to receive timely maintenance checklists and cash-saving repair tips sent directly to your email inbox.
Did you run into a problem while trying to locate or clean your lower drain pump filter? Or maybe you have a stubborn stain on your front-load seal that just won’t come clean? Drop a comment down below right now! I read through our community comments personally and will help you troubleshoot your machine step by step. Let us keep your home smelling fresh and clean!