Discover the best way to clean gas oven burners without scratching. Clean tough grease, fix weak flames, and save money with this DIY guide.
Best Way to Clean Gas Oven Burners Without Scratching: The Technician’s Guide
Look, I get it, appliance maintenance is boring but staring down a weak, sputtering yellow flame when you are trying to boil water for dinner is extremely frustrating. Here is the real talk: your gas range burners are the absolute workhorses of your kitchen. Every single time a pot of pasta boils over, a stray piece of cheese falls out of a taco, or grease splatters from a frying pan, your burner heads bear the brunt of the damage. Over time, that food debris bakes into a rock-hard carbon crust that blocks the tiny gas ports.
When your burner ports get choked up, your stove loses thermal efficiency. You will notice uneven heating, clicking igniters that refuse to catch, or a lazy yellow flame that leaves black soot on the bottom of your expensive cookware.
As a senior home appliance technician, I see people destroy their beautiful cooktops every week by panicking and attacking them with steel wool, wire brushes, or razor blades. Sure, you might scrape the burnt food off, but you will also permanently ruin the porcelain enamel or cast-iron finish.
In this expert guide for FixNest.xyz, I am going to share the absolute best way to clean gas oven burners without scratching them, helping you restore a crisp blue flame while keeping your appliance looking brand new.
The Problem With Common Cleaning Methods
Before we dive into the solution, let’s talk about why standard cleaning habits fail. Most modern gas stovetops and burner caps are covered in a protective porcelain enamel coating. It looks tough, but it is essentially a thin layer of glass fused to metal.
If you scrape this coating with a harsh metal abrasive, you create microscopic scratches. These scratches don’t just look ugly; they strip away the protective layer. Once that happens, bare metal is exposed to humidity, oxygen, and acidic foods, leading to rust. Furthermore, those brand-new scratches act like a magnet for future grease spills, making the burner twice as hard to clean the next time around.
At FixNest.xyz, we focus on sustainable DIY solutions. We want you to fix the problem today in a way that preserves the lifespan of your appliance for the next decade.
Gas Burner Flame Troubleshooting Matrix
If your stovetop isn’t performing correctly, the visual appearance of your flame can tell you exactly what is wrong. Use this diagnostic matrix to troubleshoot your burners before you start washing them.
| Flame Appearance | Root Cause | Safety Risk | Recommended Action |
| Crisp, steady blue flame | Proper gas-to-oxygen mixture; clean ports. | None | Baseline normal. No immediate action required. |
| Lazy, flickering yellow or orange flame | Clogged burner ports restricting air/gas mixing; incomplete combustion. | Medium (Produces higher carbon monoxide) | Deep clean the burner heads immediately using our scratch-free method. |
| Flame only lights on one side of the ring | Half of the tiny jet ports are blocked by boiled-over food or sugar crust. | Low | Remove the burner cap and clear the blocked holes with a safety pin. |
| Burner clicks constantly but won’t ignite | The spark igniter ceramic electrode is wet, greasy, or coated in carbon. | High (Unburned gas escapes into the room) | Turn off gas. Clean the igniter gently with rubbing alcohol and a cotton swab. |
Essential Supplies for a Scratch-Free Clean
You do not need to purchase expensive, highly caustic chemical oven sprays to get a spotless finish. In fact, heavy chemical sprays can permanently discolor brass and aluminum burner components. Instead, gather these gentle, non-abrasive household supplies:
- Distilled White Vinegar: The mild acetic acid breaks down stubborn organic food bonds and cuts through grease without etching the metal surfaces.
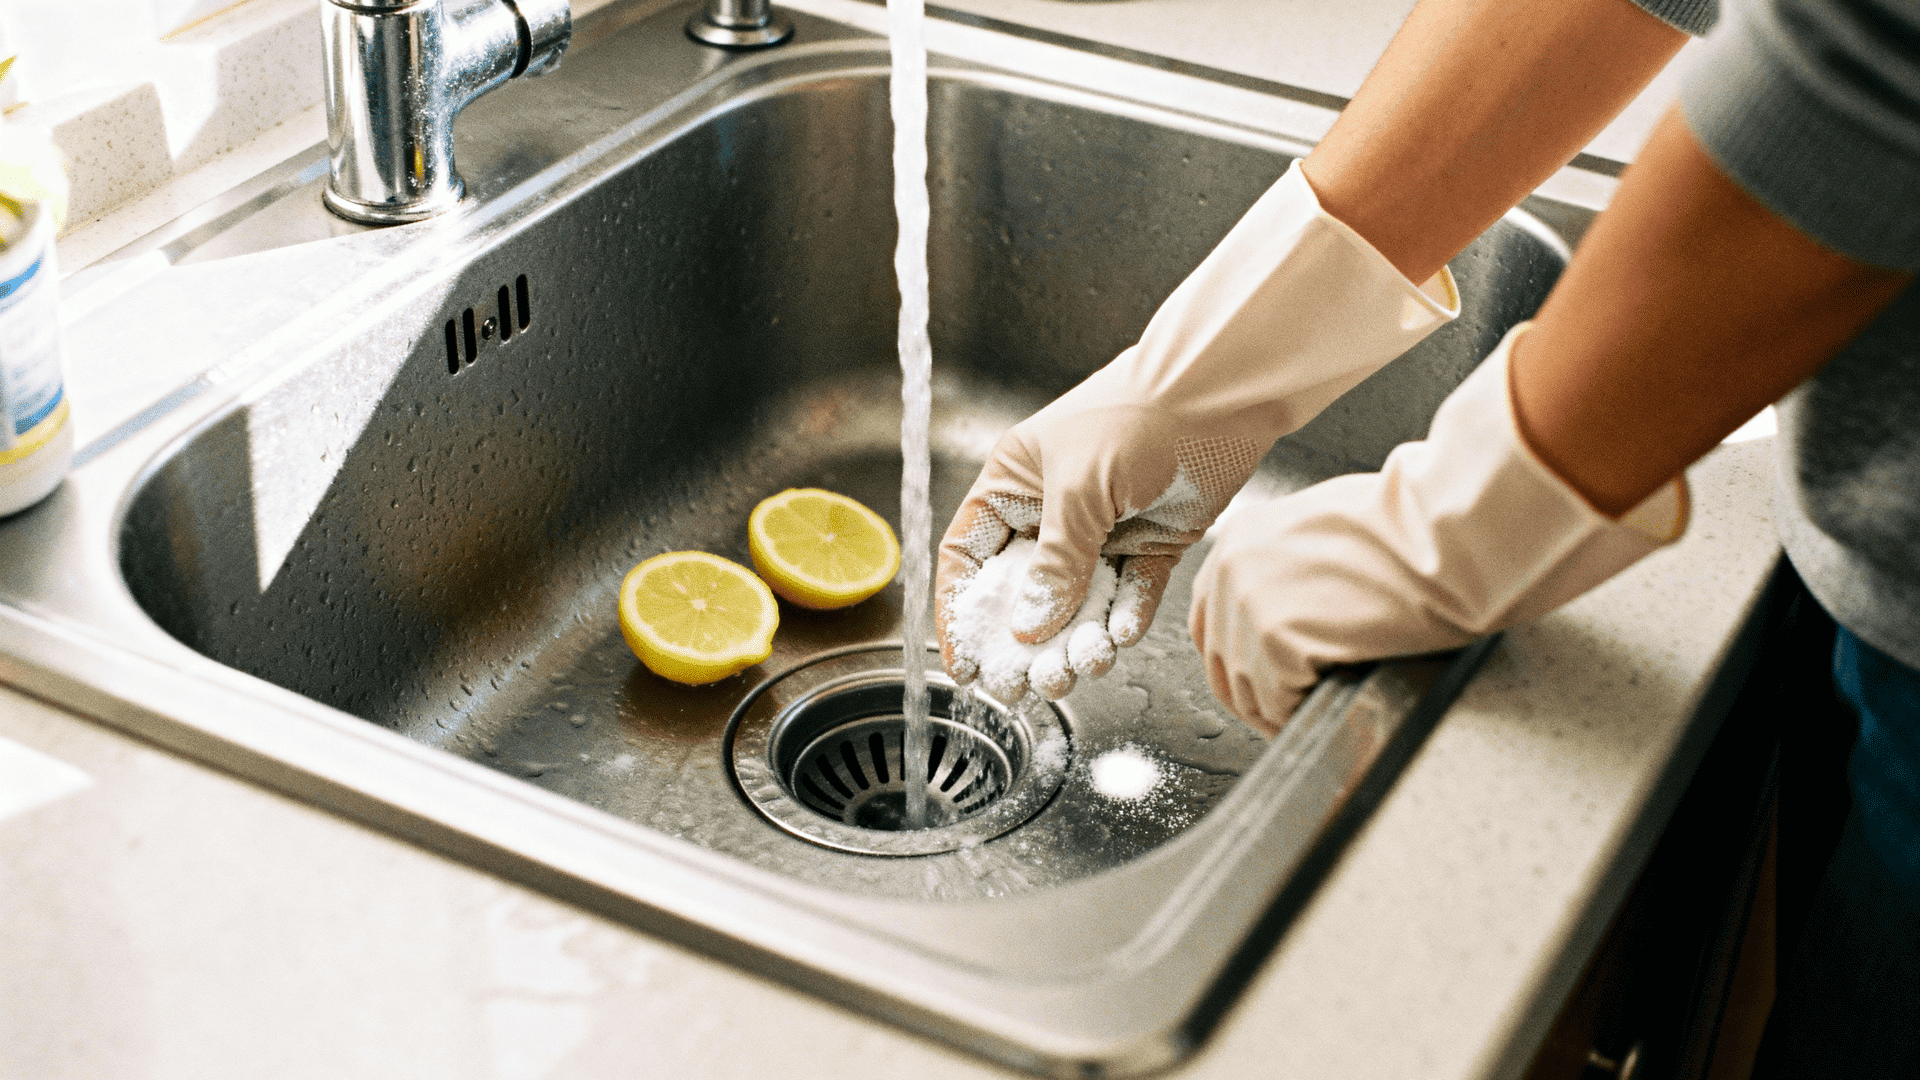
- Baking Soda (Sodium Bicarbonate): This is the secret weapon. It provides a highly effective, super-gentle abrasive action that breaks down carbon buildup but is softer than porcelain enamel, meaning it won’t scratch the finish.
- Dawn Liquid Dish Soap: A powerful surfactant that emulsifies grease and oils.
- A Plastic Scrubbie or Nylon Kitchen Brush: Avoid anything made of metal. A stiff-bristled toothbrush or a non-scratch blue sponge is perfect.
- A Plain Safety Pin or Paperclip: Essential for mechanically clearing out the tiny gas ports.
- Microfiber Towels: For a streak-free, polished dry.
Step-by-Step Guide: How to Clean Gas Oven Burners Safely
Now that you have your supplies ready, let’s go through the exact proccess to safely restore your burners to peak condition.
Step 1: Safety Check and Cool Down
Never work on a gas cooktop that has been used recently. Ensure all control knobs are turned to the absolute “Off” position. If your model has an electronic control panel or a digital display, unplug the appliance from the wall or flip the corresponding breaker in your home panel. This prevents the spark igniters from shocking you while your working near them.
Step 2: Disassemble the Cooktop Components
Carefully lift the heavy cast-iron grates off the stovetop and set them aside on a protective towel or cardboard box. Next, lift the circular burner caps straight up. Underneath the caps, you will find the burner heads (the metal rings with the tiny holes around the edge). On most modern stoves, these burner heads lift right off as well. If your burner heads are held down by screws, do not force them; you can clean them right in place.
Step 3: The Vinegar Pre-Soak
If your burner caps and heads are completely covered in a stubborn, gummy layer of grease, place them into a shallow plastic basin or your kitchen sink. Fill the basin with a 1:1 mixture of hot water and distilled white vinegar. Let the parts soak undisturbed for 30 minutes. The acidity of the vinegar will chemically loosen the baked-on sugars and fats.
Step 4: Apply the Scratch-Free Scrubbing Paste
After soaking, remove the parts from the liquid. Your burner components will still have some dark, crusty carbon spots.
- Mix a handful of baking soda with a few drops of dish soap and water in a small bowl until it forms a thick paste resembling toothpaste.
- Slather this paste generously over the burner caps and metal heads.
- Let it sit for 15 minutes. The baking soda will react with the remaining vinegar residue, creating a gentle bubbling action that lifts the crust away from the underlying surface.
Step 5: Scrub with Nylon Bristles
Take your old toothbrush or a non-scratch nylon scrub pad and work the paste into the stained areas using circular motions. You will notice the white paste turning grey or brown as it pulls the carbon away. Because baking soda has a low hardness rating, you can scrub with confidence knowing that your not scratching the delicate porcelain or polished aluminum surfaces.
Step 6: Clear the Gas Ports Mechanically
This is the step that most homeowners miss, but it is the most critical for restoring proper heat distribution. Take your flashlight and look closely at the perimeter of the burner head.
- Unwind a metal paperclip or grab a straight safety pin.
- Gently insert the point of the pin into each individual gas port hole to clear out any packed-in paste, grease, or carbon.
- Technician Warning: Do not use wooden toothpicks for this step. Toothpicks break off easily inside the tiny ports, creating a severe blockage that is incredibly difficult to extract.
Step 7: Rinse and Dry Completely
Rinse all the components thoroughly under warm running water to remove every trace of baking soda paste and loose debris. Once clean, shake the water out of the interior channels of the burner heads.
- Crucial Check: If you reinstall a wet burner head, the water will block the gas flow, causing the igniter to click indefinitely or produce a highly uneven flame. Dry the parts completely with a microfiber cloth, or place them inside a warm oven at 200°F (93°C) for ten minutes to evaporate every drop of trapped moisture.
Step 8: Reassemble and Test the Ignition
Align the clean, dry burner heads over the gas orifice tubes on your cooktop surface. Make sure they sit perfectly flat and flush; if they are tilted, gas will leak from the bottom rather than exiting the top ports. Place the burner caps on top, replace the heavy grates, and restore the electrical power. Turn the control knob to the “Lite” position. You should hear a quick click, followed immediately by a beautiful, uniform circle of steady blue flames.
Long-Term Maintenance Pro-Tips
Now that you know the best way to clean gas oven burners without scratching, implementing a few small behavioral changes can prevent heavy buildup from returning:
- Wipe Up Spills Immediately: Don’t let a boiling spill sit through multiple cooking sessions. Once the cooktop cools down down after dinner, take a damp cloth and quickly wipe away fresh grease or tomato sauce before it has the chance to bake into carbon during your next meal.
- Avoid Using Too Much Dish Soap: When wiping down your stovetop daily, avoid using excessive dish soap. If soap residue isn’t rinsed away perfectly, it turns into a sticky film that actually traps airborne dust and grease faster.
- Inspect the Igniter Liners: Keep the small ceramic igniter pins clean. If you see a buildup of black soot on the white ceramic post, wipe it gently with a bit of rubbing alcohol on a cotton swab to maintain a strong, crisp ignition spark.
Taking Control of Your Kitchen Maintenance
Deep cleaning your gas range burners without causing permanent cosmetic scratches is a highly satisfying project. It immediately improves the cooking performance of your stove, cuts down on utility waste, and ensures you won’t have to replace expensive cosmetic parts down the line. Best of all, you completed it using simple, low-cost ingredients already sitting in your kitchen pantry.
If you ever run into a more complex appliance problem—like a gas oven that refuses to heat up, a faulty safety valve, or a malfunctioning digital control board—don’t throw your hands up in defeat or spend a fortune on a service call. We are completely committed to providing highly accessible, expert-led troubleshooting walk-throughs right here on FixNest.xyz to guide you through every residential repair scenario.
Make sure to bookmark FixNest.xyz right now so you always have a professional appliance technician ready to assist whenever an appliance in your home throws you a curveball. If you want to stay ahead of home maintenance and keep your property running efficiently without breaking your budget, subscribe to our monthly newsletter for practical, seasonal tips delivered directly to your inbox.
Did you run into a roadblock while trying to clean your burner caps today? Are you still dealing with a stubborn yellow flame even after clearing out all the gas ports? Leave a comment below with your stove’s brand and model number—our helpful community of passionate DIYers and trade pros will jump in to help you troubleshoot the issue and find a safe, smart fix!