Stop wasting electricity! Learn how to replace a broken refrigerator door seal yourself to keep food fresh and lower your bills with our expert guide.
How to Replace a Broken Refrigerator Door Seal Yourself: The Complete Step-by-Step Guide
Look, I get it, appliance maintenance is boring but watching your electric bill climb month after month because your fridge is leaking cold air is way worse. Here is the real talk: your refrigerator door seal—technically known in the trade as a gasket—is the only thing standing between your fresh groceries and the warm, humid air of your kitchen.
When that rubber strip gets brittle, cracked, or completely torn, your fridge loses its ability to hold a steady temperature. Cold air continuously escapes, forcing your compressor to run around the clock to compensate. This doesn’t just drive up your power bills; it puts massive mechanical strain on the compressor, which can lead to a premature system failure.
As a senior home appliance technician, I see people spend hundreds of dollars calling out a repair service for a job that requires absolutely zero technical expertise. Replacing a gasket is a pure muscle-memory task. In this comprehensive guide for FixNest.xyz, I am going to show you exactly how to replace a broken refrigerator door seal yourself safely, perfectly, and without breaking a sweat.
The Dollar-Bill Test: How to Diagnose a Failing Gasket
Before you run out and order a replacement part, you need to verify that your seal is actually broken. Gaskets can sometimes just be dirty, which prevents the internal magnetic strip from gripping the metal refrigerator frame tightly.
To determine if your gasket is physically failing or just needs a good cleaning, use the classic technician’s “dollar-bill test.”
- Open your refrigerator door.
- Place a crisp dollar bill across the rubber seal, leaving half of it sticking out.
- Close the door normally.
- Gently pull the dollar bill.
If the bill slides out easily with almost no resistance, your gasket has lost its sealing power. If it falls right out on its own, your definitely dealing with a broken seal. Repeat this test every twelve inches along the top, bottom, and sides of both the refrigerator and freezer doors. If you find multiple dead zones, it is time for a replacement.
Taking thirty minutes to address this issue today protects your food from premature spoilage and extends your appliance’s life, which is exactly why we build these tutorials at FixNest.xyz—to put the power back in your hands.
Refrigerator Door Seal Troubleshooting & Impact Matrix
A broken gasket causes a ripple effect of weird symptoms throughout your appliance. Use this troubleshooting matrix to see how a bad seal might be behind your current fridge mysteries.
| Observed Symptom | Secondary Root Cause | Secondary Impact | Recommended Action |
| Heavy frost buildup in the freezer compartment | Humid kitchen air is being drawn through a gap in the gasket. | Blocks airflow over the evaporator coils, causing cooling failure. | Inspect freezer gasket using the dollar-bill test; replace if gaps are found. |
| Water pooling on the kitchen floor or inside the crisper drawers | Continuous condensation forming as warm air hits the cold interior plastic liner. | Can rust out the bottom metal frame of the cabinet. | Clean current seal with warm soapy water; if sealing fails, replace gasket. |
| Fridge runs constantly without stopping | The thermostat never registers a low enough temperature because cold air is leaking. | High energy bills and rapid compressor maintanence burnout. | Replace the door seal yourself immediately to restore thermal containment. |
| Door pops open on its own when closed firmly | The magnetic strip inside the rubber has broken or demagnetized over time. | Total loss of cooling, leading to immediate food spoilage. | Order a factory-certified OEM replacement gasket and install using our guide. |
Tools and Supplies Needed for the Project
One of the best things about learning how to replace a broken refrigerator door seal yourself is that the tool list is incredibly brief. You don’t need any specialized mechanical gear.
- A Replacement Gasket: Make sure to look up your refrigerator’s exact model number (found on a sticker inside the fresh food compartment wall) to order the precise manufacturer-approved part. Generic universal seals rarely fit correctly.
- A Hairdryer or Heat Gun: Essential for warming up the new rubber seal to remove shipping creases and make it pliable during installation.
- Warm Water and Liquid Dish Soap: For cleaning the underlying door track surface.
- Petroleum Jelly (Vaseline): A classic trade secret that keeps the new rubber supple and helps it glide into place against the metal frame.
- A Screwdriver or Nut Driver: Only required if your specific refrigerator model uses metal retaining strips secured by screws to hold the gasket down.
Step-by-Step Guide: Replacing Your Refrigerator Gasket Safely
Now, let’s walk through the actual proccess. Take your time during the installation; getting a perfectly straight, airtight fit is more about patience than strength.
Step 1: Prepare the New Gasket
When your new refrigerator door seal arrives in a box, it will likely be folded up and full of stiff creases. If you try to install it straight out of the box, it won’t seal properly against the frame.
- Lay the new gasket completely flat on a warm floor or countertop for 24 hours.
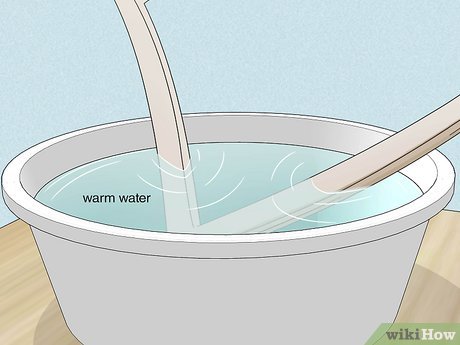
- Take your hairdryer on a low-heat setting and run it along the rubber folds. The gentle heat will relax the vinyl, allowing it to expand back into its original molded shape.
Step 2: Safety First—Turn Off the Appliance
Since you are going to have the refrigerator door wide open for a sustained period, unplug the power cord from the wall outlet or turn off the corresponding circuit breaker. This prevents your interior light bulbs from overheating and saves the cooling system from running fruitlessly while you work.
Step 3: Identify the Gasket Style and Remove the Old Seal
Look closely at how your current gasket attaches to the inner door liner. Refrigerators generally use one of three styles:
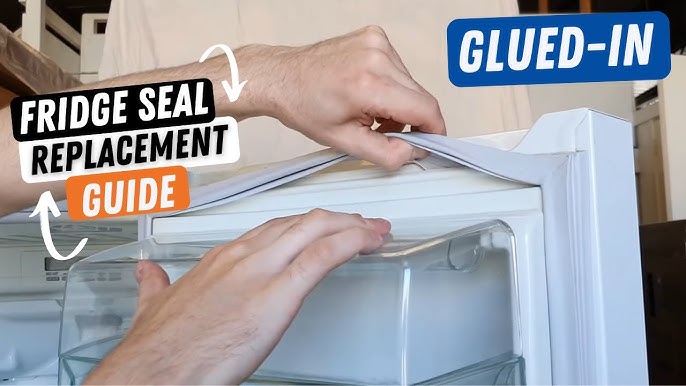
- Push-In/Dart Style (Most Modern Fridges): The rubber has a arrow-shaped plastic ridge that presses directly into a molded groove around the door edge. To remove, simply grasp a corner and pull firmly out of the track.
- Screw-In Style: The gasket is clamped between the door frame and the plastic inner liner by a series of small hex-head screws. Loosen the screws along the perimeter (you don’t need to remove them completely) and slide the old seal out.
- Snap-In Style: The gasket is held behind a rigid plastic lip. Carefully peel back the rubber edge and pull it free from the retaining channel.
Step 4: Clean the Retaining Track Thoroughly
Once the old gasket is gone, your going to see a buildup of old food spills, dried crumbs, and sticky residues inside the channel track. If you leave this gunk in place, the new seal won’t seat deep enough to form an airtight bond. Dip an old toothbrush or microfiber cloth into warm, soapy water and scrub the track clean. Dry the entire perimeter thoroughly before proceeding.
Step 5: Install the New Gasket
- Start at the Corners: Always align and press the four corners of the new gasket into the door track first. This ensures that the rubber is distributed evenly around the door perimeter and prevents stretching or bunching along the flat runs.
- Work Inward: Once the corners are anchored, use your thumbs to press the remaining flat sections firmly into the groove, moving from the outside edges toward the center of each side.
- For Screw-In Models: Slide the new gasket flange under the metal retaining strips, ensure it is completely centered, and tighten the screws back down smoothly. Do not overtighten, as this can crack the plastic inner door liner.
Step 6: Apply the Technician’s Lubricant Secret
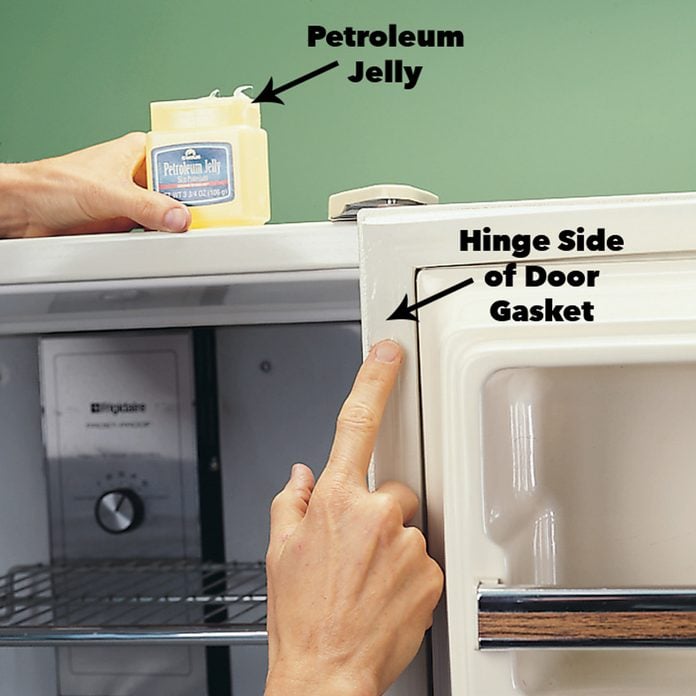
Take a tiny dab of petroleum jelly on your fingertip and smear a very thin layer along the hinge-side face of the new rubber gasket.
- Why this matters: When a brand-new rubber seal hits the smooth metal frame of the refrigerator, it can stick and twist sideways as the door closes, pulling the seal right back out of its track. The petroleum jelly allows the rubber to slide effortlessly into place without binding.
Step 7: Inspect and Eradicate Gaps
Close the refrigerator door and inspect the seal at eye level. If you see any visible gaps where light escapes or where the rubber isn’t meeting the metal cabinet, don’t panic. Take your hairdryer again, set it to low heat, and warm up the faulty section of the rubber for two minutes. Gently pull the heated rubber outward with your fingers to mold it toward the frame. When the vinyl cools down, it will retain that expanded shape, locking out the room’s humidity.
Step 8: Power Up and Let It Set
Plug the refrigerator back into the wall outlet. Keep the door firmly closed for at least two to three hours to allow the internal magnetic strips to settle and bond properly against the metal frame. You should hear your compressor start up with a clean, muffled hum as it rapidly brings the internal cabinet back down to a safe 37°F (3°C).
Smart Behavioral Habits to Protect Your New Gasket
Now that your new seal is perfectly installed, implementing these quick adjustments to your kitchen routine will keep the rubber from degrading prematurely:
- Clean it Monthly: Wipe down the rubber folds with warm water and a little dish soap once a month. Sugar spills from milk cartons or soda cans act like glue; when you open a sticky door, you rip the rubber away from its base structure over time.
- Use the Handles: Avoid grabbing the edge of the actual door to pull it open. Pulling directly on the rubber gasket with your fingers transfers skin oils that break down the vinyl composition, causing it to crack and turn brittle.
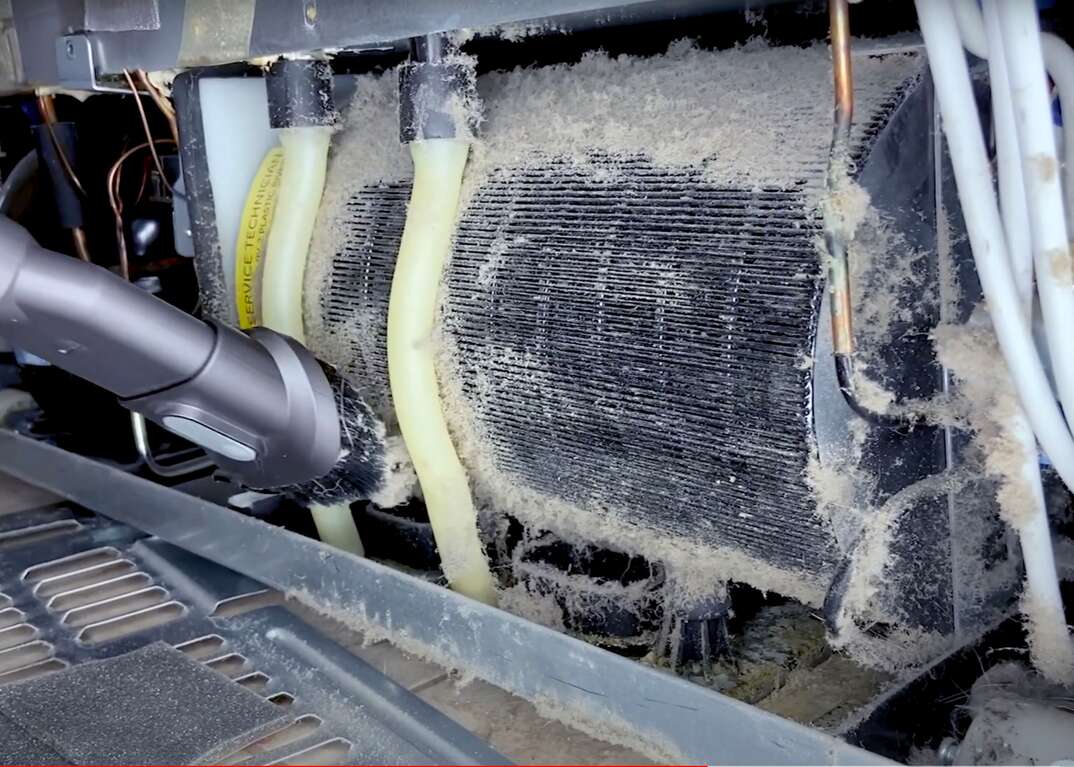
- Keep a Clean Condenser: Remember that your fridge is an interconnected system. If your condenser coils are choked with dust, the entire fridge runs hotter, which warms up the front metal cabinet surface and accelerates the dry-rotting of the rubber gasket.
Mastering Your Home Infrastructure
Taking the initiative to replace a broken refrigerator door seal yourself is a textbook example of smart, high-authority DIY home care. You successfully isolated the performance problem, sourced the correct OEM component, and executed a flawless installation without handing over your hard-earned cash for a professional service call.
If your kitchen or laundry room appliances ever throw you another curveball—whether it’s an oven that won’t reach temperature, a washing machine that vibrates wildly, or a dryer that refuses to heat—remember that you don’t have to navigate it alone. We continuously develop user-friendly, technician-verified troubleshooting manuals right here on FixNest.xyz to guide you through every residential repair project.
Make sure to bookmark FixNest.xyz right now so you always have a trusted expert companion ready to assist whenever a major household appliance acts up. If you want to keep your property running efficiently year-round while avoiding costly repair bills, subscribe to our monthly newsletter for practical, seasonal maintenance checklists delivered straight to your inbox.
Did you run into a strange mounting style while attempting to install your new gasket today? Are you struggling to get a stubborn shipping crease out of the rubber corners? Drop a comment below with your refrigerator’s brand and model number—our supportive community of dedicated DIYers and trade pros is standing by to help you figure it out and secure a perfect seal!