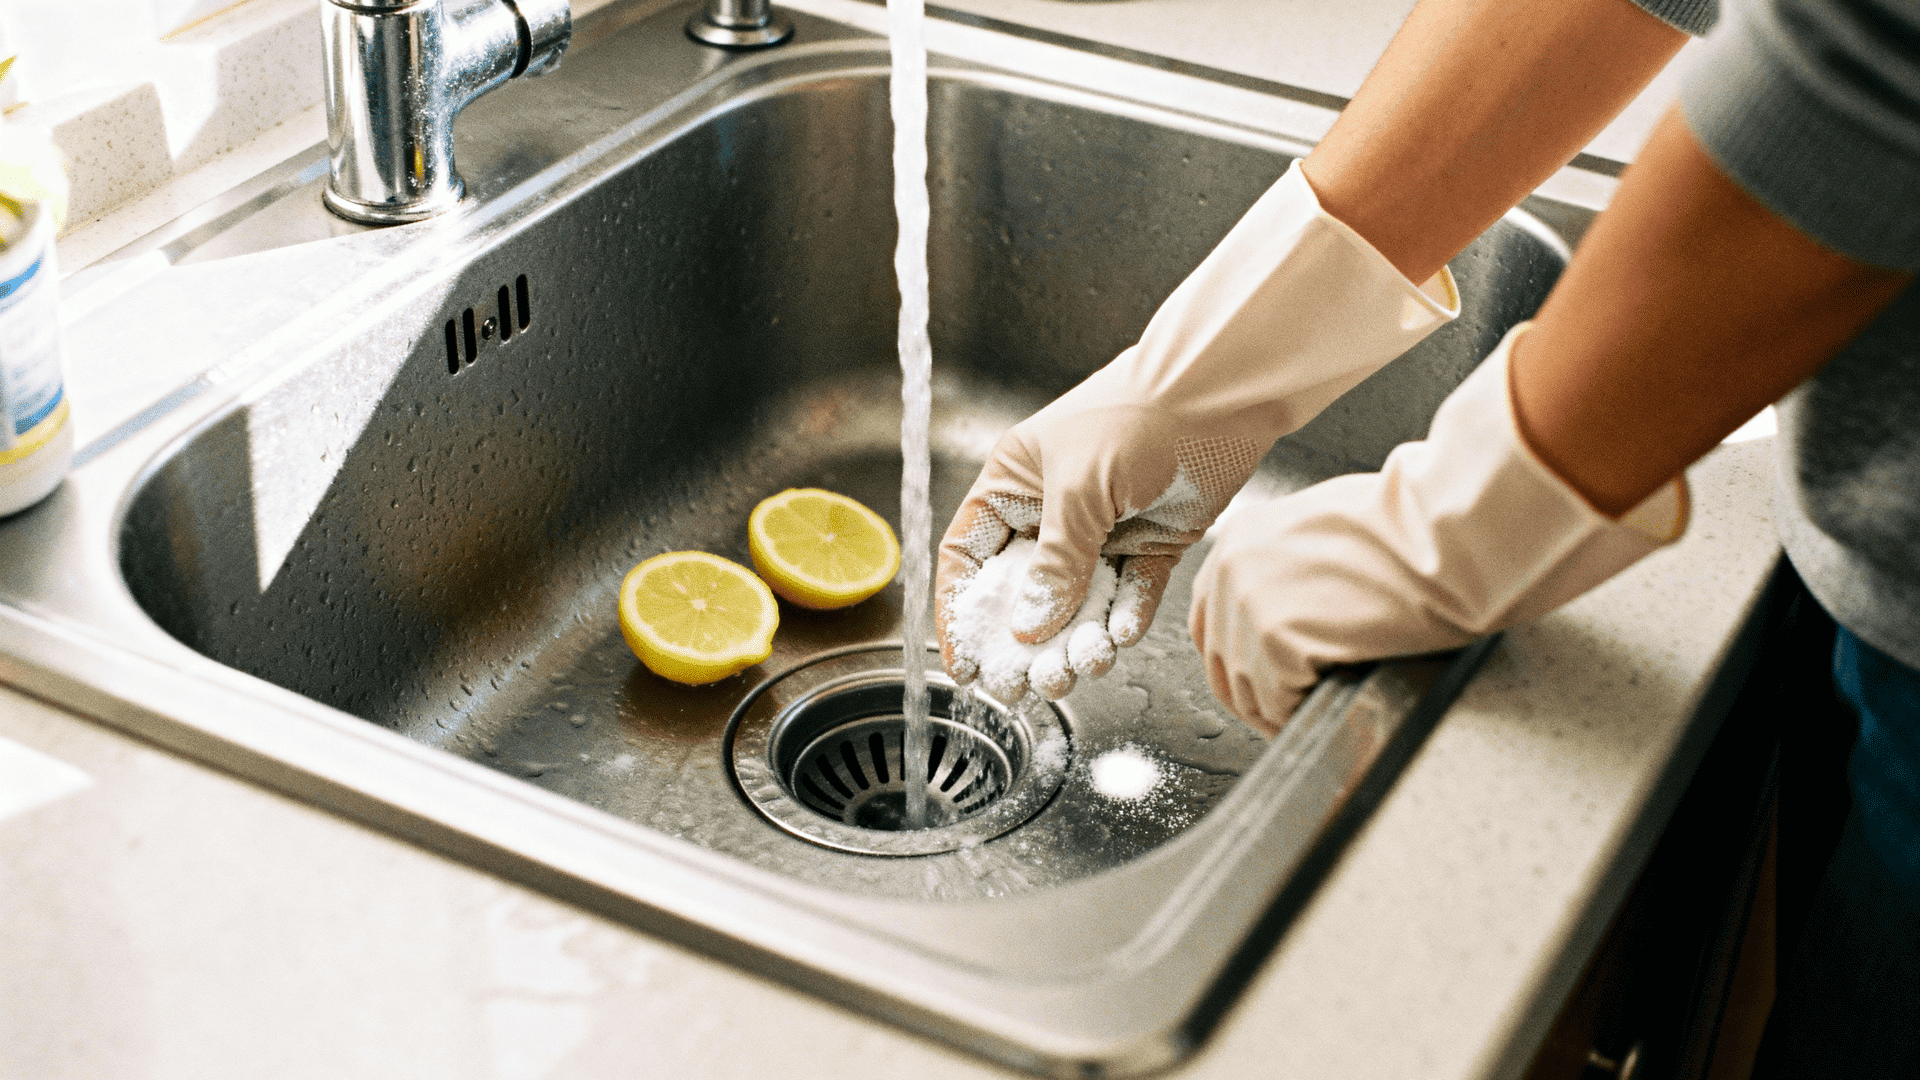
Banish foul kitchen odors for good! Learn how to remove bad smells from a garbage disposal safely with our technician-approved DIY guide.
How to Remove Bad Smells From a Garbage Disposal Safely: The Ultimate DIY Guide
Look, I get it, appliance maintenance is boring but standing over your kitchen sink while a foul wave of decaying food odor hits you in the face is downright miserable. Here is the real talk: your garbage disposal is one of the most heavily abused appliances in your home. We toss everything down that dark little drain—coffee grounds, chicken cartilage, onion skins, and leftover dinner scraps—and expect it to vanish into thin air.
But out of sight doesn’t mean out of mind. Over time, shredded food particles don’t completely clear the grinding chamber. Instead, they get trapped under the spinning impellers, cling to the slimy walls of the splash guard, and bake into a stagnant, rotting sludge. Before you know it, your entire kitchen smells like a landfill.
As a senior home appliance technician, I see homeowners panic and make two major mistakes when trying to fix this. They either pour incredibly harsh, corrosive chemical drain cleaners down the sink—which can dissolve your rubber seals and eat through your plumbing lines—or they sticking their bare hands down the drain without taking proper safety precautions.
In this expert guide for FixNest.xyz, I am going to teach you exactly how to remove bad smells from a garbage disposal safely using low-cost household ingredients, saving you a costly plumbing bill while keeping your kitchen smelling showroom fresh.
Why Do Garbage Disposals Smell So Bad?
To defeat the odor, you have to understand what you are actually fighting. A lot of people think a garbage disposal is full of spinning, razor-sharp blades. That is actually a myth. Modern disposals use a flat, spinning motorized plate with two blunt metal swiveling impellers (or lugs). These impellers fling food waste outward against a stationary grind ring that acts like a cheese grater, pulverizing the food into tiny particles that can easily wash down the drain.
The trouble starts when people do not use enough water during the grinding proccess. When you run the disposal with just a trickle of water, the pulverized food paste doesn’t flush completely out of the chamber. It sticks to the underside of the spinning plate, collects in the rubber folds of the removable splash guard, and coats the drain pipe walls. Combine that dark, wet environment with stagnant organic matter, and you create the perfect breeding ground for bacteria, mold, and odor.
At FixNest.xyz, we are all about helping you understand how your machine actually functions. When you know where the grime hides, you can eliminate it efficiently without spending a fortune on expensive specialty cleaning products.
Garbage Disposal Odor Diagnosis & Troubleshooting Matrix
Not all sink smells are created equal. Use this handy diagnostic matrix to identify exactly what type of buildup is causing your disposal’s funk and how aggressively you need to treat it.
| Odor Profile | Primary Root Cause | Hidden Location | Recommended Remediation |
| Sour, rotting vegetation | Accumulation of decaying food pulp and organic matter. | Underside of grinding plate and chamber walls. | Ice, rock salt, and lemon flush. |
| Musty, stagnant pond smell | Thick layer of bacterial slime and fungal mold. | Molded underside folds of the black rubber splash guard. | Manual splash guard scrub with soap and an old toothbrush. |
| Chemical, burning rubber scent | Overheating motor or food jammed tightly between the plate and grind ring. | Motor housing or flywheel perimeter. | Turn off power instantly. Clear jam manually with an Allen wrench from underneath. |
| Sulfur or sewage stench | Dried-out P-trap or trapped decomposing grease buildup. | Plumbing trap below the sink cabinet. | Flush with baking soda and hot vinegar; check plumbing vents. |
Essential Tools and Supplies Needed
You do not need harsh commercial chemicals to sanitize your disposal. In fact, strong bleach and industrial chemical liquids can degrade the internal rubber gaskets and shorten the lifespan of your unit. Grab these safe, non-abrasive household materials instead:
- Ice Cubes (2 to 3 cups): Acts as a physical abrasive to scrape food sludge off the moving impellers without dulling the metal.
- Coarse Rock Salt or Kosher Salt (1/2 cup): Works in tandem with the ice to scour the interior walls of the grinding chamber.
- Baking Soda (1/2 cup): A natural deodorizer that neutralizes acidic odors instantly.
- Distilled White Vinegar (1 cup): Creates a foaming, antibacterial reaction when mixed with baking soda to lift stubborn slime.
- Fresh Citrus Peels (Lemons, Limes, or Oranges): Contains natural limonene oils that cut grease and leave behind a fresh scent.
- An Old Toothbrush and Dish Soap: For cleaning the absolute dirtiest spot in the system—the splash guard.
- Flashlight: To safely verify the interior chamber is completely empty before you begin.
Step-by-Step Guide: How to Remove Bad Smells From a Garbage Disposal Safely
Let’s walk through the exact technician-approved method to deep clean and sanitize your unit from top to bottom. Follow these steps carefully to ensure a safe, completely scratch-free and injury-free clean.
Step 1: Disconnect the Electrical Power Entirely
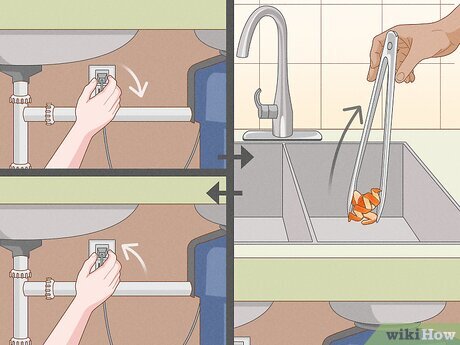
Safety isn’t just a guideline; it’s the law when you are working on mechanical appliances. Before you do anything else, look under your sink and pull the disposal’s power cord out of the wall outlet. If your unit is hardwired directly into a junction box, go to your home’s main electrical panel and flip the circuit breaker labeled “Disposal” or “Kitchen Sink” to the absolute off position. Verify the power is dead by flipping the countertop switch—nothing should happen.
Step 2: Scrub the Secret Odor Zone (The Splash Guard)
Here is the real talk: 90% of disposal odor doesn’t come from the metal chamber; it comes from the black rubber splash guard sitting right in the sink opening.
- Shine your flashlight down the drain. If your splash guard is removable, pull it straight up and out. If it is built-in, your going to have to clean it from above.
- Look at the underside of those rubber flaps. It is usually coated in a thick, greasy layer of black or grey slime.
- Apply a generous squirt of degreasing dish soap to an old toothbrush. Scrub the top and bottom of every single rubber flap vigorously. Rinse it under hot water until the rubber is pristine, then set it aside.
Step 3: Deodorize and De-scale With the Baking Soda Foam
Now that the entry point is clean, let’s treat the internal grinding chamber walls.
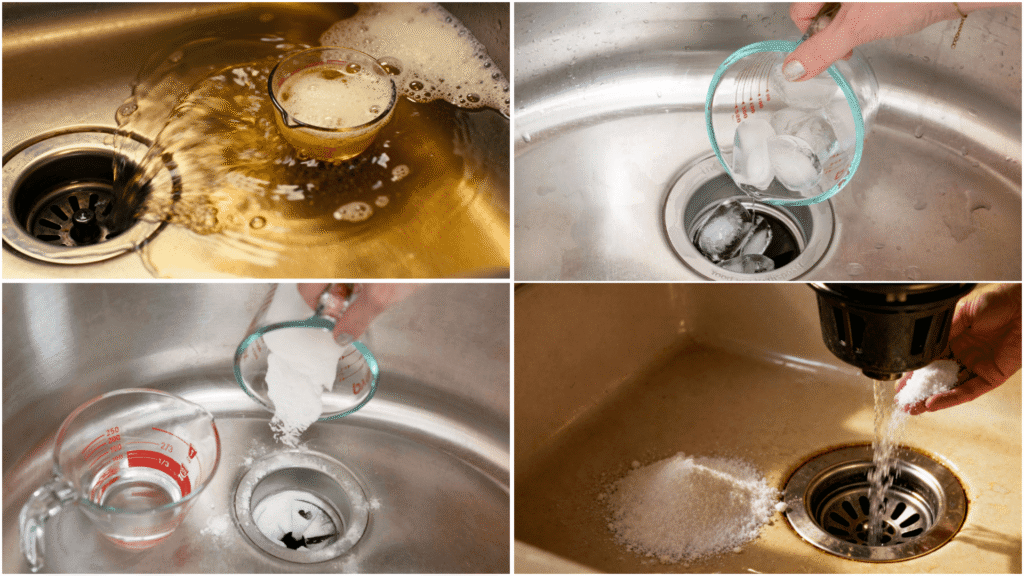
- Pour 1/2 cup of baking soda straight down the open drain hole, ensuring it settles at the bottom of the metal plate.
- Slowly pour 1 cup of distilled white vinegar over the baking soda. The mixture will instantly begin to fizz and foam up like a science fair volcano.
- This bubbling proccess is highly functional—it forces the antibacterial baking soda paste into the tight crevices behind the impellers that you can’t reach with a brush. Let it sit undisturbed for 10 minutes to dissolve mineral scaling and grease.
Step 4: The Ice and Rock Salt Scour
Once the foaming has settled down, it is time to mechanically scrub away the loosened sludge.
- Dump 2 to 3 cups of ice cubes straight down the drain on top of the baking soda residue.
- Pour 1/2 cup of coarse rock salt or kosher salt directly over the ice.
- Technician Tip: The ice chips will act like miniature jackhammers against the caked-on debris, while the coarse salt creates a high-friction scouring paste that cleans the metal components without causing any damage or scratching.
Step 5: Run the Mechanical Cleaning Cycle
Now we need to safely execute the grind cycle.
- Plug the disposal back into the wall outlet or flip the circuit breaker back on.
- Reinsert your clean rubber splash guard back into the drain collar to prevent ice chunks from flying out.
- Turn on your kitchen faucet, running cold water at a steady, moderate flow.
- Flip the disposal switch on. You will hear a loud, intimidating grinding sound as the impellers smash the ice cubes against the grind ring. Let it run for roughly 30 to 45 seconds until the grinding noise stops and the ice has completely liquefied.
Step 6: Polish and Freshen With Citrus Peels
To provide a long-lasting defense against future bad smells, give the disposal a final aromatic polish.
- Cut up a whole lemon, lime, or orange into small, manageable wedges.
- With the disposal motor turned completely off, drop 3 to 4 citrus wedges down into the chamber.
- Turn on the cold water flume, flip the disposal switch, and let it grind the peels for 20 seconds. The natural oils locked inside the rinds will coat the inside of the chamber, breaking down lingering grease droplets and leaving behind a crisp, natural scent.
Crucial Daily Habits to Keep the Smell From Returning
Now that you have mastered how to remove bad smells from a garbage disposal safely, incorporating these simple technician-backed daily habits will prevent the foul sludge from ever coming back:
- Always Use Cold Water: Never run hot water while you are actively grinding food waste. Hot water melts fats and greases, allowing them to coat the internal components and stick to your drain pipes. Cold water keeps fats solid, allowing the impellers to break them down into fragments that can easily flow through your plumbing system.
- The 15-Second Post-Flush: When you are done grinding a plate of food scraps, do not turn off the water faucet the exact second the disposal noise stops. Keep the cold water running for an extra 15 to 20 seconds. This simple step ensures that the pulverized food paste is washed completely through the vertical P-trap under your sink and out into your main sewer line.
- Avoid the Banned Items List: Your garbage disposal is not a trash can. To avoid structural damage and severe odor jams, never put fibrous materials (like celery, corn husks, or onion skins), expanding starches (like rice, pasta, or potato peels), or coffee grounds down the drain. These items wrap around the moving parts or form a thick, glue-like paste that traps odors instantly.
Keeping Your Kitchen Running Efficiently
Deep cleaning your garbage disposal safely is a rewarding weekend project that instantly improves your home’s air quality, helps protect your plumbing system, and maximizes the operational efficiency of your machine. It proves that you don’t need a massive budget or a commercial chemical kit to keep your kitchen appliances in tip-top shape.
If your disposal ever runs into a more challenging mechanical failure—such as a motor that hums but won’t spin, a severe water leak dripping into your under-sink cabinet, or a flywheel that is completely jammed by a fallen metal spoon—don’t throw your hands up or panic over repair quotes. We build comprehensive, user-friendly, and budget-conscious step-by-step troubleshooting articles right here on FixNest.xyz to guide you through every twist and turn of home appliance maintanence.
Make sure to bookmark FixNest.xyz right now so you always have a trusted expert resource standing by whenever a household appliance gives you trouble. If you want to keep your property running like a well-oiled machine without wasting money on professional repair calls, subscribe to our monthly newsletter to get smart, seasonal maintenance reminders delivered directly to your inbox.
Did you hit a roadblock while trying to clean your disposal’s splash guard today? Is your unit still releasing a strange odor even after running the ice and salt cycle? Drop a comment below with your disposal’s brand and model number—our helpful community of dedicated DIYers and seasoned technicians will jump in to help you troubleshoot the problem and secure a safe fix!