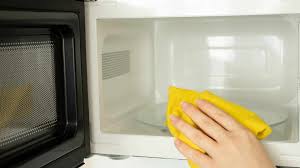
Learn how to clean grease out of over the range microwave units safely. Banish sticky sludge from filters, vents, and interiors with ease.
How to Clean Grease Out of Over the Range Microwave Vents and Interiors
Look, I get it, appliance maintenance is boring but cooking over a sticky, yellowed layer of ancient bacon grease is downright disgusting. Here is the real talk: an over-the-range (OTR) microwave is a double-agent in your kitchen. It is not just a machine that reheats your coffee; it is also your stove’s exhaust hood.
Because it sits directly above your stovetop, it constantly sucks up a brutal combination of airborne oils, steam, and smoke. Over time, this grease forms a concrete-like sludge that coats your mesh filters, chokes the exhaust fan, and turns the interior into a sticky nightmare. When that happens, your microwave stops venting properly, your kitchen starts smelling like old cooking oil, and your appliance has to work twice as hard just to survive.
As a senior technician, I see too many people ruin their microwaves by using the wrong cleaning chemicals or neglecting the ventilation system entirely until the fan motor burns out. Replacing an OTR microwave is a major pain that involves heavy lifting and bracket mounting.
In this ultimate guide for FixNest.xyz, I am going to teach you exactly how to clean grease out of over the range microwave units safely, restoring full airflow and saving you hundreds of dollars in unnecessary replacement costs.
Why OTR Microwave Grease is a Real Hazard
Ignoring a greasy microwave isn’t just an aesthetic issue; it’s a performance and safety hazard. When grease builds up inside the ventilation path, it restricts airflow. Your exhaust fan motor will begin to overheat because it is trying to push air through a blocked system. Eventually, that motor will burn out completely.
Even worse, grease is highly flammable. If you are searing a steak on the range below and a flare-up occurs, a grease-choked microwave filter can easily catch fire, spreading the flames rapidly up into your cabinetry.
Regularly cleaning this system ensures that grease is trapped safely and your exhaust fan can actually protect your kitchen’s indoor air quality. That is why we are here at FixNest.xyz—to give you the practical, technician-approved knowledge to keep your home safe and functional without draining your wallet.
OTR Microwave Cleaning & Inspection Schedule
To prevent your kitchen from turning into a sticky zone, use this maintenance schedule based on your household’s actual cooking style.
| Cooking Style | Typical Meals | Filter Inspection | Interior Deep Clean |
| Light Cooking | Mostly baking, boiling water, occasional microwave meals | Every 6 months | Every 3 months |
| Moderate Cooking | Daily pan-frying, standard family dinners, regular stovetop use | Every 2 to 3 months | Monthly |
| Heavy Cooking | Frequent frying, searing meats, wok cooking, high oil usage | Monthly without fail | Every 2 weeks |
Tools and Supplies Needed for the Job
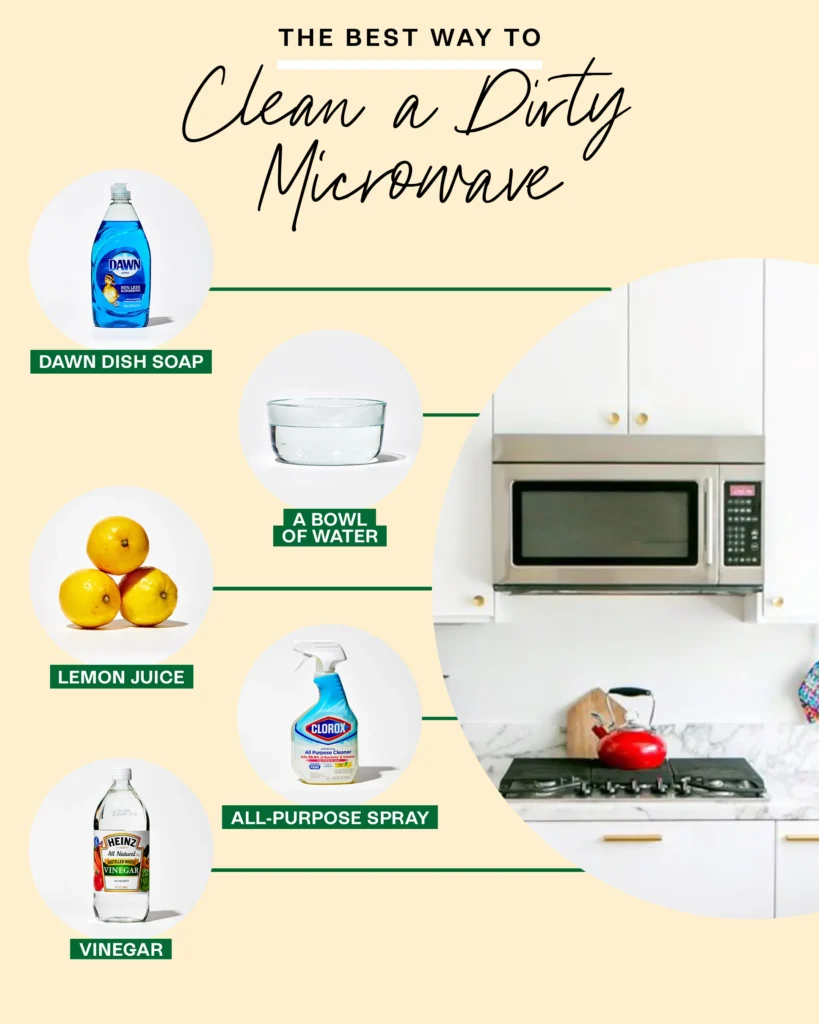
Before we begin, step away from the commercial chemical oven cleaners. Heavy-duty oven cleaners are way too harsh for a microwave. They can permanently discolor the stainless steel finish, degrade plastic components, and leave behind toxic chemical residues that leach into your food later on. Instead, grab these safe, highly effective alternatives:
- Dishwashing Liquid: A high-quality grease cutter (like blue Dawn) is your best friend for melting grease.
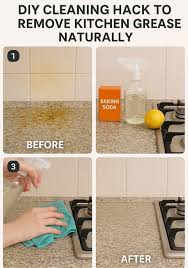
- Baking Soda: Provides a completely safe, gentle abrasive action that knocks loose hardened grease without scratching the interior liner.
- Distilled White Vinegar or Lemons: Essential for creating a steam-cleaning environment inside the appliance cavity.
- A Large, Shallow Baking Dish: To hold your steaming solution.
- Non-Abrasive Microfiber Cloths and a Soft Sponge: Never use steel wool or harsh scrubbing pads on plastic or stainless steel surfaces.
- A Screwdriver: Some OTR models require removing a top plastic grille to access the charcoal odor filters.
Step-by-Step Guide to Deep Clean Grease Out of Your Microwave Safely
Let’s walk through the exact proccess of tackling both the ventilation system and the interior cooking cavity. Follow these steps to get a showroom-clean finish safely.
Step 1: Degrease the Aluminum Mesh Filters First
Look under your microwave. You will see one or two shiny, metallic mesh grilles. These are your grease filters.
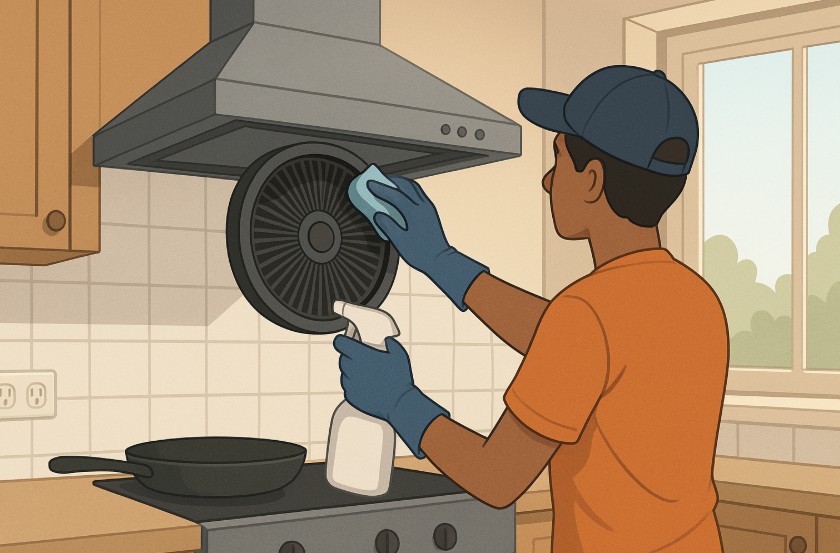
- Remove Them: Gently slide them backward or push the small metal tabs to drop them out of their slots.
- The Sink Soak: Fill your kitchen sink with boiling hot water. Mix in a half-cup of baking soda and a generous squirt of degreasing dish soap. Submerge the filters fully.
- Scrub Gently: Let them soak for 15 minutes. The grease will start floating to the surface. Take your soft sponge and wipe down the mesh frames. Rinse thoroughly with hot running water and lay them completely flat on a towel to dry.
Step 2: Check the Hidden Charcoal Filter (If Applicable)
If your over-the-range microwave recirculates air back into your kitchen instead of venting it outside through a wall duct, it contains a black charcoal filter. This filter sits behind the plastic vent grille at the very top of the microwave.
- Unplug the microwave or flip the circuit breaker.
- Remove the screws holding the top plastic louvre grille in place and remove it.
- Pull out the charcoal filter.
- Technician Note: Charcoal filters cannot be washed. Water ruins them. If your charcoal filter is covered in a greasy film or hasn’t been changed in a year, throw it away and pop in a cheap replacement.
Step 3: Steam-Clean the Interior Cavity
Don’t waste your energy scrubbing dried food splatters on the inside walls. Let steam do the heavy lifting.
- Take a microwave-safe glass bowl or shallow baking dish and fill it with two cups of water.
- Add two tablespoons of white vinegar, or squeeze the juice of a whole lemon directly into the water and drop the lemon rinds in too.
- Place the bowl inside, close the door, and run the microwave on high for 5 minutes.
- Once the timer goes off, do not open the door. Leave it closed for an additional 10 minutes. The trapped steam will penetrate and liquefy the greasy residue on the ceiling and walls.
Step 4: Wipe Down the Softened Interior Sludge
Open the door carefully (the bowl will be very hot, so use oven mitts to remove it). Take out the glass turntable tray and the plastic support roller ring.
- Take a damp microfiber cloth and wipe down the ceiling, sides, and floor of the microwave. The grease should slide off effortlessly.
- If you encounter a stubborn, baked-on crust, mix a small amount of baking soda and water into a thick paste. Apply it to the spot, let it sit for two minutes, and wipe it away gently.
- Wash the glass turntable plate in the sink with warm, soapy water just like a normal dish, dry it, and place it back inside.
Step 5: Clean the Underside Housing and Light Covers
While your filters are drying, look underneath the microwave where the filters usually sit. You will see a lot of accumulated yellow grease on the metal undercarriage and around the small glass light covers that illuminate your stovetop.
- Dampen a sponge with hot, soapy water. Wring it out so it isn’t dripping wet.
- Wipe down the entire undercarriage metal plate and the glass light panels. Be careful not to let water seep inside the light housing switches.
- Wipe the area a second time with a clean, dry cloth to prevent streaks.
Step 6: Reassemble the Entire System
Once your mesh filters are 100% dry, slide them back into their tracks under the machine. If you replaced your charcoal filter, drop it into the top compartment and screw the plastic top vent grille back into place. Restore power to your machine by plugging it back in or flipping the breaker back on. Turn on the exhaust fan to verify that you hear a clean, crisp rush of air moving through the system without any rattling or restriction.
Crucial Maintenance Mistakes to Avoid
When learning how to clean grease out of over the range microwave units, avoiding certain common pitfalls will save your appliance from permanent damage.
First, never spray liquid cleaners directly onto the control panel or touchpad. OTR microwave keypads use delicate ribbon cables and electronic control boards right behind the plastic exterior. If liquid cleaner seeps behind the buttons, it can cause a short circuit, requiring a costly control board replacement. Always spray your cleaner onto a cloth first, then wipe down the keypad.
Second, be incredibly gentle around the waveguide cover. This is a small, flat panel (often looking like a piece of grey cardboard or thick plastic) mounted on the inside right wall or ceiling of the microwave cavity. It protects the magnetron tube—the component that actually generates the microwaves. If you vigorously scrub or puncture this cover, your microwave will start sparking during use, creating a dangerous fire hazard.
Keeping Your Kitchen Running Smoothly
Deep cleaning your over-the-range microwave ventilation system is a vital home maintenance step that keeps your kitchen smelling fresh, maximizes your appliance’s lifespan, and lowers your energy use. Best of all, it only takes a few basic household ingredients and a little bit of time to execute.
If your appliance ever runs into a more technical problem—like a fan motor that hums but won’t spin, a microwave that runs but won’t heat up, or a door switch that won’t register as closed—don’t lose sleep over it. We are dedicated to providing clear, comprehensive, and budget-friendly step-by-step repair articles right here on FixNest.xyz to guide you through every scenario.
Make sure to bookmark FixNest.xyz right now so you always have an expert appliance technician ready to assist whenever something acts up in your home. If you want to keep your house running like a well-oiled machine without spending a fortune, subscribe to our monthly newsletter to get smart, seasonal maintenance guides sent straight to your inbox.
Did you run into a roadblock while trying to clean your microwave filters today? Is your exhaust fan still making a strange grinding noise even after a thorough cleaning? Leave a comment below with your microwave’s brand and model number—our helpful community of dedicated DIYers and trade pros will help you troubleshoot the problem and find a safe fix!