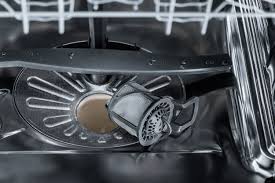
Stop washing dishes with dirty water! Use our step by step guide to deep clean a dishwasher filter, banish odors, and get sparkling clean plates.
Step by Step Guide to Deep Clean a Dishwasher Filter: The Key to Spotless Dishes
Look, I get it, appliance maintenance is boring but sitting down to a dinner plate covered in a mystery film of gritty residue is way worse. Here is the real talk: if your dishwasher has started leaving white spots on your glassware, smelling like an old seafood restaurant, or failing to drain properly, you do not need a brand-new machine. You also don’t need to hand over a couple hundred bucks to a repair technician.
As a senior tech, I can tell you that the vast majority of dishwasher performance complaints boil down to a single, neglected component: the filter assembly.
Modern dishwashers are engineered to conserve water and energy. Instead of blasting gallons of fresh water down the drain continuously, they recycle the water during the wash cycle. The filter’s job is to catch food particles, coffee grounds, and stray labels so they don’t get pumped right back onto your clean forks. But when that mesh gets choked with sludge, your machine is essentially bathing your dishes in dirty soup.
In this masterclass for FixNest.xyz, I am going to walk you through a foolproof, step by step guide to deep clean a dishwasher filter, improve your machine’s draining power, and save your hard-earned cash.
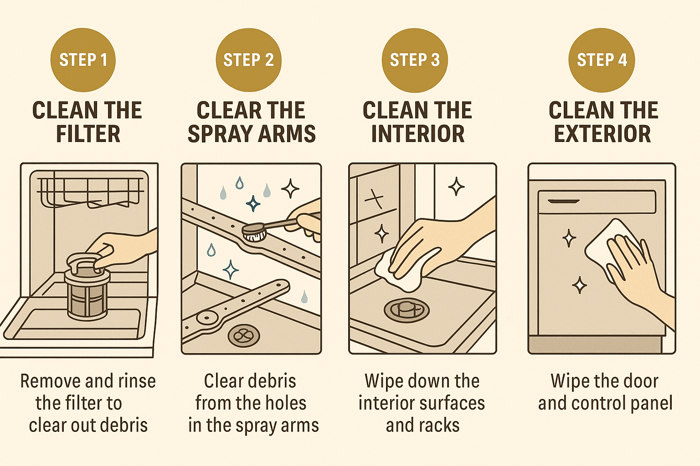
How Do You Know Your Filter Needs Help?
A lot of folks assume that because a dishwasher uses soap and hot water, it inherently cleans itself. Unfortunately, that is not how it works. Over time, a disgusting mixture of decaying organic matter, hard water scale, and undissolved detergent forms a sticky coating over the fine mesh screens.
If you notice any of the following red flags, stop running your machine and clear out some time this weekend to tackle this maintenance chore:
- The Gritty Touch: Your plates and glasses feel rough or sandy to the touch after a full cycle. This happens when loose food particles bypass a clogged filter and settle back onto the kitchenware.
- Standing Water: You open the door at the end of the cycle and find a puddle of murky water sitting in the very bottom of the tub.
- The Funk: A foul, musty odor wafts out of the machine whenever you open the door to load a cup.
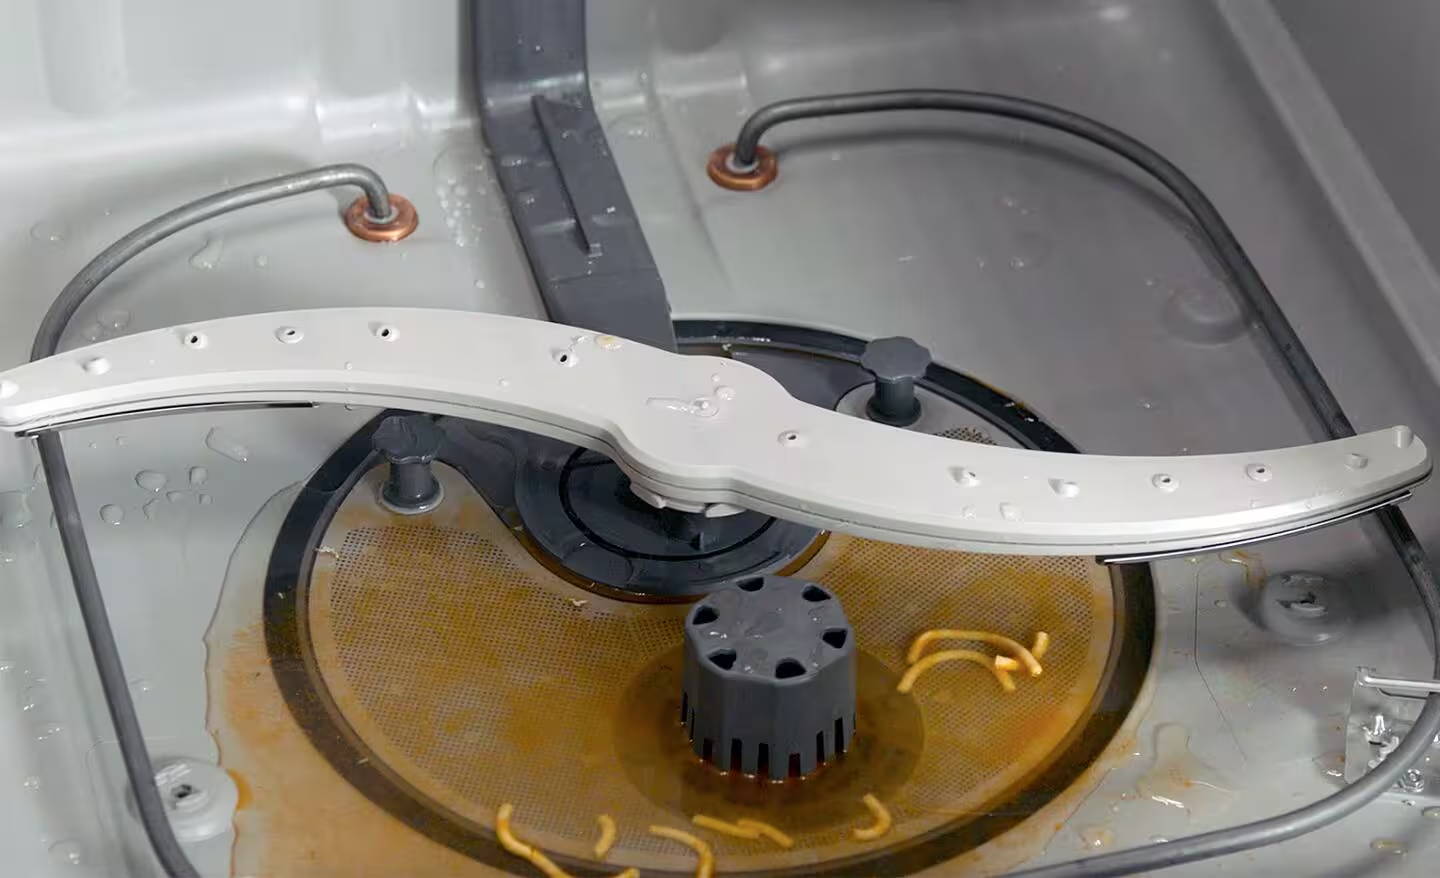
- Visible Gunk: You can actually see a layer of grey or brown slime building up around the plastic spray arms or the circular drainage area at the base of the tub.
Taking care of this now protects the internal drain pump motor from burning out, which is exactly why we build resources at FixNest.xyz—to help you stop minor issues from turning into catastrophic repair bills.
Dishwasher Filter Troubleshooting & Maintenance Matrix
Depending on how often you cook and how thoroughly you scrape your plates, your filter cleaning frequency will vary. Use this diagnostic table to gauge your current situation and plan your long-term maintanence.
| Frequency of Use | Pre-Rinsing Habits | Signs of Trouble | Recommended Action |
| 1 to 3 times per week | Always scrape and rinse plates | Mild odors, glass cloudiness | Clean filter every 6 months; run an empty vinegar cycle. |
| 4 to 7 times per week | Only scrape large chunks off | Gritty film, slow draining water | Deep clean filter every 2 to 3 months using our step-by-step method. |
| 10+ times per week (Large Family) | Minimal scraping, heavy grease load | Thick slime, foul odor, standing water | Clean filter monthly without fail to prevent pump failure. |
| Any usage level | Hard water area (high mineral content) | White chalky deposits on the plastic | Clean filter monthly; use a citric acid descaler in the machine. |
Tools and Supplies Needed
You do not need any specialized mechanical tools to complete this task. In fact, most modern filters are designed to be removed completely tool-free. Gather these simple household supplies before you begin:
- Warm Water and Liquid Dish Soap: Standard degreasing dish soap (like Dawn) is perfect for breaking up stubborn food oils.
- An Old Toothbrush or Nylon Scrub Brush: Crucial for gently clearing out the microscopic openings in the mesh without ripping them.
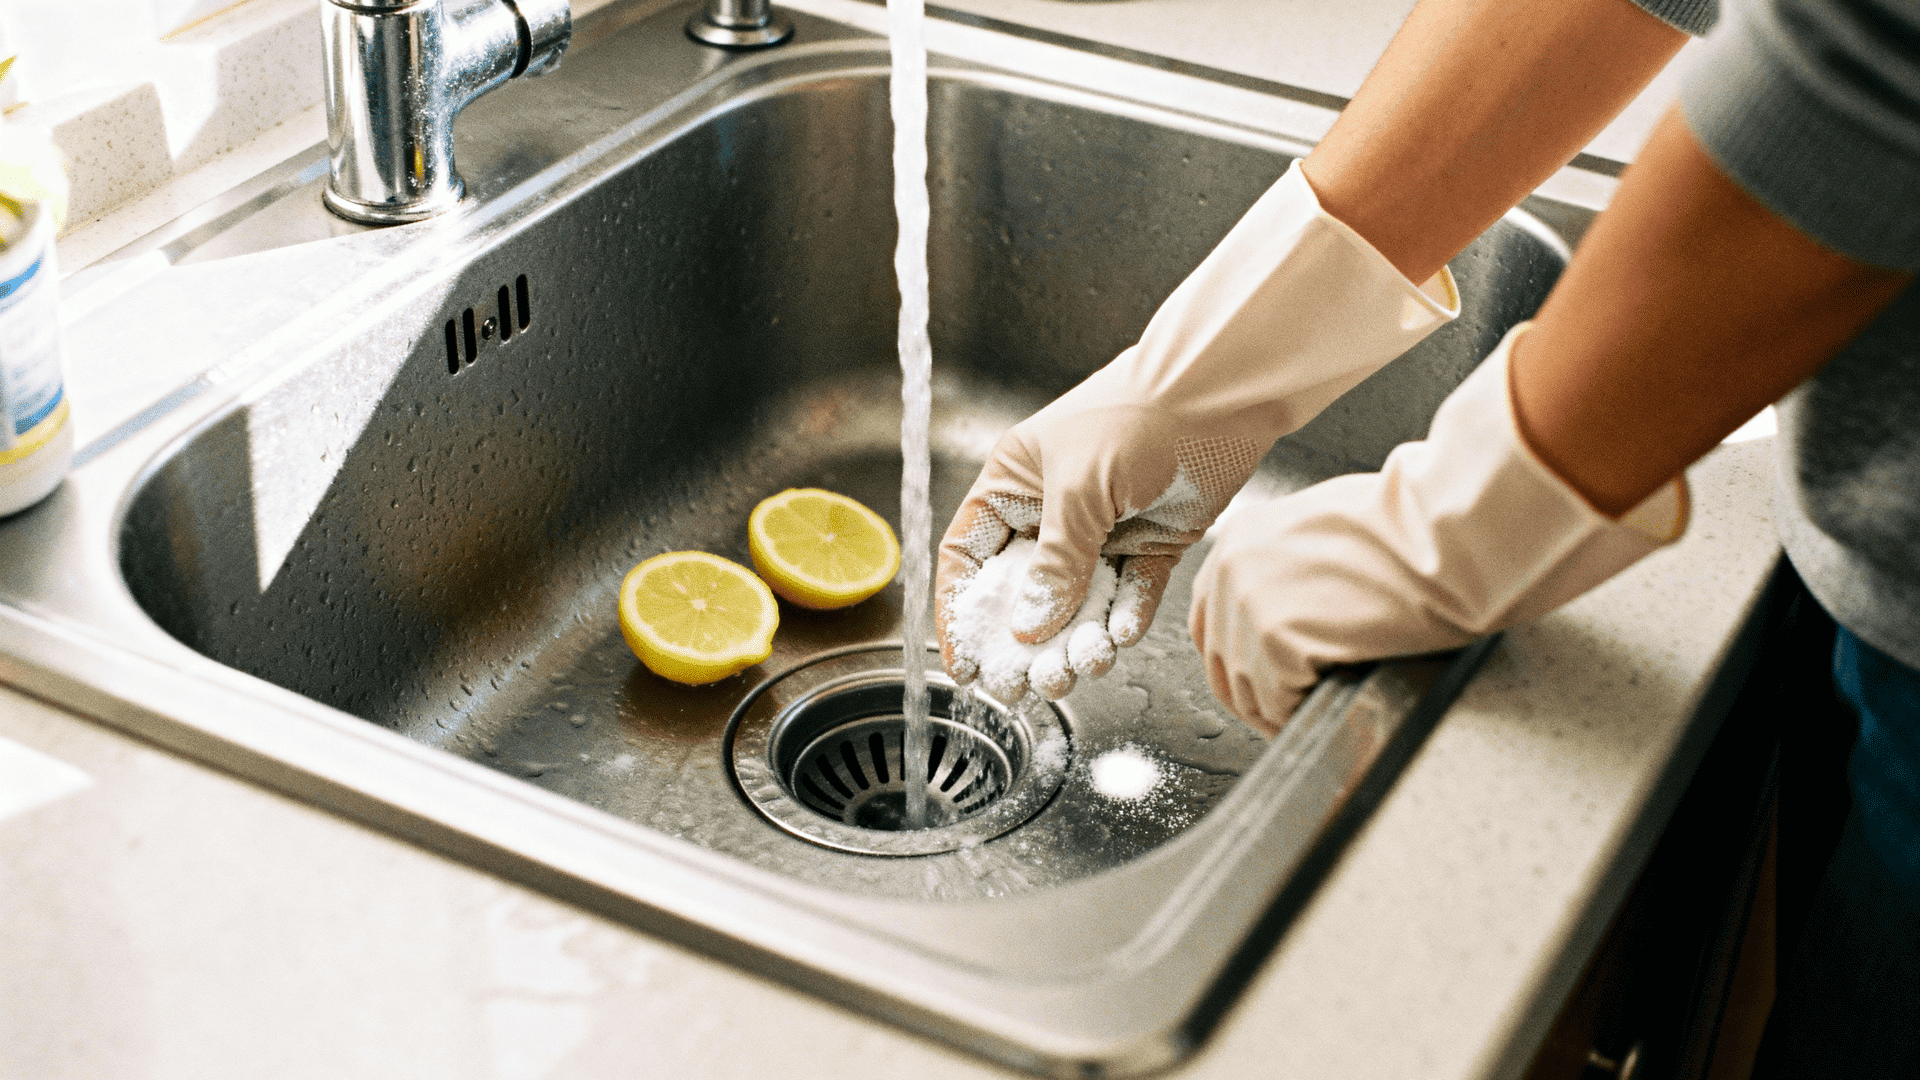
- Baking Soda and Distilled White Vinegar: For a natural deodorizing and descaling post-clean flush.
- A Shallow Bowl or Sponge: To scoop out any standing water left in the sump area.
- A Flashlight: To inspect the dark recess under the spray arm for hidden bones, glass shards, or plastic tags.
Step by Step Guide to Deep Clean a Dishwasher Filter Safely
Now, let’s roll up our sleeves and get this system running like new. Follow these steps sequentially to ensure you don’t accidentally damage the delicate filtration mesh.
Step 1: Prep the Workspace and Ensure Safety
First things first: verify the dishwasher is completely turned off. For absolute safety, you can flip the breaker in your electrical panel or pull the plug if your under-sink outlet is easily accessible. Open the door fully and roll out the bottom dish rack entirely. Set it aside on your kitchen floor or counter so you have unobstructed access to the bottom of the stainless steel or plastic tub.
Step 2: Remove Standing Water and Inspect the Sump
Take a quick look at the cylindrical area at the bottom center of the tub. If there is a deep pool of murky water covering the filter housing, your drain path is severely blocked. Use a sponge, small cup, or a turkey baster to bail out the excess water into a bucket so you can see what your doing. Check around the area for any large debris—it is incredibly common to find cherry pits, broken glass, or twist-ties wedged right against the housing.
Step 3: Unlock and Extract the Filter Assembly
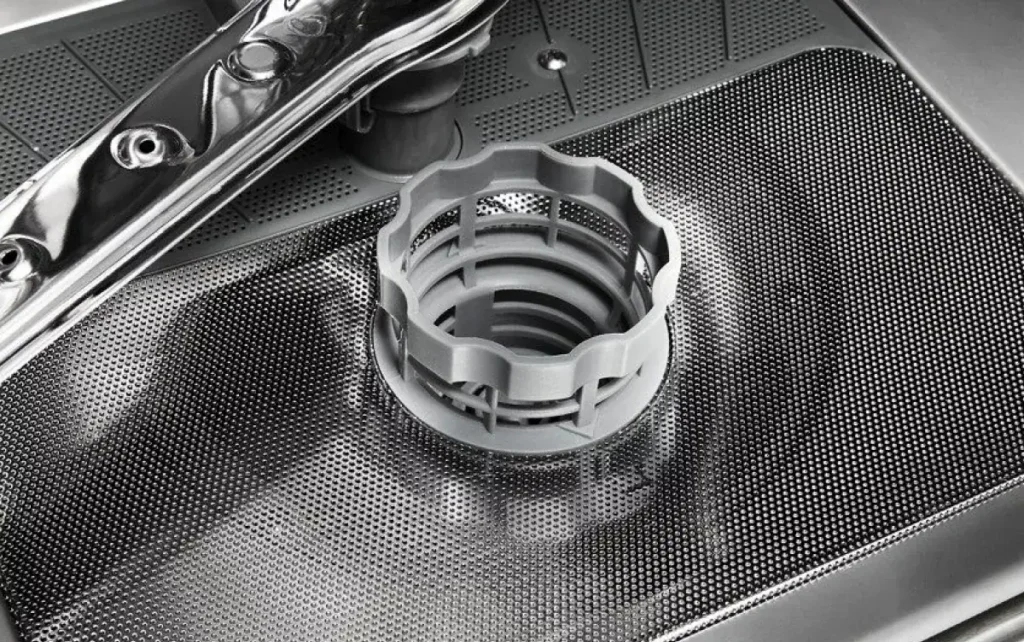
Most modern dishwashers (including Whirlpool, Bosch, GE, and KitchenAid) use a cylindrical twist-and-lock filter system.
- Grasp the top of the plastic cylinder.
- Turn it counterclockwise (usually about a quarter turn). You will often feel a slight click as it unlocks.
- Lift the cylinder straight up and out of the tub.
- The Secondary Screen: In many models, a flat, metallic mesh plate sits directly beneath or around the cylinder. If your machine has one, lift it out as well. Take note of how it sits so your able to put it back exactly the same way.
Step 4: The Initial Rinse and Soap Soak
Bring the filter pieces over to your kitchen sink. If you haven’t cleaned it in years, it might look pretty horrifying—covered in a thick layer of white calcium or greasy grey film. Run hot water through the inside of the cylinder to knock loose the big chunks of debris. Next, plug your sink or use a wash basin filled with hot water and a generous squirt of degreasing dish soap. Let the parts soak for ten minutes to soften up the dried-on grease.
Step 5: Scrub the Mesh to Clear Hidden Blockages
Take your old toothbrush or a soft nylon dish brush and gently scrub both the interior and exterior of the cylindrical mesh. Pay close attention to the seams where the plastic frame meets the fabric screen, as calcium likes to build up right in those corners.
- Technician Warning: Do not use wire brushes, steel wool, or abrasive scouring pads. The mesh screen is fragile; if you puncture or tear it, large debris will slip through and destroy your expensive drain pump impeller.
Step 6: Clean the Sump Recess
While your filter components are drying, take your flashlight and look down into the empty hole in the bottom of the dishwasher tub where the filter normally lives. This area, known as the sump, often collects heavy grease or hard water scale that the filter caught but couldn’t flush away. Wipe out the interior walls of this recess with a damp, soapy cloth or toothbrush to ensure a clean slate.
Step 7: Reinstall the Filter Components
Once everything is sparkling clean, place the flat mesh screen back into the bottom of the tub, aligning it with the molded plastic tabs. Slide the cylindrical filter back down into its housing. Turn the cylinder clockwise until you feel it lock firmly back into place.
- Crucial Check: Give it a gentle upward tug. If it slides up, it isn’t locked. Running a cycle with a loose filter can allow debris to bypass the system and clog your internal drain lines, leading to a much tougher repair proccess down the road. Slide the bottom rack back inside the unit.
Step 8: Perform a Natural Deodorizing Cycle
To finish the deep clean and purge the internal lines that you can’t reach with a brush, use a classic appliance technician trick. Place a dishwasher-safe bowl filled with two cups of white distilled vinegar upright on the top rack of your empty dishwasher. Do not add detergent. Run a normal, heavy-duty hot wash cycle. The vinegar will slowly disperse, dissolving residual hard water deposits and knocking out any remaining odor-causing bacteria.
Smart Daily Habits to Prevent Future Sludge Build-Up
Now that your machine is operating at peak thermal efficiency, you want to keep it that way. Implement these quick, technical adjustments to your daily routine to extend the life of your appliance:
- Scrape, Don’t Pre-Rinse: You don’t need to completely wash your plates in the sink before putting them in the dishwasher. Modern detergents actually require food enzymes to cling to in order to work properly. Just scrape off the solid chunks, bones, and large clusters of rice into the trash.
- Run Your Garbage Disposal First: In most kitchens, the dishwasher drains directly into the side of the garbage disposal under the sink. If your disposal is full of old food waste, the dishwasher water can back up into the machine tub. Always run your disposal for a few seconds before starting a fresh dish cycle.
- Check Your Water Temperature: For detergent to dissolve fully and wash away animal fats effectively, your incoming water temperature needs to be at least 120°F (49°C). Turn on your kitchen sink faucet on hot for thirty seconds before you start the dishwasher cycle to clear out the cold water sitting in the pipes.
Taking Control of Your Kitchen Repairs
Cleaning your filter is a masterclass in proactive home ownership. It directly solves almost every common cleaning issue, prevents expensive pump motor failures, and stops odors right at the source. Best of all, it didn’t cost you a dime in professional labor fees.
If you ever run into a trickier problem—like a broken heating element, a faulty door latch, or a malfunctioning water inlet valve—remember that you don’t have to tackle it blindly. We design comprehensive, user-friendly walkthroughs right here on FixNest.xyz to guide you through every twist and turn of appliance care.
Make sure to bookmark FixNest.xyz right now so you always have a trusted expert resource ready when an appliance acts up. If you want to keep your home running smoothly year-round without breaking the bank, subscribe to our monthly newsletter for timely, actionable maintenance reminders delivered straight to your inbox.
Did you encounter a strange type of filter assembly while trying to complete this project today? Is your machine still failing to drain even after a thorough scrubbing? Drop a comment below with your machine’s brand and model number—our community of passionate DIYers and seasoned technicians will help you diagnose the problem and get it sorted out!