Learn how to clean under a glass cooktop stove safely without shattering the glass or damaging wiring. Clear hidden grease spills easily.
How to Clean Under a Glass Cooktop Stove Safely: The Ultimate DIY Guide
Look, I get it, appliance maintenance is boring but watching a pool of old boil-over soup slide right under the edge of your smooth glass range is incredibly frustrating. Here is the real talk: glass-ceramic cooktops are gorgeous when they are brand new. They make your kitchen look modern, sleek, and sharp. But behind that flawless, shining surface lies a dark secret that most manufacturers don’t want to talk about.
Over months and years of heavy cooking, the adhesive silicone perimeter seal around the edge of the glass can degrade, crack, or pull away from the metal countertop trim. When that happens, you create a tiny gateway. Liquid spills, fine salt grains, grease drops, and boiling pasta water will seep right down into the undercarriage.
Before you know it, you are dealing with a phantom stench of burnt food whenever you turn on a burner, or worse, the liquid shorts out one of your expensive radiant heating elements.
As a senior technician, I see people wreck their stoves all the time because they try to force the glass top open using butter knives or flathead screwdrivers without removing the hidden safety clips. They end up shattering a $400 sheet of glass over a ten-cent spill.
In this comprehensive guide for FixNest.xyz, I am going to teach you the exact trade secret on how to clean under a glass cooktop stove safely, keeping your electronics dry, your glass whole, and your budget completely intact.

Why Cleaning Under the Glass Matters for Longevity
When food debris slides under the glass housing, it doesn’t just sit there. The area directly beneath a ceramic cooktop gets incredibly hot. That trapped organic sludge gets baked over and over again, turning into a thick layer of carbon that can insulate the radiant burner coils incorrectly. This insulation forces the thermal switch to work in overdrive, which can eventually burn out the heating element.
Even worse, standard kitchen spills are highly conductive once they carbonize. If a salty liquid trail connects a live wire terminal on a burner element to the metal grounding chassis under the hood, your going to trip your home circuit breaker or permanently fry your electronic control board.
At FixNest.xyz, we focus on preventative maintenance. We want to stop minor spills from turning into a massive electrical headache that forces you to buy a brand-new stove.
Cooktop Spill and Performance Troubleshooting Matrix
Not every spill under the glass requires a full tear-down. Use this diagnostic matrix to figure out if your stove’s current behavior is an easy surface wipe or an inner chassis intervention.
| Symptom | Underlying Cause | Severity | Recommended Fix |
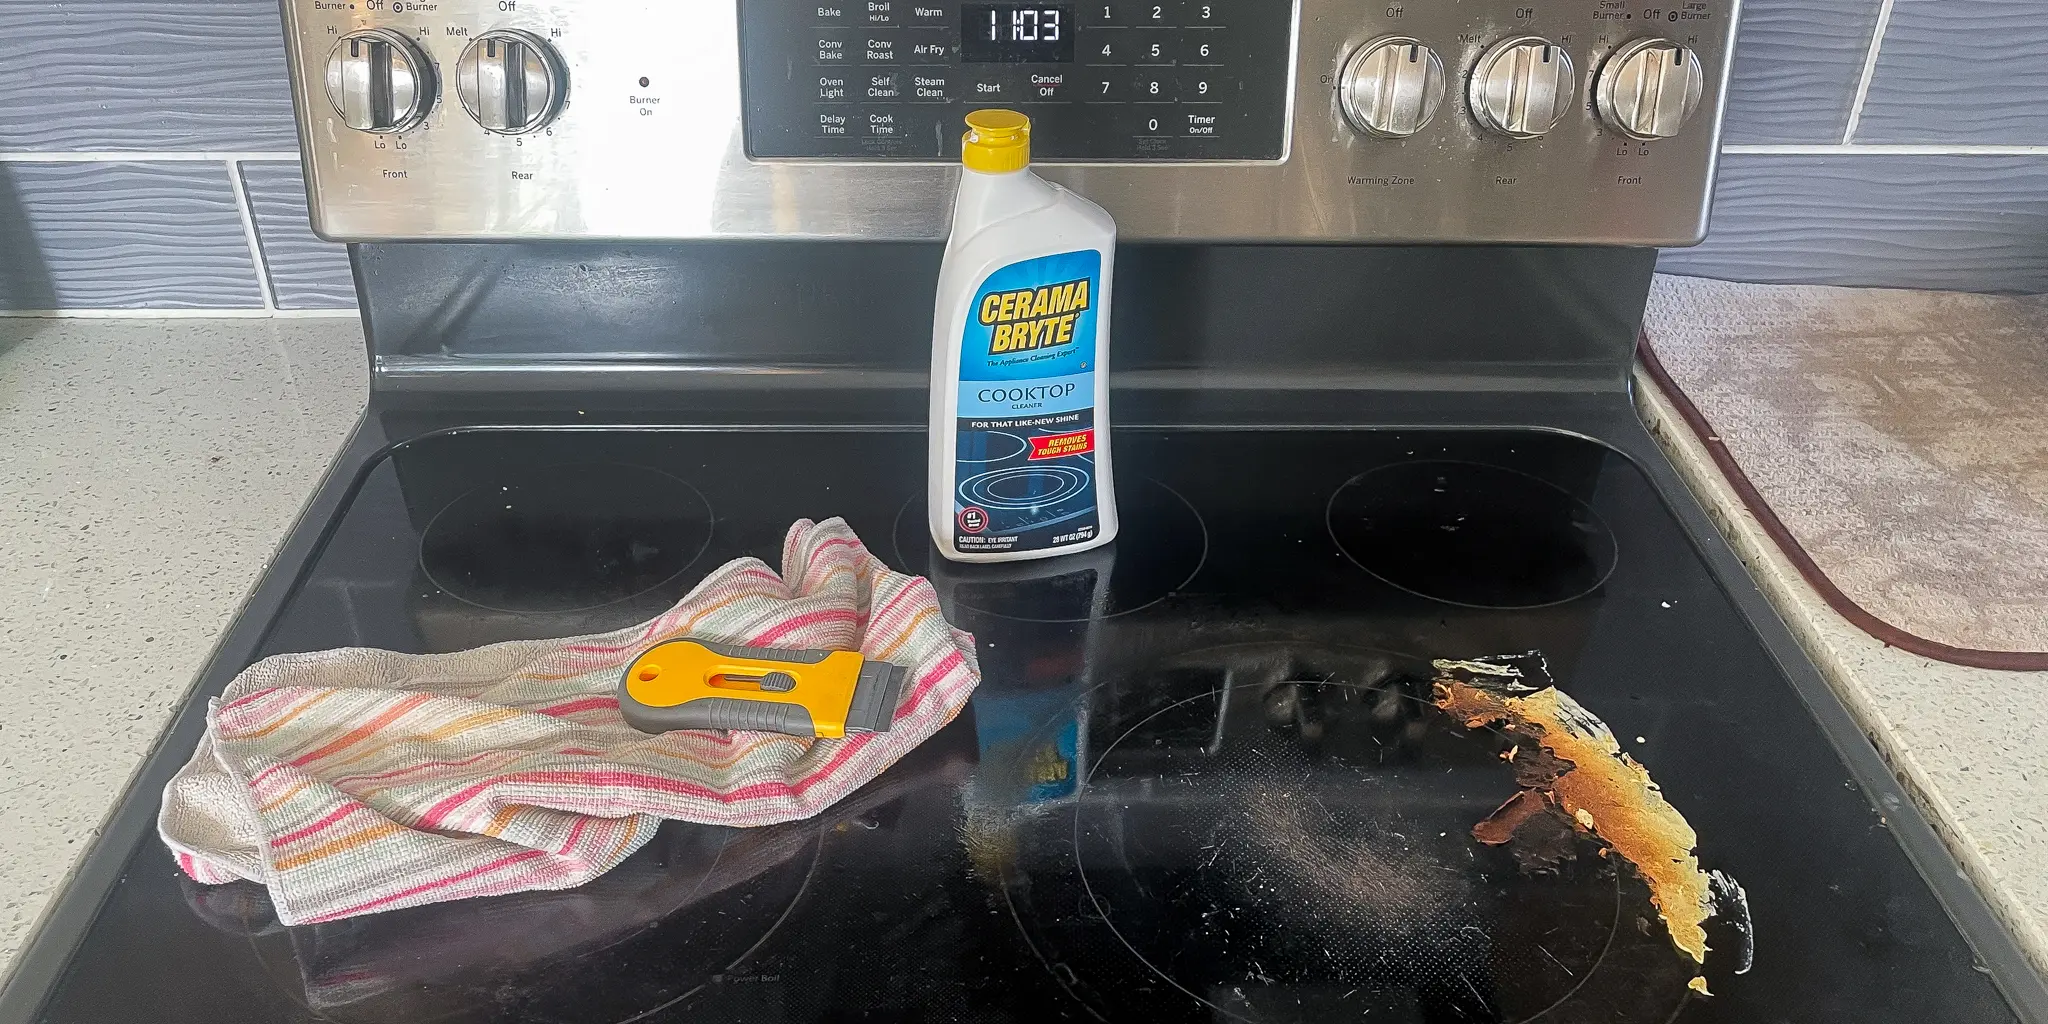
| White cloudy film on top of the glass | Mineral scaling or chemical etching from sugary spills. | Low (Cosmetic) | Do not open the stove. Scrub with baking soda paste and a razor scraper at a 45-degree angle. |
| Burnt, smoking smell when burners are activated | Food liquid has breached the perimeter seal and is burning on the drip trays below. | Medium | Perform an under-glass deep clean using our step-by-step safety guide. |
| Burner cycles off too quickly or won’t reach full heat | Thick carbon buildup under the glass is messing with the element’s thermal limiter sensor. | High | Lift glass panel safely, vacuum out debris, and clean the element casings. |
| Error code on display or burner completely dead | Liquid spill has dripped directly into the wire harness or terminal blocks. | Critical | Disconnect power instantly. Open cooktop to dry and clean terminals with electronic cleaner. |
Tools and Safety Supplies Needed
Because you are dealing with a heavy, fragile sheet of tempered glass-ceramic and high-voltage electrical components, you need to have the exact right tools lined up before you loosen a single screw.
- A Nut Driver or Screwdriver Set: Most cooktops use either 1/4-inch hex screws or Torx-head screws to secure the main glass frame.
- A Putty Knife or Rigid Plastic Scraper: Crucial for gently slicing through old perimeter adhesive without scratching your countertops.
- Microfiber Cloths and Dish Soap: For a non-abrasive, grease-cutting scrub.
- Isopropyl Rubbing Alcohol (90%+): The safest liquid cleaner for electrical environments because it evaporates almost instantly.
- A Vacuum with a Soft Brush Attachment: To suck up loose, dried carbon crumbs safely without disturbing the wiring.
- A Heavy Moving Blanket or Towel: To lay the delicate glass panel face-down without scratching the decorative top finish.
- High-Temperature Silicone Sealant: To re-seal the perimeter once your done, keeping future spills out.
Step-by-Step Guide: How to Clean Under a Glass Cooktop Stove Safely
Let’s walk through the exact technician-approved proccess. Go slow, stay organized, and keep track of where every single screw goes.
Step 1: Kill the Electrical Power Completely
I cannot stress this enough—never skip this step. A slide-in range or drop-in cooktop runs on a heavy 240-volt circuit. That is more than enough power to cause serious injury or death. Go down to your home’s main service panel and flip the dual-pole circuit breaker marked “Range” or “Stove” to the absolute off position. Double-check that the power is dead by trying to turn on a burner. The digital clock screen should be completely dark.
Step 2: Extract the Main Mounting Screws
Open your oven door completely and look up at the underside lip of the cooktop frame. You will usually find two to four screws securing the front edge of the glass panel assembly to the stove’s chassis. If you have a drop-in countertop unit, you may need to go inside the cabinet below the counter and loosen the metal hold-down brackets clamping the cooktop to the stone or laminate.
Step 3: Slice the Old Adhesive Seal
If your stove has been in place for a few years, grease and old silicone will act like glue, locking the glass frame tightly to your countertop or stove frame.
- Take your rigid plastic putty knife and slide it flat under the outer edge of the glass.
- Slowly slide it around the perimeter to break the suction of the old maintanence seal.
- Technician Warning: Do not use a metal screwdriver to pry up on the glass edge. Concentrated pressure on a single point will shatter tempered glass instantly.
Step 4: Lift and Prop the Glass Panel
Carefully grasp the front edges of the glass assembly and lift it upward like a car hood.
- Look for Wire Harnesses: Do not yank the glass panel completely away yet. Many modern smart cooktops have wire ribbons connecting the glass touch controls to the main board below.
- Disconnect or Prop: If the wires are short, unplug the quick-connect plastic wiring clips (take a picture first with your phone so you remember how they plug back in!). If you have plenty of wire slack, you can carefully lift the entire glass top frame off and lay it face down on a soft moving blanket on your counter.
Step 5: Vacuum and Clean the Element Trays
Now that the underbelly of the stove is exposed, you will likely see a metal pan housing the circular radiant elements, surrounded by loose carbon flakes and dried spill trails.
- Take your vacuum’s brush tool and gently suck up all loose crumbs, being incredibly careful not to snag or pull on any of the insulated wires connecting to the burners.
- To clean the baked-on grease stains on the metal trays surrounding the burners, dampen a microfiber cloth with isopropyl rubbing alcohol. Wipe down the metal panels. Avoid spraying liquid cleaners or water directly onto the yellow ceramic insulation blocks or the wire terminals.
Step 6: Scrub the Underside of the Glass Panel
Turn your attention to the underside of the glass panel sitting on your blanket. You will see dark rings directly corresponding to where the heat elements meet the glass.
- Apply a mixture of warm water and a few drops of grease-cutting dish soap to a soft sponge.
- Scrub the underside glass firmly to remove sticky oil yellowing.
- For rock-hard carbon ridges, use a specialized glass scraper tool at a flat 45-degree angle to slice the debris away smoothly without scratching the surface. Wipe it down completely dry with a clean microfiber towel.
Step 7: Apply New Perimeter Sealant
Before you button everything back up, you want to make sure you never have to do this job again.
- Take a damp cloth with rubbing alcohol and clean off the old crumbly silicone residue from the underside edge of the glass frame and the top of the stove chassis.
- Run a thin, continuous bead of high-temperature appliance silicone sealant along the perimeter seating track. This creates a solid barrier that will repel future boil-overs.
Step 8: Reassemble, Align, and Power Up
Re-attach any wiring harnesses you unplugged in Step 4. Carefully lower the glass assembly back down onto the stove frame, ensuring no wires are pinched between the metal panels. Reinstall the front mounting screws or under-counter brackets smoothly until they are snug. Restore the power at your main circuit breaker box. Turn on each burner for thirty seconds to ensure they light up with a beautiful, even red glow.
Pro-Tips to Keep the Underside Immaculate
Now that you have executed a flawless clean, use these proactive habits to protect your cooktop investment:
- Never Slide Cookware: Avoid sliding heavy cast iron or copper pots across the glass surface. This creates microscopic abrasions along the perimeter trim where liquids can find a path downward.
- Manage Your Pot Sizes: Always match the size of your pot to the size of the active burner ring. If you use a massive pot on a tiny burner, heat radiates outward across the glass glue lines, causing the silicone seal to dry out and fail much faster.
- The Immediate Spill Wipe: If a pot of starchy water or sugary sauce boils over, turn off the burner immediately. Move the pot away, let the zone cool down for a minute until it is safe to touch, and wipe it up while it is still a liquid before it can seep into the edges.
Empowering Your Appliance Repairs
Taking the initiative to learn how to clean under a glass cooktop stove safely is a massive milestone in proactive home ownership. You safely navigated high-voltage electronics, handled delicate glass-ceramic components with precision, and saved yourself an expensive service charge or a premature appliance replacement.
If your kitchen or laundry space appliances ever give you another headache—whether it’s an oven that bakes unevenly, a refrigerator that clicks constantly, or a dishwasher that leaves a gritty film on your glassware—remember that you don’t have to tackle it alone. We build straightforward, technician-verified diagnostic guides right here on FixNest.xyz to walk you through every twist and turn of home appliance care.
Make sure to bookmark FixNest.xyz right now so you always have a seasoned trade professional in your corner whenever an appliance acts up. If you want to maximize the lifespan of your household gear and keep your utility bills low, subscribe to our monthly newsletter for smart, seasonal maintenance guides sent straight to your inbox.
Did you run into a strange wiring harness configuration while lifting your glass top today? Are you unsure if your specific model can be opened from the front? Drop a comment below with your stove’s brand and model number—our supportive community of dedicated DIYers and senior technicians will jump right in to help you troubleshoot the problem safely!