Discover the best homemade solution for cleaning sticky kitchen extractor fans. Degrease mesh filters, restore airflow, and save money safely.
Best Homemade Solution for Cleaning Sticky Kitchen Extractor Fans: The Ultimate DIY Guide
Look, I get it, appliance maintenance is boring but cooking over a stove while grease drips down from a yellowed, sticky range hood is absolutely gross. Here is the real talk: your kitchen extractor fan (or range hood) is the unsung hero of your cooking setup. Every single time you fry an egg, sear a steak, or simmer a spicy curry, that fan sucks up a nasty mixture of airborne oils, steam, and odor.
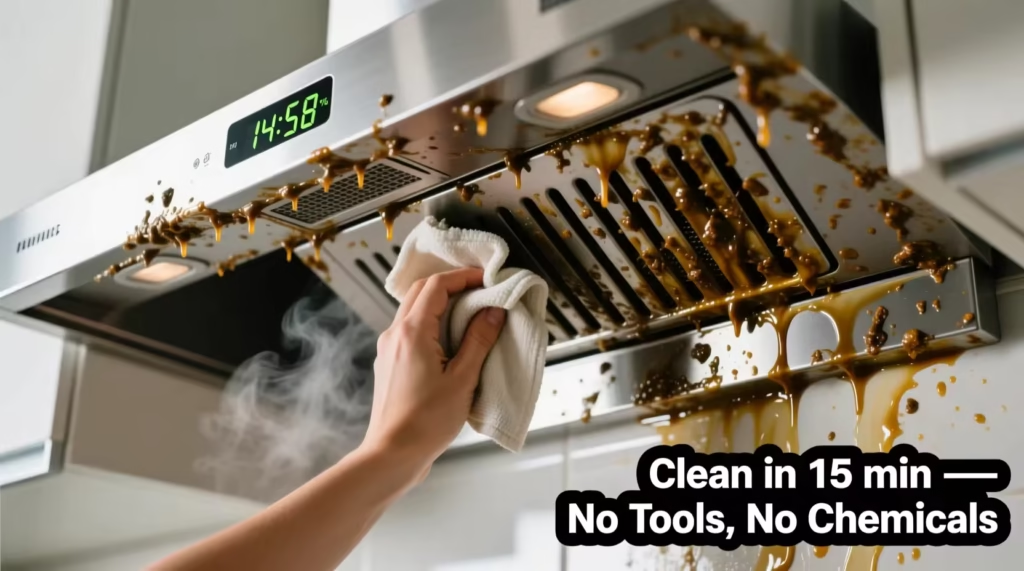
But where does all that atomized grease actually go? It hits the extractor fan filters and sticks like glue. Over months of neglect, this grease undergoes a chemical change called polymerization, turning into a rock-hard, amber-colored resin that normal household cleaners can’t even touch.
When your filtration system gets completely choked with this sticky sludge, your fan loses its pulling power. Your kitchen stays smoky, your smoke alarms trip constantly, and the grease-laden fan motor begins to strain, overheat, and push toward an expensive burnout.
As a senior technician, I see homeowners make the mistake of using razor blades or heavy industrial caustic chemicals that permanently pit, rust, or dissolve aluminum filter frames. You don’t need to spray toxic chemicals over the exact spot where you cook your family’s food.
In this masterclass for FixNest.xyz, I am going to reveal the absolute best homemade solution for cleaning sticky kitchen extractor fans safely, restoring full aerodynamic suction while protecting your wallet.
The Chemistry of Cooking Grease and Why Soap Fails
A lot of folks get frustrated because they spray a premium countertop cleaner onto their greasy extractor fan, wipe it down, and find that it is still just as sticky as before. Normal dish soaps and multi-surface wipes are designed to handle fresh, liquid oils. They simply aren’t formulated to break down old, oxidized, polymerised kitchen grease.
To dissolve that stubborn, honey-like lacquer without scratching the metallic surfaces, you need a dual-action approach. You need a chemical agent that undergoes a process called saponification (turning grease into water-soluble soap) combined with a mild, non-abrasive scouring agent.
At FixNest.xyz, we are committed to providing you with expert, field-tested science that simplifies home maintenance, allowing you to bypass expensive commercial products using everyday kitchen pantry staples.
Extractor Fan Performance & Maintenance Schedule
How often you need to deploy our homemade cleaning solution depends entirely on your household’s culinary habits. Review this schedule to match your cooking style with the proper maintanence intervals.
| Cooking Profile | Primary Cooking Methods | Filter Inspection Frequency | Deep Clean Schedule |
| Light & Delicate | Mostly boiling water, steaming vegetables, baking, or microwave meal prep | Every 6 months | Twice a year |
| Moderate & Varied | Standard pan-frying, regular stir-fries, baking meats, and daily stove usage | Every 3 months | Every 90 days using our homemade guide |
| Heavy & High-Heat | Deep-frying, searing meats in cast iron, wok cooking, and heavy spice utilization | Monthly without fail | Monthly deep clean to protect the fan motor |
The Ultimate Homemade Degreasing Formula
Through decades of servicing residential ventilation hoods, I have tested every DIY method under the sun. The absolute best homemade solution for cleaning sticky kitchen extractor fans boils down to a dynamic trio: Boiling Water, Baking Soda, and Dawn Liquid Dish Soap.
Here is why this specific combination is undefeated:
- Thermal Shock (Boiling Water): Extreme heat melts the solid fats immediately, reverting them back into a liquid state that can be easily washed away.
- Alkaline Saponification (Baking Soda): Sodium bicarbonate is naturally alkaline. When it comes into contact with fatty acids, it breaks down the sticky molecular bonds without etching aluminum or stainless steel frames.
- Surfactant Suspension (Dawn Dish Soap): The specialized surfactants in the blue dish soap lock onto the newly freed grease particles, floating them in the water so they don’t restick to your clean metal mesh.
Step-by-Step Guide: Deep Cleaning Your Extractor Fan Safely
Let’s walk through the actual cleaning proccess. Follow these steps carefully to ensure a clean finish without causing any mechanical damage to your unit.
Step 1: Disconnect Power and Ensure Structural Safety
Safety first, always. Before you start poking around the electrical housing of your extractor fan, turn off the appliance completely. For absolute safety, pull the power cord from the outlet inside your upper cabinetry or flip the circuit breaker labeled “Kitchen Fan” or “Range Hood” to the off position. Make sure your stovetop below is completely turned off and cool to the touch.
Step 2: Remove the Mesh Grease Filters
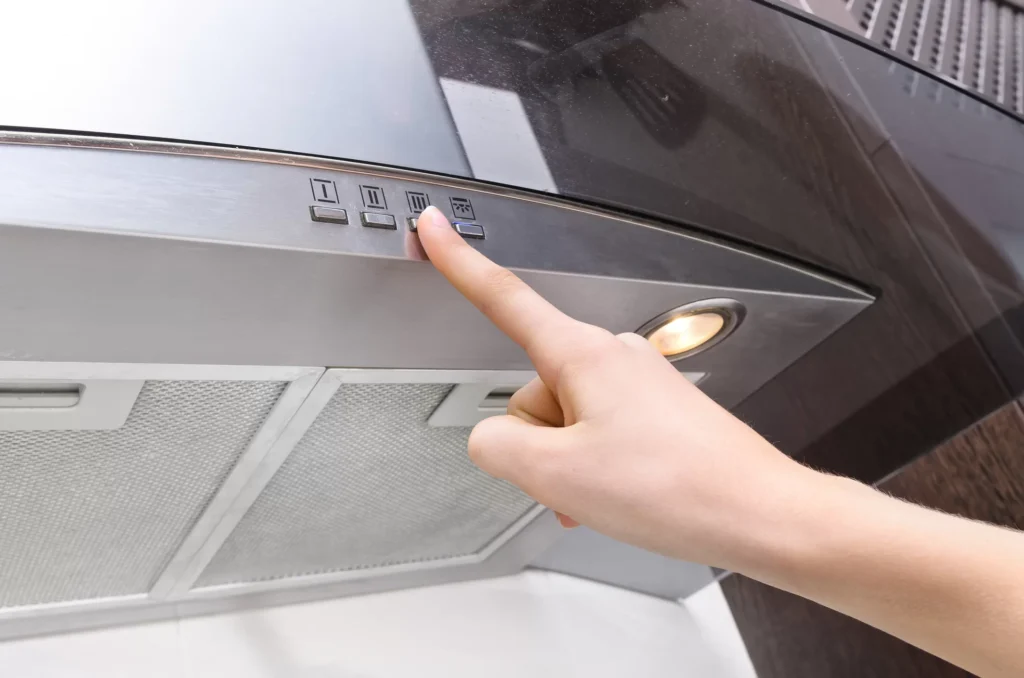
Look up at the underside of your range hood. Most extractor fans feature one, two, or three aluminum mesh panels held in place by small plastic or metal spring-loaded release latches. Press the latches inward and gently drop the filters out of their tracks.
- Technician Warning: If your hood uses a recirculating system instead of an outdoor duct, it will have a black fabric or honeycomb charcoal filter clipped behind the metal mesh. Do not wash charcoal filters; water destroys them. Pop them out and discard them if they are more than six months old.
Step 3: Prep the Boiling Saponification Bath
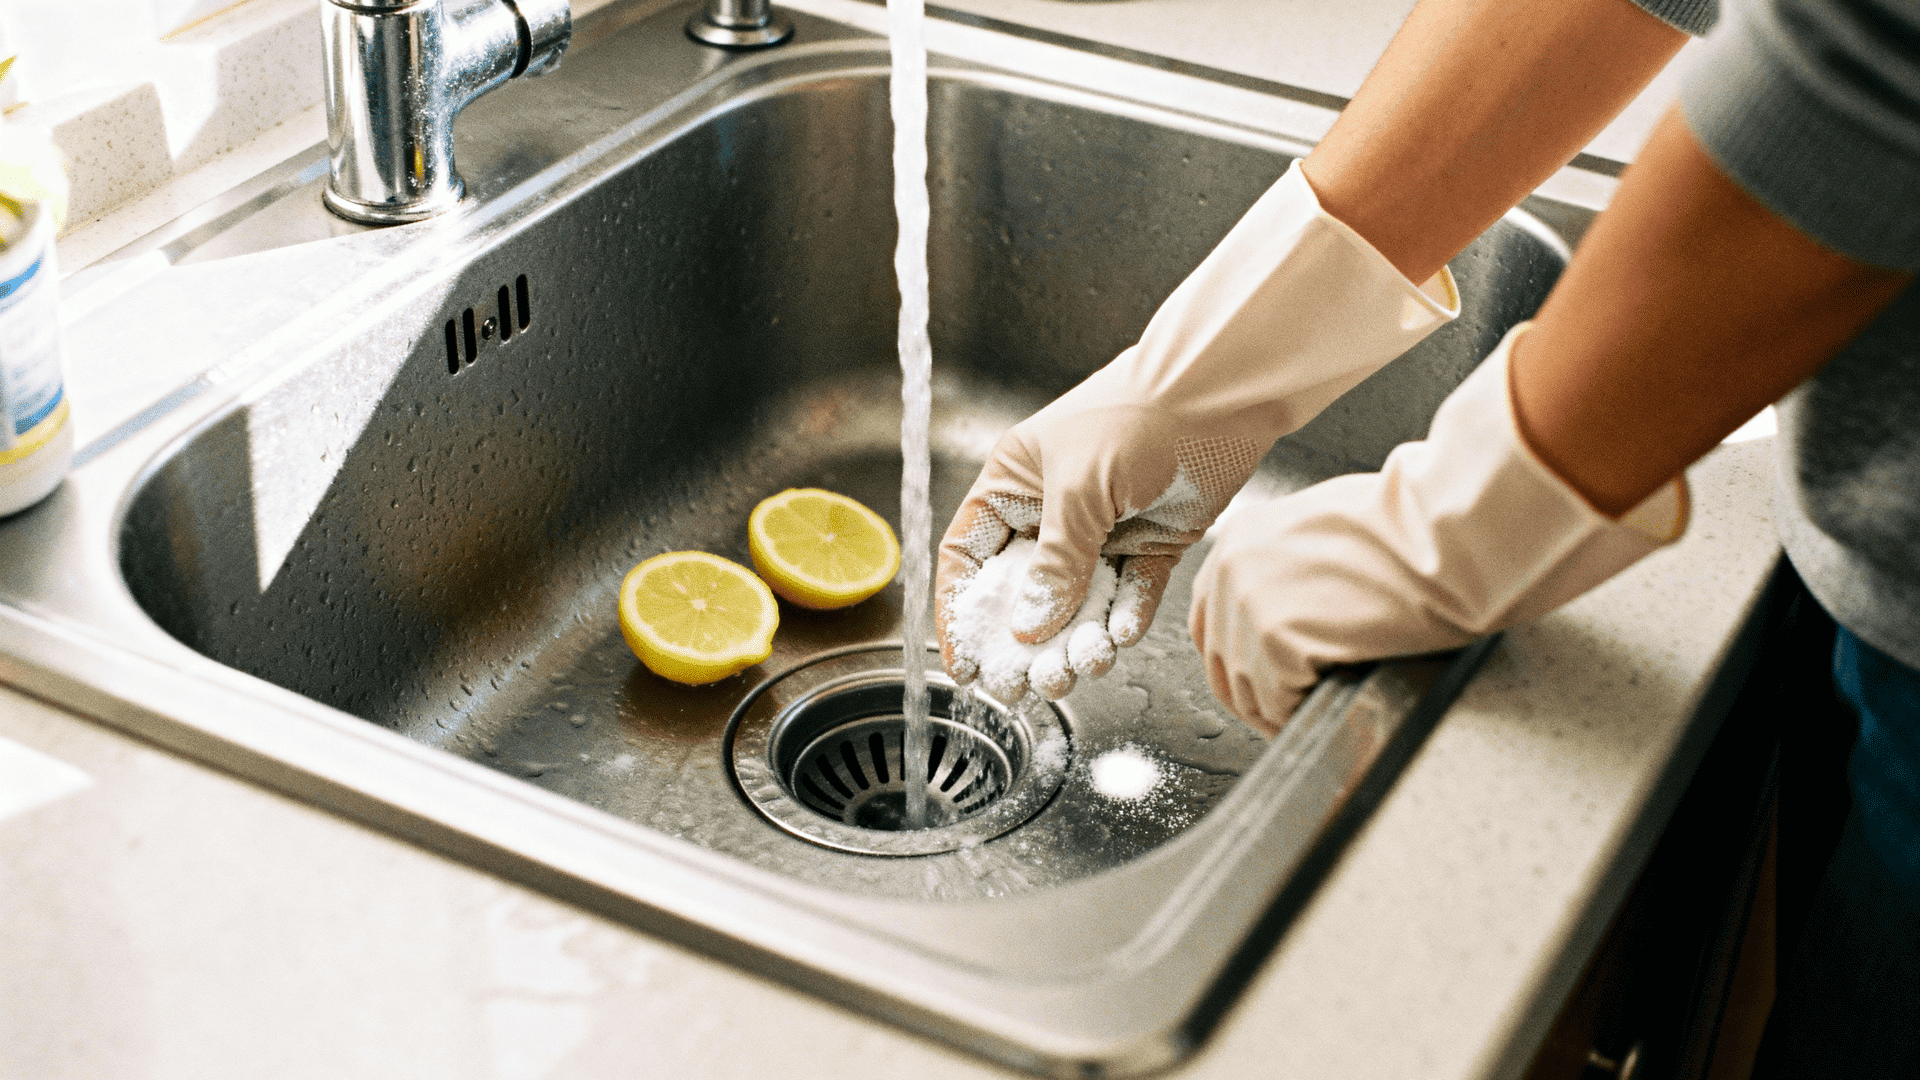
Find your largest metal baking pan, a large plastic storage bin, or plug your kitchen sink.
- Fill the basin with boiling hot water straight from a kettle.
- Add 1/4 cup of blue Dawn liquid dish soap and slowly mix in 1/2 cup of baking soda.
- The water will begin to fizz and bubble. This chemical reaction is exactly what you want—it means the solution is active and ready to eat through grease.
Step 4: Submerge and Soak the Sticky Filters
Slide the aluminum mesh filters directly into the hot, bubbling bath. Ensure they are completely covered by the liquid. If your basin isn’t quite large enough to fit the entire filter, submerge one half for 15 minutes, then flip it over to soak the other side. As they soak, your going to see thick, yellowed sheets of old grease break free and float to the water’s surface. Let them sit undisturbed for a minimum of 20 minutes.
Step 5: The Scratch-Free Nylon Scrub
Remove the filters from the bath one at a time. The stubborn resin should now be completely soft and jelly-like. Take an old, stiff-bristled toothbrush or a non-scratch nylon kitchen scrub brush and gently sweep over the mesh openings in circular patterns. Work your way into the corners where the aluminum frame meets the mesh, as that is where grease loves to hide.
- Technician Note: Avoid using metal wire brushes or harsh steel wool. Aluminum mesh is incredibly fragile, and aggressive metal scrubbing will rip the fine screens, rendering them useless.
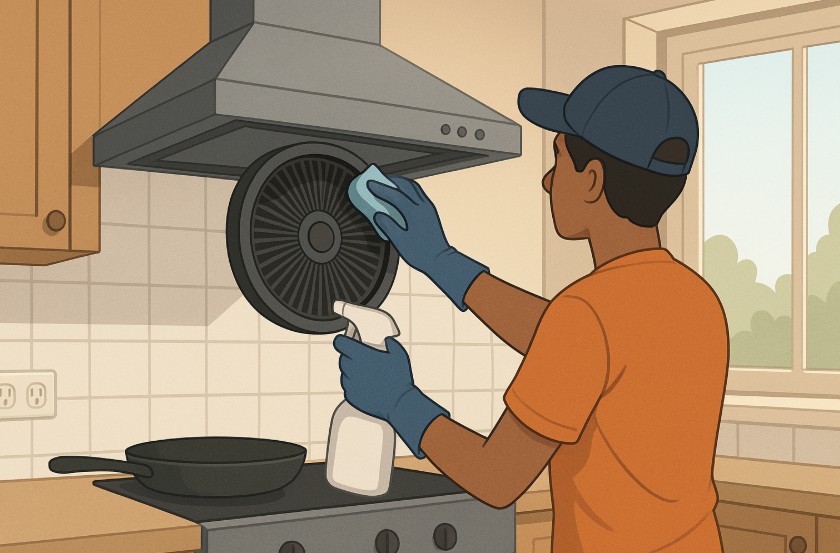
Step 6: Degrease the Fan Blades and Exterior Housing
While your filters are soaking, look up into the empty hood cavity where the fan motor lives. The plastic fan impeller blades and the surrounding metal housing will also be coated in a sticky film.
- Dip a clean microfiber cloth into your leftover warm baking soda and soap solution, wringing it out until it is damp but not dripping wet.
- Wipe down the fan blades and the interior walls of the hood carefully.
- Crucial Check: Never spray liquid cleaners or splash water directly into the open motor housing or near the light bulb sockets. Moisture inside the motor winding will create an electrical short circuit. Wipe down the area a second time with a dry microfiber cloth to buff out any soap streaks.
Step 7: Rinse and Dry Completely
Bring your scrubbed filters back to the sink and rinse them thoroughly under hot running water to wash away every remaining trace of loosened sludge and baking soda film. Shake the filters vigorously over the sink to drive out any trapped water hidden inside the layered mesh screens. Lay them completely flat on a dry towel and let them air dry 100% before reinstallation.
Step 8: Reassemble and Restore Power
Once the mesh panels are completely dry, snap them back into their respective tracks under the hood. Pop in a fresh charcoal filter if your system recirculates air. Plug the appliance back into the wall or flip the circuit breaker back on. Activate the fan on its highest setting—you should hear a clean, deep, unrestricted rush of air moving effortlessly through the clean system.
Smart Daily Cooking Habits to Prevent Sticky Buildup
Now that you have executed the best homemade solution for cleaning sticky kitchen extractor fans, practicing these simple behavioral changes will keep your kitchen air clean and slow down future grease accumulation:
- The 5-Minute Head Start: Turn your extractor fan on low five minutes before you start cooking. This sets up a steady, directional vortex of air currents in your kitchen, ensuring that the very first grease-laden steam vapors are drawn straight up into the filter rather than scattering across your surrounding cabinetry.
- The Post-Cook Run: Do not turn the fan off the exact second you turn off your stove burners. Leave the fan running on low for ten minutes after you finish cooking to clear out the residual atomized oils hanging in the room’s air space.
- Avoid Excessive Aerosol Cooking Sprays: Commercial non-stick cooking sprays contain propellants and additives that turn incredibly gummy when heated. Switching to regular liquid oils in a traditional pour bottle significantly reduces the sticky factor inside your ventilation system.
Taking Charge of Your Home Infrastructure
Mastering the care of your kitchen extractor fan using safe, low-cost homemade ingredients is a classic example of high-authority DIY homeownership. You isolated the efficiency drop, broke down the chemistry of the stubborn blockage, and completed a professional-grade cleanup without wasting a penny on toxic commercial degreasers or professional service invoices.
If your kitchen or laundry room workspace ever throws you another technical curveball—whether it is a dishwasher that won’t drain, an oven burner with a lazy yellow flame, or a refrigerator door seal that won’t close tightly—remember that you don’t have to face it blindly. We are completely dedicated to engineering accessible, step-by-step diagnostic and maintenance tutorials right here on FixNest.xyz to guide you through every scenario.
Make sure to bookmark FixNest.xyz right now so you always have a trusted expert companion standing by whenever a major household appliance acts up. If you want to maximize the performance of your appliances and keep your property operating smoothly without draining your savings, subscribe to our monthly newsletter for practical, seasonal maintenance reminders delivered directly to your inbox.
Did you run into a weird type of filter assembly while trying to complete this cleanup project today? Is your extractor fan still making a loud humming sound even after a thorough scrubbing? Drop a comment below with your range hood’s brand and model number—our helpful community of passionate DIYers and trade pros will jump right in to help you troubleshoot the problem and secure a safe, smart fix!