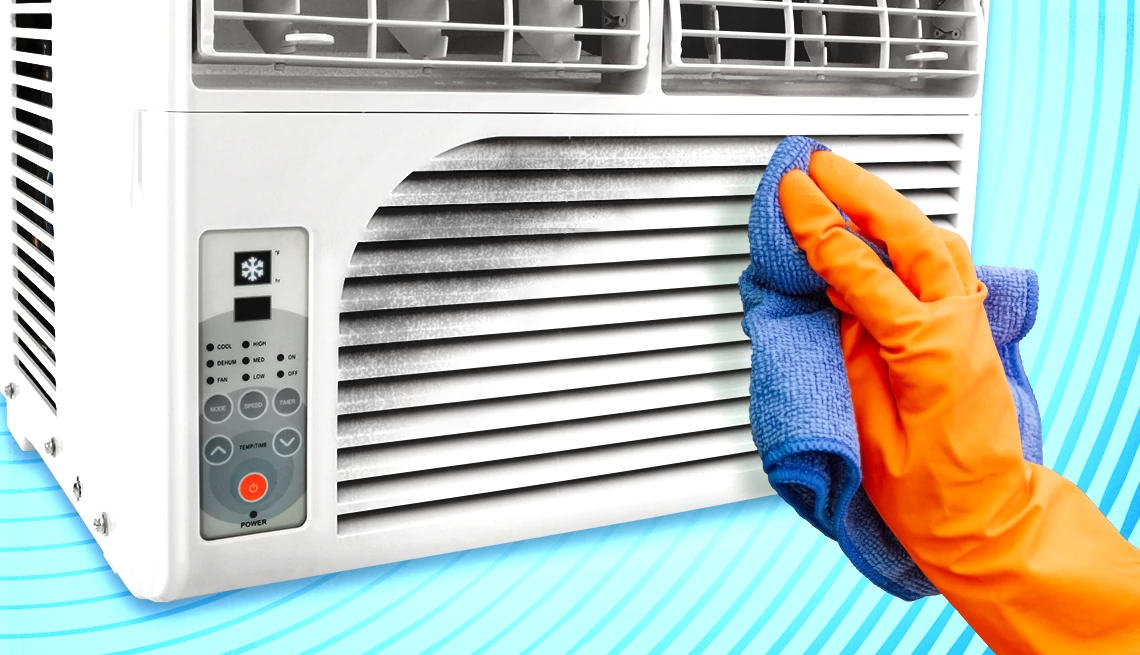
Learn how to maintain window air conditioning units during winter months safely. Avoid rust, stop freezing drafts, and save money on HVAC repairs.
How to Maintain Window Air Conditioning Units During Winter Months
Look, I get it, appliance maintenance is boring but walking away from your window air conditioner at the end of summer and letting it sit neglected through months of freezing sleet, heavy snow, and bitter winds is an absolute recipe for disaster. When the temperature drops, it is incredibly tempting to just leave that heavy box sitting in the frame, flip your home’s thermostat to heat, and forget about it until next June.
Here is the real talk: winter weather is absolutely brutal on exposed mechanical equipment. Leaving your AC unprotected for months creates two massive financial headaches. First, freezing outdoor air will pour straight through the unsealed chassis, turning your room into an icebox and driving your winter heating bills through the roof. Second, trapped moisture, falling leaves, and ice buildup inside the steel cabinet will rust out the delicate condenser coils, ruin the fan bearings, and guarantee your buying a costly replacement unit come next summer.
At FixNest.xyz, we focus on giving homeowners and renters practical, money-saving, and safe DIY solutions so you can keep your household gear running smoothly without spending a fortune on professional repairs. Learning how to maintain window air conditioning units during winter months is a quick, straightforward task that will save you massive amounts of cash on utilities while dramatically extending the lifespan of your cooling system. In this comprehensive guide, we will weigh the pros and cons of removing vs. winterizing your AC unit, outline a complete off-season maintenance schedule, and walk you through a detailed step-by-step winterization tutorial.
The Big Debate: Store It Inside or Leave It in the Window?
As an appliance tech, homeowners ask me this question every single autumn: “Should I actually struggle to pull this heavy unit out of the window frame, or can I safely leave it mounted outside?”
The short answer? Uninstalling the unit and storing it in a dry utility closet, basement, or garage is always the gold standard for protecting your investment. However, if you live in a high-rise apartment, have a bad back, or possess a massive, heavy-duty unit that is permanently bracketed to the outer wall, completely removing it might not be a realistic option.
Both methods are totally valid if executed properly. Let us take a close look at how these two winter management strategies stack up against each other.
Removal vs. On-Site Winterization Guide
| Maintenance Strategy | Ideal Scenario | Key Advantages | Downside Risks |
| Complete Unit Removal | Small to mid-sized bedroom units; easy-to-access ground floor windows. | 100% protection from freezing moisture; eliminates cold winter drafts completely; keeps your window perfectly secure against winter break-ins. | Requires physical lifting and heavy strength; takes up precious indoor storage footprint; risk of dropping the unit during uninstallation. |
| On-Site Winterization | Massive 12,000+ BTU living room units; high-rise apartment settings; units with permanent exterior brace frames. | Zero heavy lifting or risk of muscle strain; fast setup time; no indoor storage space required. | The unit remains exposed to extreme external temperatures; requires an aftermarket vinyl cover wrap; can still permit slight cold air leaks if unsealed. |
Regardless of which path you choose based on your physical space and capabilities, completing a thorough end-of-season deep clean is non-negotiable. If you seal up a dirty unit full of damp summer debris for the winter, you are practically rolling out the red carpet for black mold colonies to take over the internal insulation blocks.
The Essential Off-Season Maintenance Schedule
To keep your cooling system from suffering from rust or electrical failure over the cold winter stretch, stick to a structured maintenance timeline. Use this checklist to stay ahead of the game before the first hard freeze hits your neighborhood.
Off-Season AC Upkeep Protocol
- Late Autumn (Before First Frost): Thoroughly vacuum the interior dust screen, wash the main evaporator coil, and let the entire chassis run on “Fan Only” mode for an hour to evaporate internal condensate water completely.
- Early Winter (The Winterization Stage): Either extract the unit for indoor storage or install a heavy-duty, waterproof winter vinyl cover over the external metal cabinet. Use specialized foam weatherstripping tape to seal any gaps around the side accordion panels.
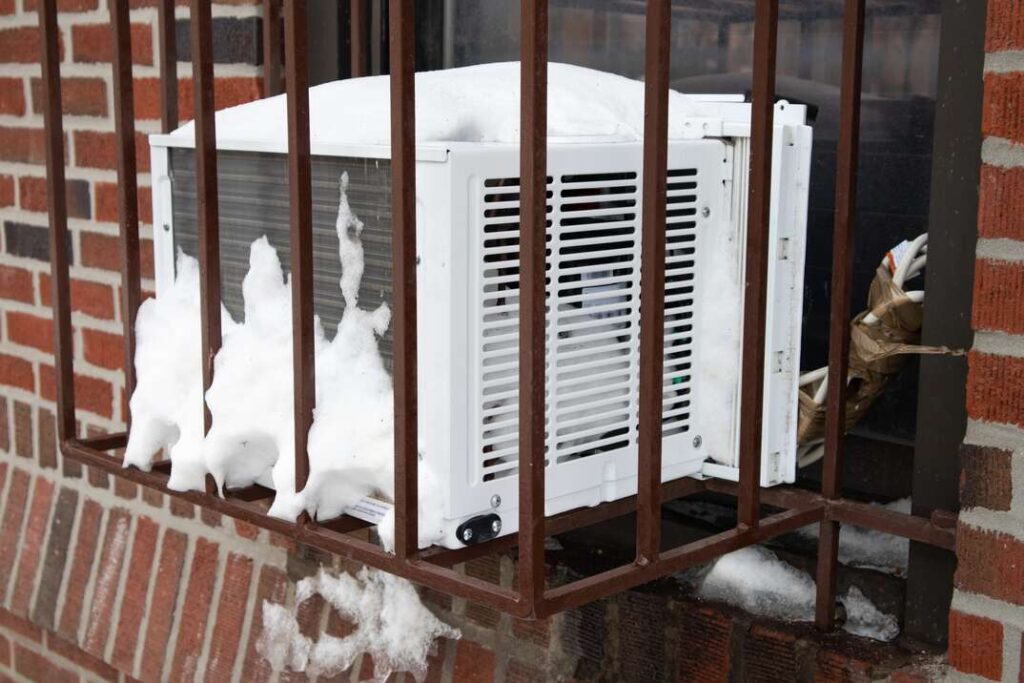
- Mid-Winter (The Monthly Inspection): If your unit stays mounted in the window, take a quick peek outside after major blizzards or ice storms. Gently clear away heavy snow blankets from the top of the cover to prevent the heavy weight from buckling the steel housing.
- Early Spring (The Pre-Season Check): Remove the external cover, check for signs of nesting pests or rodents inside the louvers, and verify that the external drain hole remains completely clear of autumn leaf debris.
Tools and Supplies Needed for Winterization
You won’t need to purchase any expensive specialized trade tools to complete this maintanence proccess safely. Gather these basic supplies from around your home:
- A soft-bristle brush or heavy-duty paintbrush
- A vacuum cleaner with a dusting brush attachment
- A bucket of warm water mixed with mild liquid dish soap
- A clean microfiber cloth
- A heavy-duty, waterproof outdoor AC cover with adjustable cinch straps (if keeping the unit mounted)
- An insulating indoor AC cover or open-cell foam gap sealing strips
- A helper (highly recommended if you plan to lift the unit down)
Step-by-Step Guide: How to Winterize Your Window AC Safely
Follow these step-by-step instructions systematically to secure your window AC unit before the winter weather settles in for the season.
Step 1: Unplug the Unit and Disconnect Power
Safety is our top priority here at FixNest.xyz. Before you touch any internal components or wipe down the chassis, pull the power cord completely from the wall outlet. Wrap the electrical cord neatly and secure it to the side of the plastic frame with a piece of painters tape so it doesn’t drag on the floor or trip you up during the procedure.
Step 2: Clean the Primary Air Filter and Internal Coils
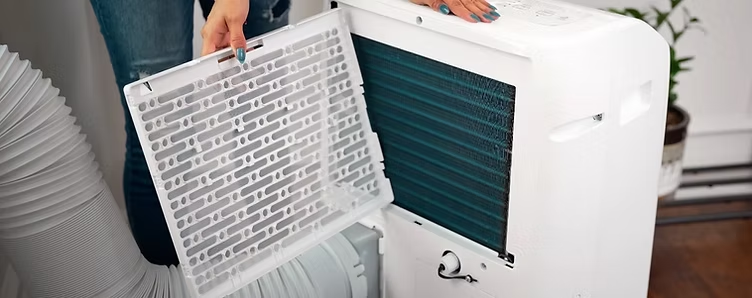
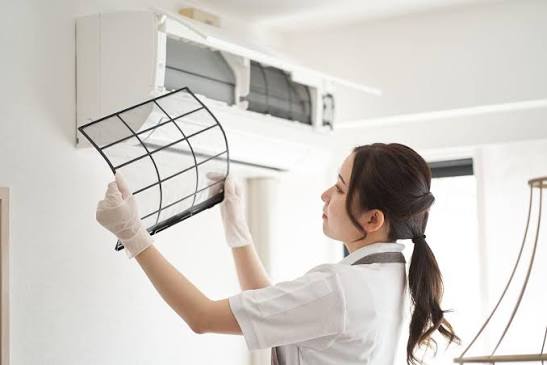
Remove the front plastic grill panel and slide out the mesh air filter. Take it to your sink, vacuum off the loose lint, and wash it with warm, soapy water. While the filter is air-drying, use your vacuum’s soft brush attachment to gently clear away any dust coating the silver aluminum evaporator fins. Work in a strict vertical motion so you do not bend the delicate metal fins.
Step 3: Evaporate Internal Condensation Completely
Window air conditioners collect a massive volume of moisture from your indoor air during normal operation. This water sits in a flat steel pan at the bottom of the unit. If you seal the machine up with water still sloshing around inside, it will create a rusty mess and cause foul mildew odors. If the unit is still plugged in temporarily, run the “Fan Only” setting on high speed for at least 60 minutes to dry out the interior. If you are taking the unit down, tilt the chassis backward toward the outside elements for a few minutes to drain all the residual water out through the rear weeping holes.
Step 4: Clean the External Condenser Cabinet
If your keeping the unit mounted in the window frame, step outside (if accessible) or look out the open upper window sash. Use a stiff paintbrush to clear away dead leaves, twigs, dirt, and spiderwebs jammed inside the rear condenser vents. This debris holds onto winter moisture like a sponge, accelerating metal corrosion if left trapped under a winter cover.
Step 5: Securely Apply the Heavy-Duty External Cover
For units staying in the window all winter, wrap a high-quality, weatherproof vinyl cover over the entire outside portion of the machine. These covers block freezing rain, snow, and ice from entering the cabinet louvers. Pull the integrated straps or bungee cords tight around the base of the machine so strong winter wind storms cannot lift the cover away or rattle it against your home’s siding.
Step 6: Seal Off Indoor Gaps and Install a Draft Shield
Your accordion side panels are incredibly thin and have zero insulation value. Cold winter drafts will slice right through them if they aren’t insulated. From inside your home, apply thick foam weatherstripping tape along the seams where the plastic panels meet the window frame. For complete draft protection, slide a quilted fabric indoor AC cover directly over the front faceplate of the machine. This acts as a secondary thermal barrier, ensuring your heating system isn’t constantly fighting an icy draft.
Step 7: (Alternative) Safely Extract and Store the Unit Indoors
If your choosing the removal method, open the window sash carefully while your helper holds the main weight of the AC unit. Gently slide the unit inward, lifting the bottom lip over the window sill. Keep the unit level as you move it so any remaining puddle water inside the drain pan doesn’t spill onto your indoor floors. Store the unit completely upright in a dry, climate-controlled closet or basement. Never store a window air conditioner on its side or upside down, as this causes the internal compressor oil to migrate into the delicate cooling lines, which can permanently lock up the motor when you turn it back on next summer.
Troubleshooting Off-Season Window AC Complications
If you notice cold air leaking around your unit or hear strange sounds coming through the window frame as the winter sets in, consult this practical troubleshooting matrix to fix the issue quickly.
Off-Season AC Troubleshooting Matrix
| What You Notice | Potential Root Cause | Corrective Action Plan |
| Cold air is actively blowing through the bottom of the front plastic grill. | The external vinyl cover is loose, or the inner slider panels have shifted, creating an open air gap to the outside. | Remove the indoor plastic cover, verify the accordion panels are extended fully, and stuff open-cell backer rod insulation foam into the lower track gap. |
| You hear a constant scratching or rustling sound inside the winterized cabinet. | Small rodents, mice, or birds are attempting to build a warm winter nest inside the soft insulation blocks of your machine. | Inspect Immediately: Gently lift the outer vinyl cover and check the vents. Stuff stainless steel mesh wool into open cabinet ports to block pests without trapping moisture. |
| The window frame is showing water stains or condensation streaks on the interior drywall. | Rain or melting ice is bypassing a poorly fitted exterior vinyl cover and flowing down the window sill track. | Readjust the pitch of the unit. A window air conditioner must always tilt slightly backward toward the yard (about a quarter-inch drop) so water flows away from your home’s structure. |
| The plastic accordion panels are cracking or warping in the freezing winter air. | UV damage from the summer sun has made the plastic brittle, and extreme freezing temperatures are causing it to split. | Use heavy-duty, weather-resistant foil tape to seal the cracks temporarily for the winter season. Plan to buy a low-cost replacement accordion panel kit before you boot the system up next spring. |
Simple Habits for Multi-Season Longevity
Consistency is the real secret sauce when it comes to avoiding expensive appliance replacements. Get into the habit of performing your winter prep routine on the exact same weekend you take down your outdoor patio furniture or clear your lawn irrigation lines. Making it a natural part of your seasonal home routine ensures it never gets forgotten or pushed off until it is too late.
Additionally, remember to take care of your remote control! When you pull your air conditioner out of service for the winter, always pop the AA or AAA batteries out of the remote housing and store them in a drawer. Batteries left inside an idle remote for six months straight love to leak corrosive white acid, ruining the gold contact plates and forcing you to buy an expensive replacement remote control next summer.
Wrap Up and Next Steps
Protecting your window air conditioning unit from the brutal winter cold doesn’t require a high-priced HVAC service contract or an engineering degree. By dedicating just twenty minutes of your weekend to cleaning the coils, sealing up the window gaps, and wrapping the external cabinet in a protective shield, you protect your bank account from skyrocketing utility bills and guarantee crisp, reliable cooling performance when the summer heat waves eventually return.
Whenever you find yourself unsure of how to tackle a confusing home repair or maintain a stubborn system, remember that FixNest.xyz is your go-to resource for homeowners looking to extend the lifespan of their appliances and save money on repairs. We skip the complicated corporate fluff and give you the real talk, tech specs, and honest advice you need to get the job done right the first time.
If you love saving money on home maintenance and want to master your household chores, go ahead and subscribe to our newsletter for your monthly dose of practical appliance upkeep reminders sent straight to your inbox. Did you run into a tricky roadblock while attempting to dismount your specific unit model, or is cold air still pouring through your window frame after you taped it up? Leave a comment down below with your setup details, and our community will help you figure out your next move!