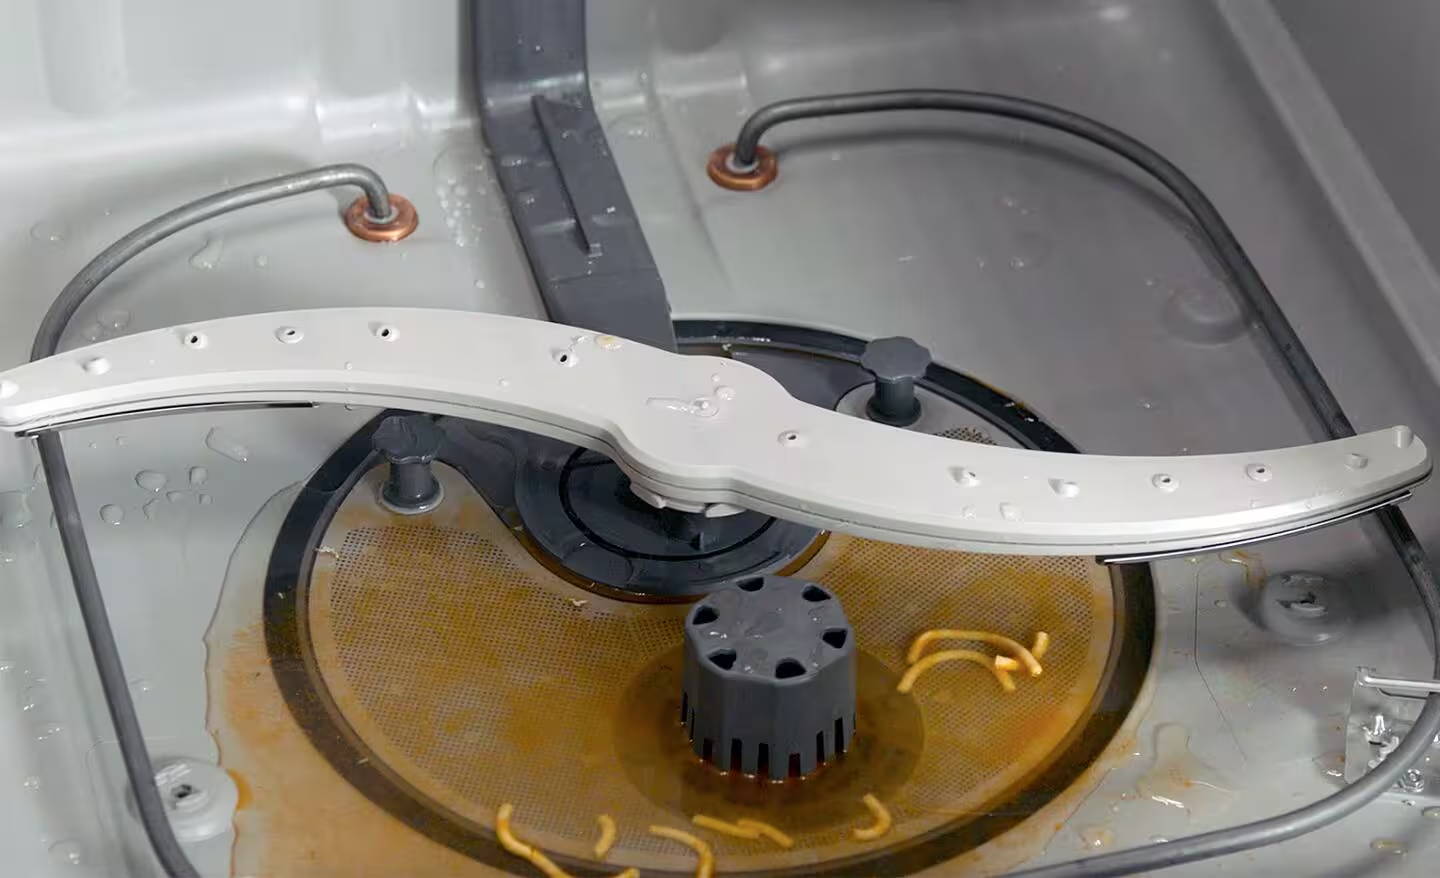
Learn how to clear a clogged dishwasher drain hose manually. Fix standing water, clear nasty food clogs, and save money on repairs safely.
How to Clear a Clogged Dishwasher Drain Hose Manually: The Ultimate Technician Guide
Look, I get it, appliance maintenance is boring but opening your dishwasher after a long cycle only to find a lukewarm, murky pool of dirty, foul-smelling water sitting in the bottom tub is a total nightmare. Your first instinct might be to panic and dial a local plumber or appliance repair service. But here is the real talk: before you shell out $150 to $200 for a service call, you need to check the drain line.
More than 80% of dishwasher drainage failures aren’t caused by a burnt-out motor or a broken electronic control board. They are caused by a physical blockage consisting of congealed grease, food chunks, coffee grounds, or even a stray piece of plastic wrap trapped inside the flexible plastic discharge line.
When your machine cannot pump water out, it forces a safety floating switch to lock the unit down. This leaves your dishes dirty and your kitchen vulnerable to a costly flood.
As a senior technician, I see homeowners waste thousands of dollars replacing perfectly fine drain pumps when all they needed to do was disconnect a simple plastic tube and clear out a pocket of old food debris.
In this comprehensive handbook for FixNest.xyz, I am going to teach you the exact industry proccess on how to clear a clogged dishwasher drain hose manually without making a giant mess, flooding your kitchen cabinets, or damaging your machine’s internal check valves.
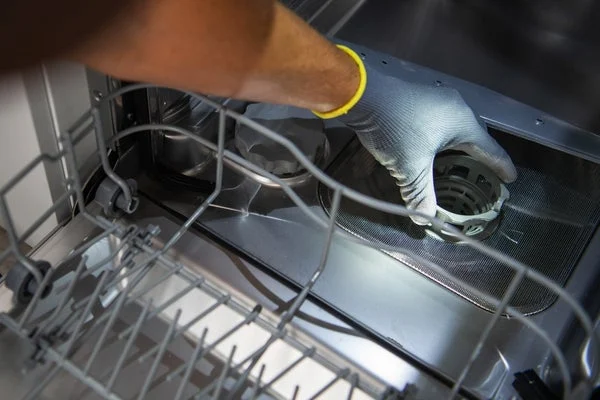
Why Do Dishwasher Drain Hoses Clog Up?
Your dishwasher’s drain hose is a ribbed, flexible plastic pipe that runs from the bottom of the pump assembly underneath your machine directly to your kitchen sink’s under-counter plumbing. It either attaches to a dedicated garbage disposal nipple or hooks into an air gap mounted on your countertop. Because the hose is corrugated (ribbed) to allow it to bend around tight cabinet corners without kinking, it naturally features hundreds of tiny internal ridges.
Over months of heavy usage, these internal ridges collect a layer of sticky animal fats, un-dissolved detergent powder clumps, and tiny fragments of hard food debris.
Eventually, a stray piece of bone or a thick clump of grease creates a bridge, capturing every single food particle that passes by. Within days, this bridge grows into a solid, rubbery dam that completely chokes off the water flow.
At FixNest.xyz, we believe in arming you with the mechanical knowledge required to troubleshoot these blockages yourself. Understanding the root cause of a drainage backup allows you to fix the problem permanently instead of just clearing it temporarily.
Dishwasher Drainage Failure Troubleshooting Matrix
Before you pull the entire machine out from under your kitchen counter, you want to identify exactly where the drainage restriction is located. Use this technician diagnostic matrix to narrow down the problem spot.
| Symptoms | Likely Root Cause | Severity Level | Target Remediation |
| Water backs up into the kitchen sink when the dishwasher pumps out | A blockage exists inside the home’s main sink P-trap or the garbage disposal unit, not the dishwasher. | Low (Plumbing issue) | Run your garbage disposal completely or clear out the sink P-trap under the counter. |
| Standing water in the machine, but you hear a loud humming sound during the drain cycle | The drain pump motor is trying to turn but a massive clog in the drain line is dead-heading the pressure. | Medium | Follow our manual guide to clear the flexible drain hose immediately. |
| Water drains out incredibly slowly, leaving a couple of inches of dirty water at the end of every cycle | A partial blockage is narrowing the internal diameter of the line or the hose is severely kinked. | Medium | Inspect the line under the sink for physical kinks, then perform a manual flush. |
| The machine doesn’t try to drain, and there is zero sound or vibration from the lower motor area | The drain pump impeller is completely jammed by a hard foreign object (like a broken glass shard) or the motor coil is dead. | High | Access the lower pump housing, clean the impeller blades, or replace the pump assembly. |
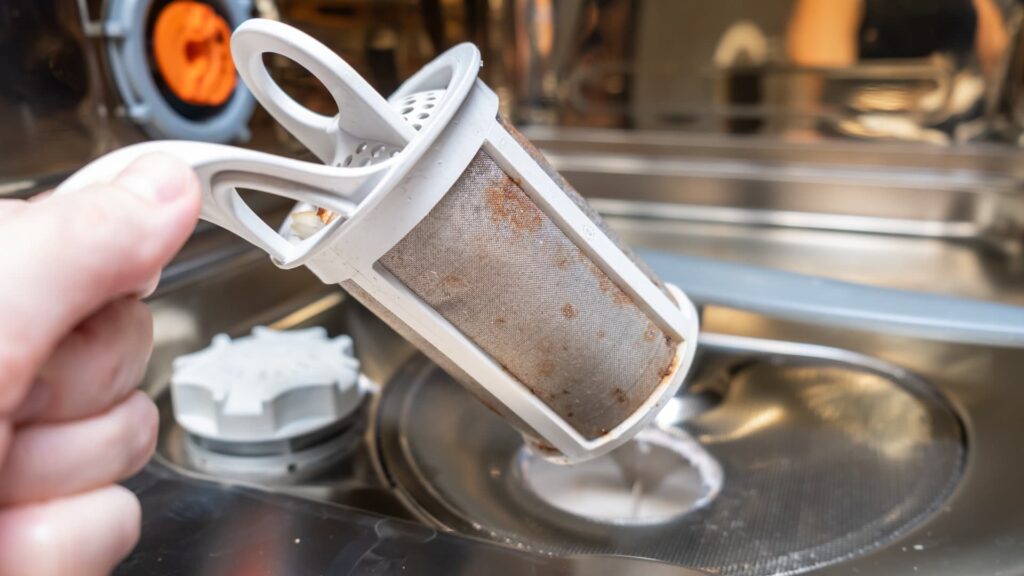
Essential Tools and Safety Equipment
Working on a dishwasher drainage system means dealing with dirty water and electrical circuits running side by side. Before you loosen any hose clamps, gather these basic tools together.
- Screwdrivers or Nut Drivers: Typically a 1/4-inch nut driver or a Torx T20 screwdriver to remove the lower access panel kickplate.
- Channel Lock Pliers: Essential for squeezing open the tension wire clamps holding the drain hose to the pump and disposal.
- A Shallow Pan or Baking Sheet: To catch the dirty stagnant water trapped inside the line when you drop it down.
- Old Bath Towels or Rags: To shield your kitchen cabinetry and flooring from water spills.
- A Flexible Wire Garment Hanger or Plumbing Snake: To manually push through the internal length of the line.
- A Large Plastic Bucket: To submerge and flush out the pipe once it is completely removed.
Step-by-Step Guide: How to Clear a Clogged Dishwasher Drain Hose Manually
Let’s dive into the literal step-by-step proccess to clear that line out safely. Work systematically, keep your towels handy, and remember to go easy on the plastic fittings.
Step 1: Disconnect the Electrical Power and Main Water Valve
Never work on an appliance that is plugged into a live electrical circuit. Look under your sink or behind the machine to find the dishwasher power cord and pull it straight out of the wall socket. If your unit is hardwired directly into a junction box, walk down to your household circuit breaker panel and flip the breaker dedicated to the dishwasher to the off position. Additionally, turn off the hot water supply valve located beneath your kitchen sink to prevent accidental leaks.
Step 2: Remove the Lower Kickplate Access Panel
Squat down at the front of your dishwasher. At the very bottom, near the kitchen floor, your going to see a long metal or plastic panel called a kickplate or toe-kick. Take your screwdriver or nut driver and remove the two to four mounting screws holding this plate in position. Set the screws aside securely and lift the panel away to reveal the raw mechanical space beneath the dishwasher tub.
Step 3: Scoop Out the Excess Standing Water
Open the dishwasher door completely and pull out the bottom dish rack. If the tub is full of nasty standing water, use a small plastic cup or an empty soup can to manually scoop as much water out as possible, pouring it directly into your kitchen sink. Once the water level gets low, use a large sponge to soak up the remaining puddle until the bottom sump basin is relatively dry. This prevents a huge wave of water from rushing out when you break the hose seal underneath.
Step 4: Disconnect the Hose from the Sink or Disposal Connection
Go back under your kitchen sink. Locate where your corrugated dishwasher drain hose connects to either your garbage disposal or the sink tailpiece.
- Place your towels and a shallow baking pan directly under this connection point.
- Use your channel lock pliers to squeeze the tabs of the metal tension clamp together, sliding the clamp down the body of the hose by about two inches.
- Gently twist the plastic hose back and forth while pulling outward to slide it off the connection nipple.
- Direct the open end of the hose straight down into your shallow pan to collect any gravity-fed drain water.
Step 5: Check the High Loop or Air Gap for Blockages
Take a look at how your line is routed. For optimal performance, the drain hose should either form a “High Loop” (anchored to the absolute highest point under your countertop) or run directly to a metal air gap cylinder mounted on your sink deck. Often, the clog is located right at the apex of this high loop or inside the air gap casing. Check these connections for solid plugs of grease or vegetable skin debris and clear them out using a small bottle brush or a piece of wire.
Step 6: Disconnect the Hose from the Internal Drain Pump
If the under-sink section of the line is clear, the blockage is deeper down near the machine’s pump assembly.
- Look underneath the front frame of your unit through the access space you opened in Step 2.
- Locate the opposite end of the ribbed drain line where it hooks onto the clear or white plastic drain pump housing port.
- Position your shallow baking sheet under the pump terminal.
- Use your pliers to loosen the tension clamp and carefully disengage the line from the pump outlet.
Step 7: Manually Snaking and Flushing the Blockage
Now that the entire drain line is free, you can clear the core restriction out.
- Take a flexible wire coat hanger and carefully straighten it out, leaving a tiny, smooth hook shape at the leading tip.
- Feed the wire slowly into the interior of the drain pipe from one end, pushing forward until you hit the rubbery resistance of the clog.
- Work the wire back and forth gently to puncture and loosen the obstruction. Do not shove the wire with violent force, as you can crack or puncture the thin plastic ridges of the corrugated line.
- Once the blockage is broken apart, carry the hose over to a utility sink or an outside garden hose. Run high-pressure hot water directly through the pipe to flush out all remaining grease chunks and black slime layer.
Step 8: Reinstall, Clamp, and Run a Test Cycle
Reverse your teardown proccess. Slide the dishwasher end of the clean hose back onto the drain pump nipple and lock it down securely with its metal tension clamp. Route the hose back through the cabinet wall cutout, ensuring it forms a clean high loop without any tight twists or pinching bends.
- Reattach the upper end to your garbage disposal or sink connection and clamp it tight.
- Turn the electrical power and water valves back on.
- Pour two cups of clean tap water into the bottom of the dishwasher tub.
- Close the door and select a “Cancel/Drain” cycle. Listen closely to the line—you should hear a robust, unrestricted rush of water surging smoothly out of the machine and down into your sink drain. Once verified, reinstall the front kickplate panel.
Essential Preventative Practices to Eliminate Future Clogs
Now that your drainage architecture is performing like brand new, executing these simple operational adjustments will ensure you never have to complete a manual line clear ever again:
- Scrape, Don’t Rinse: You don’t need to completely wash your plates before loading them into a modern dishwasher, but you absolutely must scrape all solid food items, bone fragments, and seed labels directly into the trash can.
- Run Your Garbage Disposal First: Always run your kitchen garbage disposal for five to ten seconds before you turn on your dishwasher cycle. Because the two systems share the same under-sink drain neck, any old food muck sitting inside your disposal will bottleneck your dishwasher’s discharge stream, provoking a nasty backup.
- The Monthly Hot Vinegar Flush: Once every 30 days, place a wide-mouth glass containing two cups of pure white distilled vinegar upright on the top rack of an empty dishwasher. Run a heavy, high-temperature pots-and-pans wash cycle. The natural acetic acid inside the vinegar will dissolve the greasy soap scum layer building up inside your pump and drain line before it can transform into a solid clog.
Your Home Appliance Resource Station
Learning how to clear a clogged dishwasher drain hose manually is a massive triumph for your household budget. By investing a little bit of time and applying targeted mechanical steps, you kept your money in your pocket and successfully managed a technical challenge that intimidates most homeowners.
If any other machine in your home begins to act up—whether it is a washing machine that refuses to spin, a clothes dryer that won’t heat up, or a refrigerator that starts making a strange buzzing noise behind the wall—remember that you don’t have to navigate it blindly. We publish easy-to-use, technician-authorized maintenance blueprints right here on FixNest.xyz to help you execute your repairs effortlessly.
Please take a moment to bookmark FixNest.xyz right now so you always have a professional trade expert ready to assist you whenever an appliance malfunctions. If you want to keep your household equipment running efficiently and save money on component replacements, subscribe to our monthly newsletter for helpful, seasonal appliance maintenance tips sent directly to your screen.
Did you run into a weird type of factory hose clamp while trying to disconnect your machine today? Is your unit still refusing to empty water even after you verified the line is clear? Drop a comment down below with your dishwasher’s exact brand and model identifier—our supportive network of skilled DIYers and veteran technicians will jump right in to help you troubleshoot your system safely!